Wednesday, November 30, 2022

Simon Says Stamp DieCember release

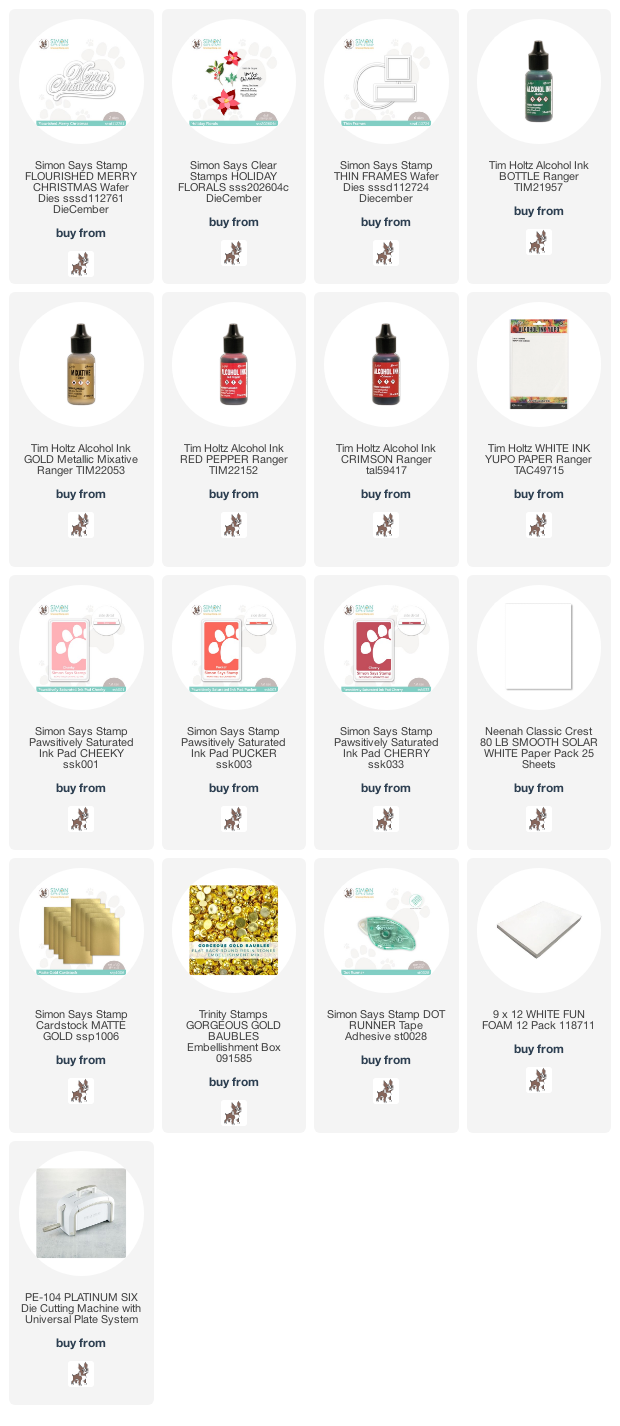
Using some traditional colors I made this festive background to showcase this gorgeous Flourished Merry Christmas die cut from gold paper. 
I just started playing with alcohol inks and I love it! I wanted to use traditional Christmas colors so I used red, green and gold alcohol inks. I die cut the circle frame using the new Thin Frames die set. I finished the card off with one of the poinsettias images from the Holiday Florals builder stamps.
I stamped the poinsettia using die inks. I love this building stamp set. You can create some beautiful dimension by using different shades when you stamp the layers. Lots of possibilities with this stamp set.
I finished the card off with some gold flat pearls.
I hope you got inspired and get a chance to check out the entire wonderful release!

For your convenience I have listed and linked all the supplies I have used to make this card. Thanks for stopping by! Happy DieCember!!

Supplies:


Honey Bee Anything Goes

Hi all and welcome to another week of the Simon Says Stamp Wednesday Challenge.

This week's challenge theme is Anything Goes!
We are showcasing Honey Bee products. You don't have to use them to join in but if you have some we would love to see what you make! As always just for entering you will be eligible for the the drawing of a $25 voucher to the Simon store!
Thought it would be nice to take a little break from making holiday cards. I am grabbing this week's theme to do so.
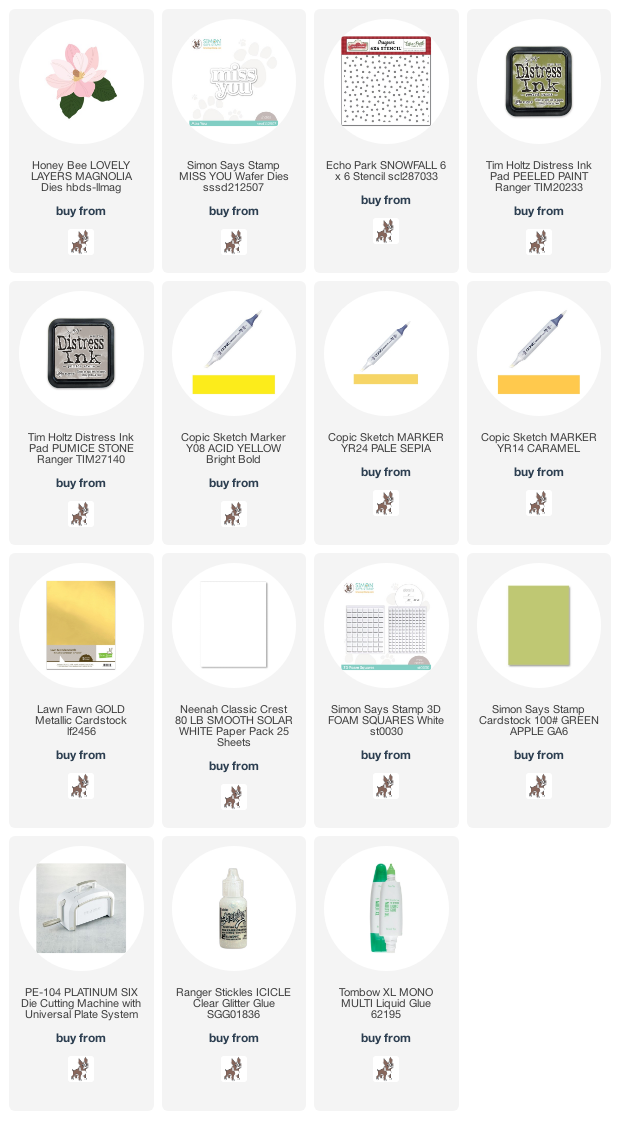
I fell in love with this Layering Magnolia die from Honey Bee. I wanted to make a card with lots of dimension but also a card that has a soft look to it.
I made this card with an A2 size card base made from smooth white cardstock. I then trimmed down a panel from more white cardstock and stenciled some soft dots to create a neutral background. I then went to work on the the gorgeous magnolia flowers. Several dies come in this kit to create the layered look of this flower. I die cut each twice because I wanted to make two flowers. I cut them from white cardstock and using distress ink I added some shadow. Each layer was adhered on top of each other with 3d foam squares. I used copic markers for the center parts for each flower. I also used distress ink on the leaves that I cut from light green cardstock. I then die cut the Miss You sentiment from gold cardstock and popped it up using some foam adhesive.

I hope you join the challenge and got some inspiration today! I have listed and linked all the products I have used for your convenience. Thank you for stopping by!!

Supplies:
Now it's you turn! Happy crafting!

Do you use Instagram ?  If so please add  #ssswchallenge to your challenge entry uploads so we can see them on there too.


You have until Wed  8am Ohio time. 1pm UK time, 2 pm CET to join in


Saturday, November 26, 2022

Simon Says Stamp Limited Edition Tag kit
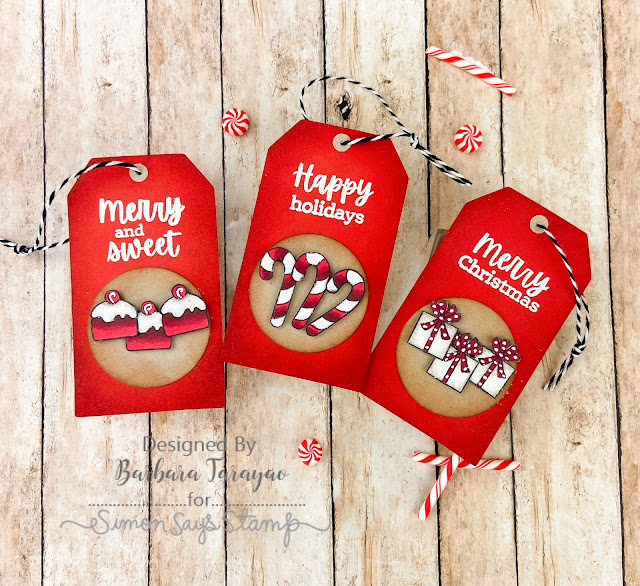
Need to make some tags for all those gifts you'll be giving this holiday season? This is the kit for you! I had so much fun making some tags from this kit. 
Everything you can think of to make easy gorgeous tags is included in this kit. I just love the Merry & Sweet stamp set that was included. The sentiments were perfect for tags.
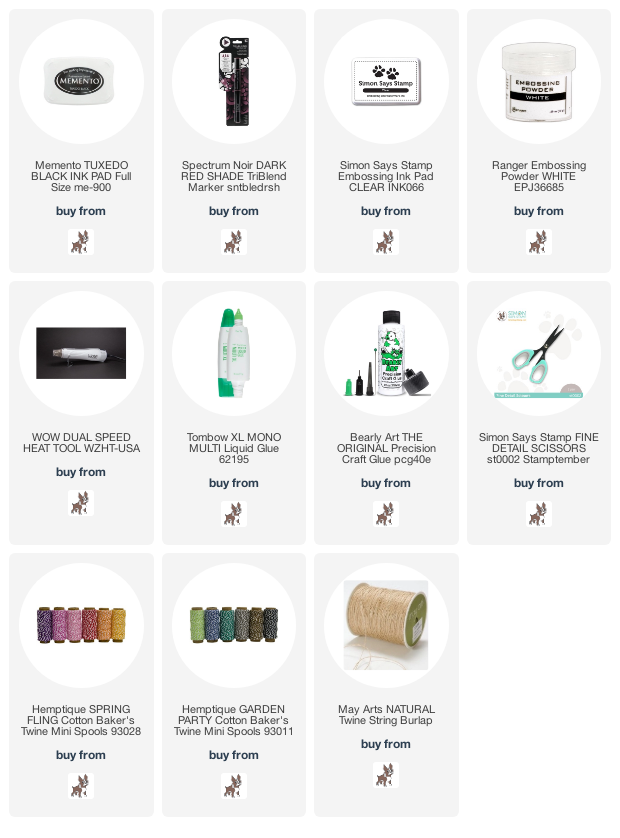
I stamped the images from the stamp set in black and colored them using Spectrum Noir markers. I stamped the sentiments and embossed then using white embossing powder.
This tags set was made with the Candy Christmas chipboard ephemera stickers. This was so easy and quick to make oodles of tags! I added some bows for some charm.

If you want to see the entire Limited Edition Tag kit just click HERE


 I have the kit and all the products I used listed and linked below. Thank you for stopping by! Happy crafting!!

Supplies:


Tuesday, November 22, 2022

Memory Box Not a Card

 Hi all and welcome to another week of the Simon Says Stamp Wednesday Challenge.

This week's challenge is to make something that is Not a Card!
We are showcasing Memory Box products. You don't have to use them to join in but if you have some we would love to see what you make! As always just for entering you will be eligible for the the drawing of a $25 voucher to the Simon store!
This is a fun challenge. I love making cards, infact, some would say I'm obsessed but I love a good challenge. I have made a snowflake ornament made from paper that would be perfect to hang on your tree!
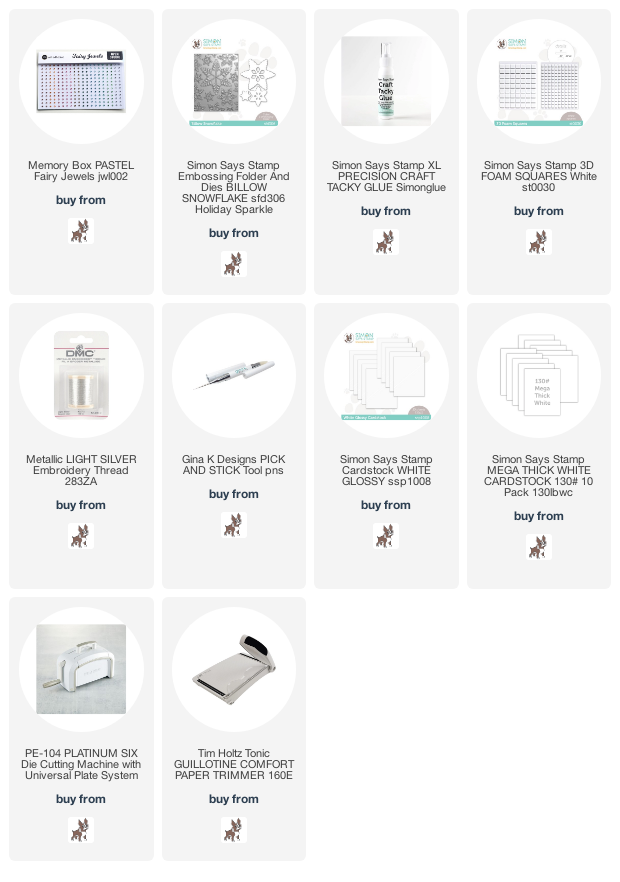
I was inspired by Michelle Peckham's idea to create an ornament using an embossing folder.  I also thought this would be a perfect project to use the Memory Box Fairy Jewels to give this ornament a bit of sparkle!
I made this card using heavy weight cardstock. Using the Simon Says Stamp Billow Snowflake Emboss and Cut folder I used the snowflake dies that come with the folder and cut out all three snowflakes twice. I then took one set of the snowflakes and lined them up with the same images in the folder and ran it through the die cut machine to create the deep design onto the snowflakes. I took the 2nd set of snowflakes and glued them to the back of the the embossed snowflake for some bulk. I then layered them onto of each other using some 3d foam squares. I added the jewels for some sparkle and some silver thread to be able to hang on the tree. You could even make an amazing garland with these gorgeous snowflakes!

If you head over to my Instagram page, I have a quick tutorial on how to put this snowflake together.

I hope you enjoyed the project I made today for the challenge. I have listed and linked all the products I used below for your convenience. Thanks for stopping by!

Supplies:

Now it's you turn! Happy crafting!

Do you use Instagram ?  If so please add  #ssswchallenge to your challenge entry uploads so we can see them on there too.


You have until Wed  8am Ohio time. 1pm UK time, 2 pm CET to join in


Sunday, November 20, 2022

Simon Says Stamp Limited Edition Holiday Gift card kit
I am happy to be able to share a few projects made from the new Simon Says Stamp Limited Edition Holiday Gift Card kit. This is an amazing and versatile kit that celebrated the glitz and glamor of the season. Perfect for all your gift giving needs! Make lots of amazing ways to give those gift cards!!
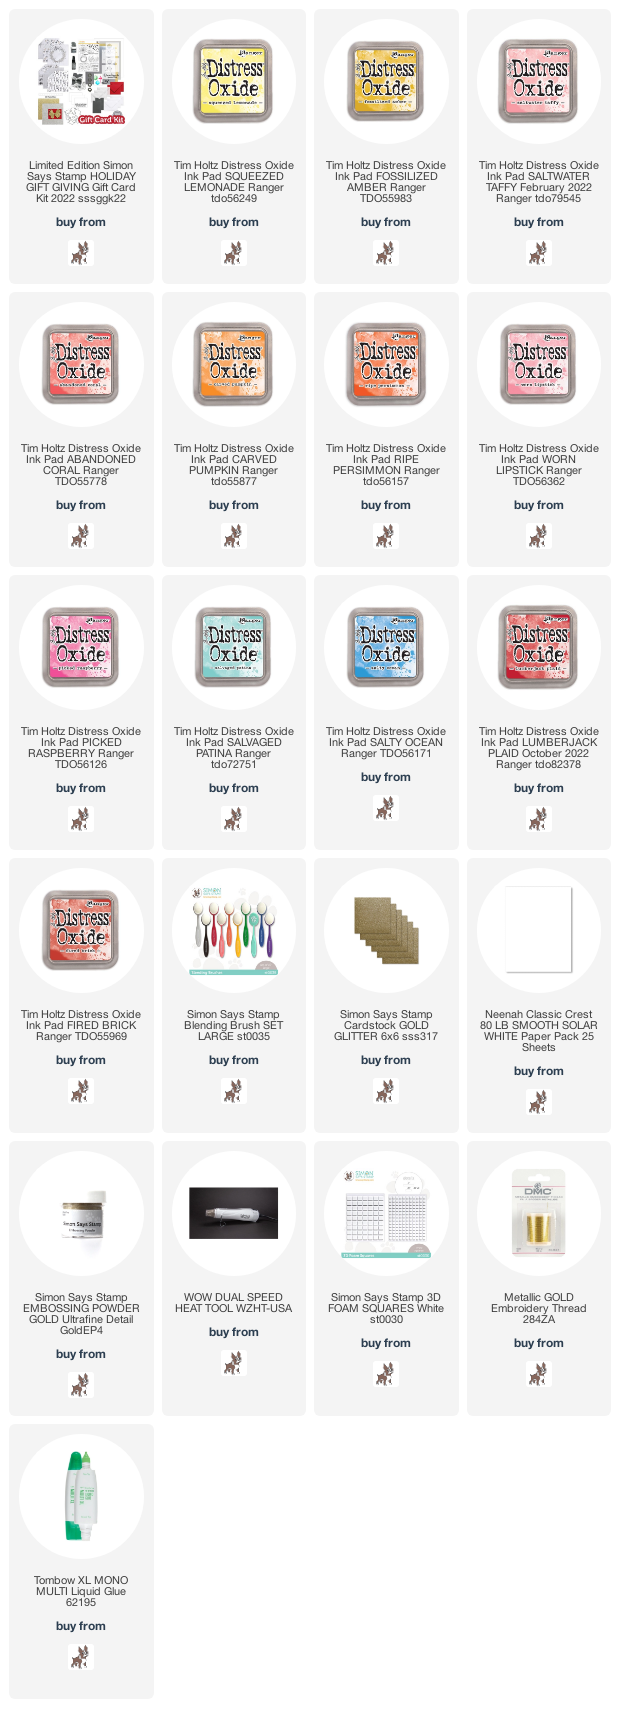
I have made a fun card using a layering ornament stencil that is included in the kit. I just stenciled the beautiful ornament using distress inks and then fussy cut each one out. I then popped them off the A2 size card base made from white cardstock with 3d foam adhesive. Using the stencil I traced out the toppers for the ornaments and cut them out of gold glitter paper also included in the kit! I then used some gold thread from the my stash to create a fun accent for the ornaments to hang on. I then stamped the Merry Christmas sentiment from the kit and heat embossed it using gold embossing powder.
I then had to make a couple of fun gift card holders. This kit is just full of tags, and mini envelopes and so many ways to give a gift card!!  I used the same layered stencil for the gift card holder on the right. There is a matching luscious red mini envelope to put it in. On the left I used the gorgeous layered bow die, gift card sleeve and a light gray cardstock to create this one of a kind card perfect size for giving that someone special a gift card! All the sentiments are from the kit including a jar of silver embossing powder. 

I hope you enjoyed the projects I made using this amazing card kit!

I have listed and linked the supplies I used below for your convenience.

Supplies:

Wednesday, November 16, 2022

Tim Holtz Stencil It!

 Hi all and welcome to another week of the Simon Says Stamp Wednesday Challenge.

This week's challenge is to Stencil It!
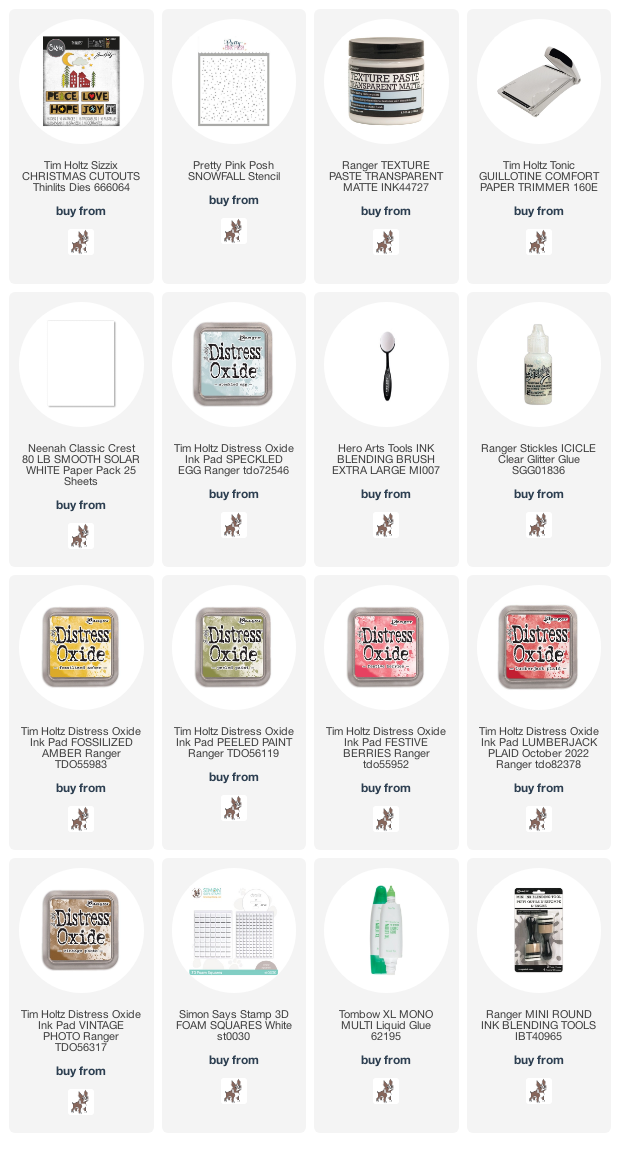
We are showcasing Tim Holtz products. You don't have to use them to join in but if you have some we would love to see what you make! As always just for entering you will be eligible for the the drawing of a $25 voucher to the Simon store!
I just loved the new Tim Holtz Christmas release this year! So adorable I just knew I wanted to use the Sizzix Christmas Cutouts die set to create my card today. I also will be using one of my favorite snow stencils to create a snowy background. So much fun! Let's get started..
I created this card using an A2 card base made from smooth white cardstock. I then cut another piece of white cardstock down to leave a bit of a border and ran the panel through the Billow Snowflake embossing folder. Using liquid glue I adhered the panel to the card base.
Using another piece of white card stock I ink blended the background with distress ink. I used the Snowfall stencil to create a wintery sky on my ink blended panel with Ranger matte texture paste. I set that aside to dry before I trimmed it down.
I then die cut the images I need to create this sweet wintery scene from the Tim Holtz Christmas Cutouts die set. I used distress ink to color each piece. I added a snow bank with white card stock trimmed down to fit the panel. I'm not sure you can tell but I added some Ice Stickles to the star and windows for a bit of sparkle. I used foam squares to give some dimension to the panel. 

I hope you enjoyed this card and got some inspiration. I have listed and linked all the products I used for your convenience. Thanks so much for stopping by!!

Supplies:

Now it's you turn! Happy crafting!

Do you use Instagram ?  If so please add  #ssswchallenge to your challenge entry uploads so we can see them on there too.


You have until Wed  8am Ohio time. 1pm UK time, 2 pm CET to join in


Monday, November 14, 2022

Simon Says Stamp Holiday Sparkle Instagram Hop
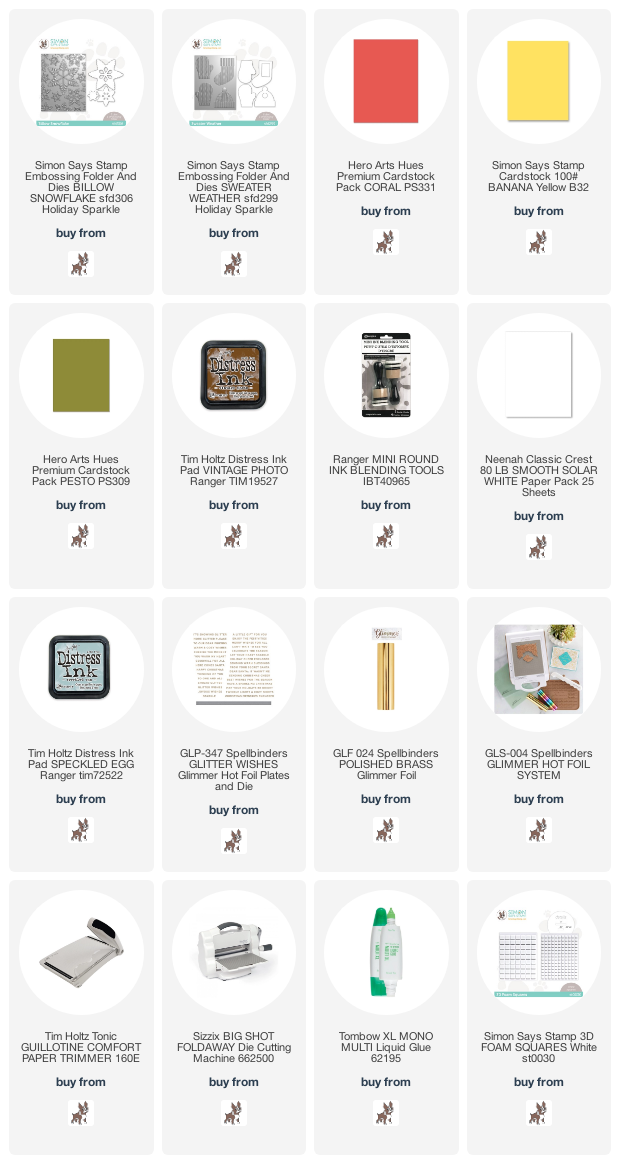
Thank you for stopping by! Hope you are enjoying the Instagram Hop for the Simon Says Stamp Holiday Sparkle release. Lot's of amazing goodies to play with. I was so excited to see another very dimensional embossing folder with cozy images that include dies! 
I made this card using an A2 size card base out of smooth white card stock. I then ran another piece of white cardstock through my die cutting machine using the Billow Snowflake embossing folder that was inked on the flat side with Speckled Egg distress ink. This technique allows the snowflakes to stay white while adding color to the background. I trimmed that panel down to leave a bit of white border and adhered it to the card base with liquid glue.
I then die cut the cozy beanie caps from the Sweater Weather emboss and cut folder. I used green, yellow and coral cardstock for the main part of the caps and white cardstock for the rim and pom pom. I added some dimension using coordinating distress ink on the caps.
I then used a hot foil sentiment and cut it into a strip and added to the bottom of the card. I used 3d foam adhesive to adhere the sentiment and the caps.

I hope you enjoyed this card I made for the Holiday Sparkle Instagram Hop and got some inspiration. Don't forget to leave a comment over on my Instagram post to be entered to win a $25 shopping spree at the Simon store! I have listed and linked the products I used for your convenience. Happy hopping!!

Supplies:


Friday, November 11, 2022

Simon Says Stamp Holiday Sparkle Blog Hop Day 1
I am sooo excited to be part of the Simon Says Stamp Holiday Sparkle Blog hop! I hope you find tons of inspiration while you are hopping along! If you want to see the whole release just click HERE!
Simon has provided a special code just for this hop👆
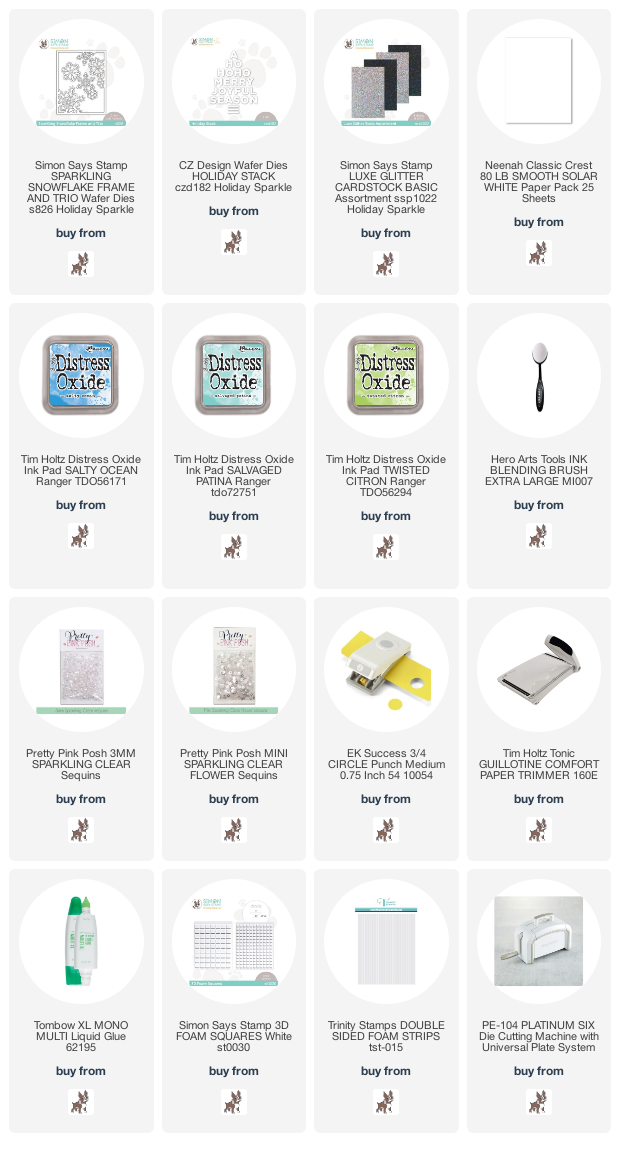
I have made a sparkly shaker card for this hop. I think shaker cards are so fun to make and so fun to receive!
I began with an A2 size card base made from smooth white cardstock. I then ink blended the front of the card using distress oxide inks. I then die cut the Sparkling Snowflake Frame die from more white cardstock. I used a piece of acetate to cover the back of the frame die with some liquid adhesive. I then used foam adhesive to pop up the frame to create a space between the card base for the shaker elements. I then added a sparkly small sequins to the card base. I then adhered the snowflake frame over the card base with foam strips trapping in all the sequins.
I then die cut the sentiment Joyful from the Holiday Stack die set out of the gorgeous Luxe Glitter cardstock and added to a white strip of paper with foam adhesive for extra dimension. I also cut small circles with a hole punch from the same glitter cardstock to add additional sparkle to the snowflakes.
I created a little video so you could see the shaker in action!👆

Please make sure you leave a comment here to be entered into a drawing for a $25 shopping spree at Simon. Each comment you leave on the hop is more chances to win! Also, for much much more inspiration, go visit the Holiday Sparkle Gallery to see all the amazing projects created with this release.


I have listed and linked all the products I have used to make this card for your convenience. Thank you for stopping by. Happy hopping!

Supplies:


Wednesday, November 9, 2022

Simon Says Stamp Holiday Sparkle Release Day
It's release day!! To see the whole gorgeous release click HERE!
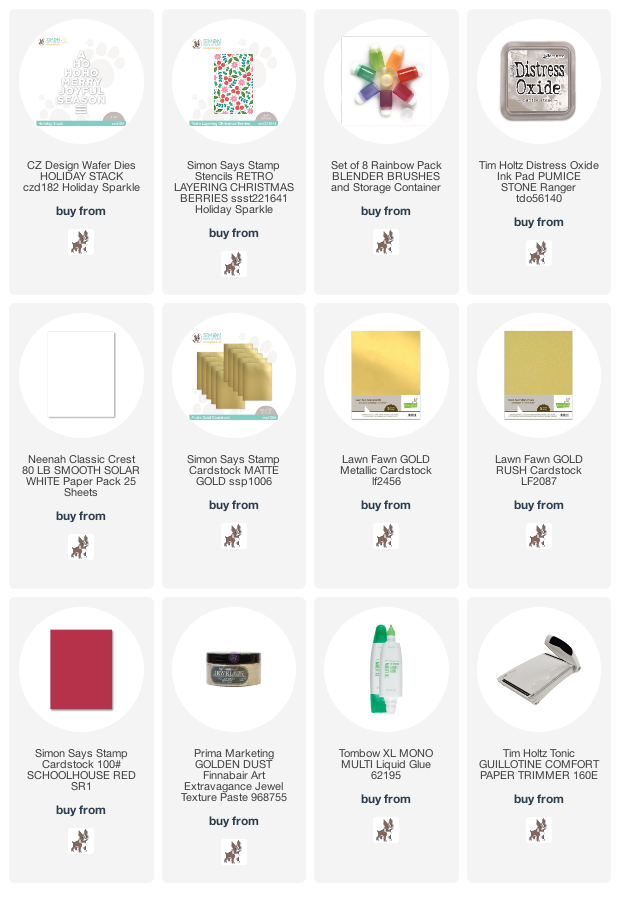
I have made this fun holiday card using the Holiday Stack die and Retro Layered Berries from the new release. 
This card was made using an A2 size card base from smooth white card stock. I then trimmed down another piece of white cardstock to leave a bit of a border. I then used the layering stencils to create this background using distress ink and gold texture paste.
I then die cut the sentiments out of gold and red cardstock. I also die cut it out of white cardstock three times for thickness. I used liquid glue to adhere letters together and then onto the card.
I hope this shows the shine and sparkle of this fun card!

I have listed and linked the supplies I have used for your convenience. Hope you got some inspiration and thank you for stopping by!

Supplies:

Paper Rose Thinking of You

 Hi all and welcome to another week of the Simon Says Stamp Wednesday Challenge.

This week's challenge is Thinking of You

We are showcasing Paper Rose products this week. You don't have to use them to join in but if you have some we would love to see what you make! As always just for entering you will be eligible for the the drawing of a $25 voucher to the Simon store!
I wanted to show how fast, easy and beautiful it can be to make a background with very few supplies. I have made three cards for this week's challenge.
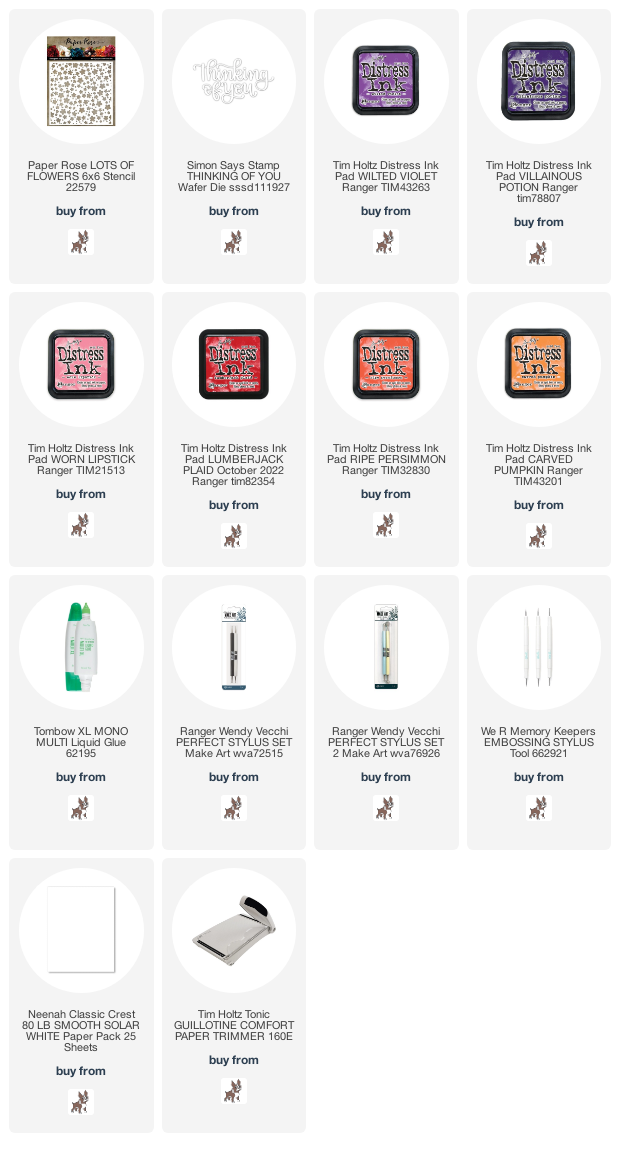
I used the Paper Rose Lots of Flowers stencil  and distress ink to create these fun and easy backgrounds.
I made each card using an A2 size card base from smooth white cardstock. I then trimmed down another piece of white cardstock for a panel to leave a white border. I placed the stencil over the panel and used the darker shade of the distress ink to stencil the flowers. I removed the stencil and used a lighter shade of distress ink and a blender brush to cover the entire panel. 
I then added white dots to the center of each stenciled flower with white acrylic paint and a stylus. If you don't have a stylus you can use the end of a paintbrush. 
I then die cut the sentiment Thinking of You die three times for thickness and adhered together with liquid glue. I then cut a 1 1/2 inch strip of white card and ink blended it and adhered to the center of the panel. I then added the sentiment with liquid glue and added some colored jewels. That's it!!

I hope you enjoyed the cards I made today and got some inspiration. All the supplies I used are listed and linked below for your convenience. Thank you for stopping by!!💗

Supplies:

***If any product is out of stock, just click on the "Notify Me" button and you will receive an alert from Simon when that item is back in stock! 

Now it's you turn! Happy crafting!

Do you use Instagram ?  If so please add  #ssswchallenge to your challenge entry uploads so we can see them on there too.


You have until Wed  8am Ohio time. 1pm UK time, 2 pm CET to join in