Hi all and welcome to another week of the Simon Says Stamp Wednesday Challenge.
.JPG)
This week's challenge theme is Anything Goes!
We are featuring products from Waffle Flower. You don't have to use them to join in but if you have some we would love to see what you make! As always just for entering you will be eligible for the the drawing of a $25 voucher to the Simon store!
.JPG)
It's funny sometimes where you can get your inspiration for a project! I feel like I fall into a repetitive mode with my color pallet. I have my favorites and seem to go to them a lot so it's fun to mix it up and get out of your comfort zone! I was on tik tok watching someone I follow working with a liquid acrylic plastics and she mixed in purple, pink and blue. Her project turned out so pretty! So that was my inspiration for the color combination for the card I made for this challenge.
.jpeg)
I made this A2 size card base made from smooth white cardstock. Then I used another piece of white cardstock to create a plaid background.
.jpeg)
To make the plaid background I first grabbed my Waffle Flower stencil mat tape down the cardstock. Then I used Post-It tape to create the lines to ink blend. I love using the post it tape because you can make you lines as thick or thin as you desire. You can use a ruler or just eyeball it depending on how perfect you want it to turn out. I have made so many of these plaid backgrounds that I just eyeball it. Using Waffle Flower blender brushes I ink blended the pink, purple and blue distress ink. I then used the Postage Stamp Edge Frame dies to cut out the portion of the plaid that I liked the best and then stamped the double lines using silver embossing powder.
.jpeg)
I then die cut the Sunrise Stem flower die from white and matte silver cardstock and I colored in the center using one of the distress colors I used for the plaid. I then die cut the sentiment from more white cardstock and fun foam for some dimension. I add a few flat back pearls and that was it!
I hope you enjoyed the project I have made for this week's challenge and got some inspiration! I have provided affiliate links to all the supplies I used below. Thank you so much for stopping by and I hope you enjoy this challenge!
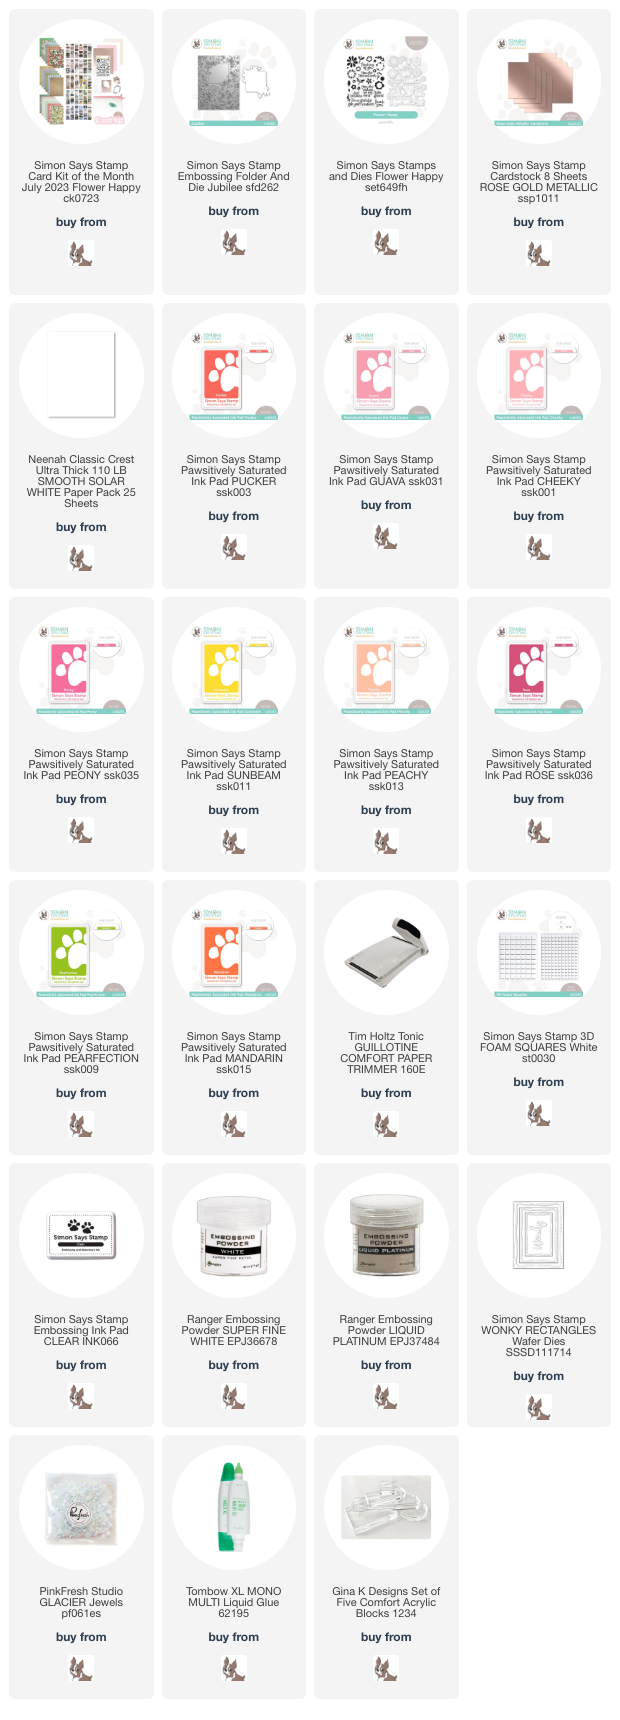
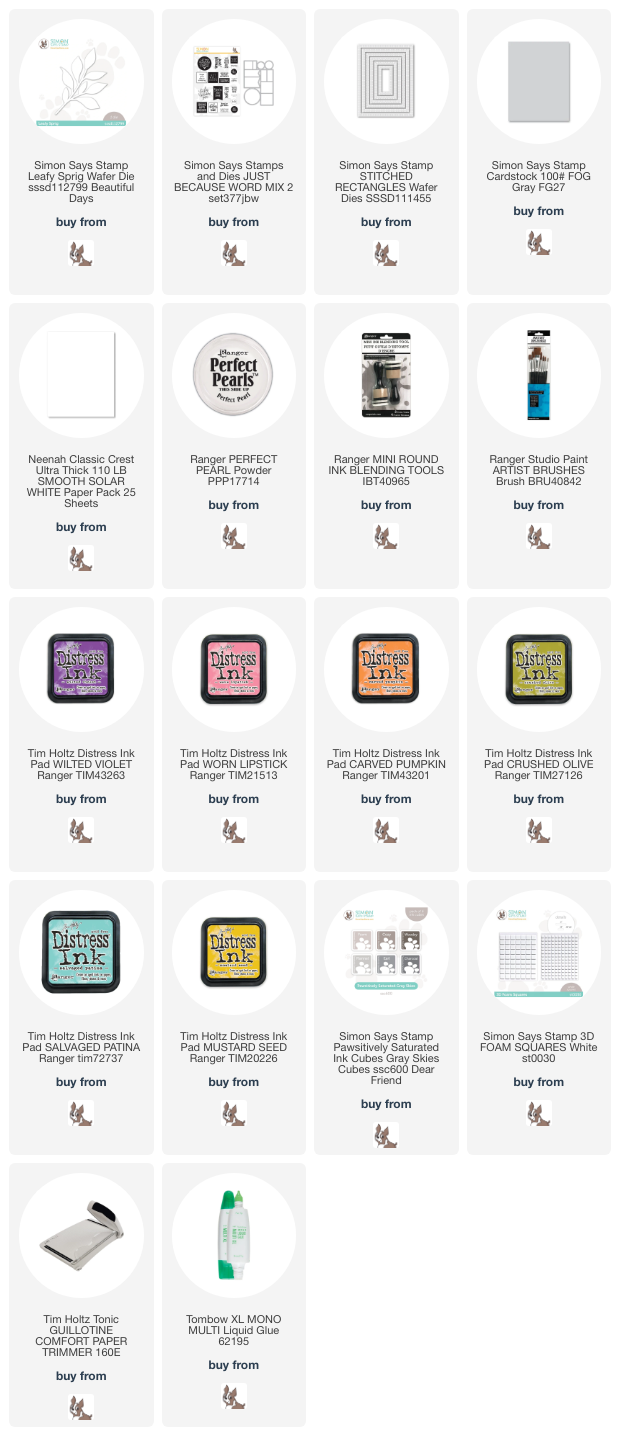
Supplies:
Now it's your turn! Happy crafting!
Do you use Instagram ? If so please add #ssswchallenge to your challenge entry uploads so we can see them on there too.


You have until Wed 8am Ohio time. 1pm UK time, 2 pm CET to join in
.jpeg)
.jpeg)
.jpeg)

.jpeg)
.jpeg)
.jpeg)

.jpeg)
.jpeg)
.jpeg)


.jpeg)


.jpeg)
.jpeg)
.jpeg)

.jpeg)
.jpeg)
.jpeg)
.jpeg)
.jpeg)