Hi all and welcome to another week of the Simon Says Stamp Wednesday Challenge.
.JPG)
This week's challenge theme is Anything Goes!
We are showcasing products from Couture Creations. You don't have to use them to join in but if you have some we would love to see what you make! As always just for entering you will be eligible for the the drawing of a $25 voucher to the Simon store!
.JPG)
I'm new to the products of Couture Creations and when I saw that they had a line of alcohol inks I just had to try them! The card I have made for this week's challenge has a background featuring some of their alcohol inks. I had lots of fun playing with them.
.jpeg)
I made this card using an A2 size card base cut from smooth white cardstock. I then trimmed down a panel of Yupo paper to leave a bit of a border. I then dropped several of the alcohol inks onto the Yupo paper and moved the ink around with a blender solution and a air pusher.
 |
While the background was drying, I die cut the Flourishing Bloom Plate out of white and gold cardstock. I trimmed out a few of the flowers I wanted and some the leaved in gold and arranged them across the background.
.jpeg)
I then heat embossed the sentiment using gold embossing powder onto white cardstock and trimmed it out and popped it up under the flowers on the right hand side.
I hope you enjoyed the project I have for this week's challenge and you got some inspiration! I have provided affiliate links to all the supplies I used below. Thank you so much for stopping by and I hope you enjoy this challenge!
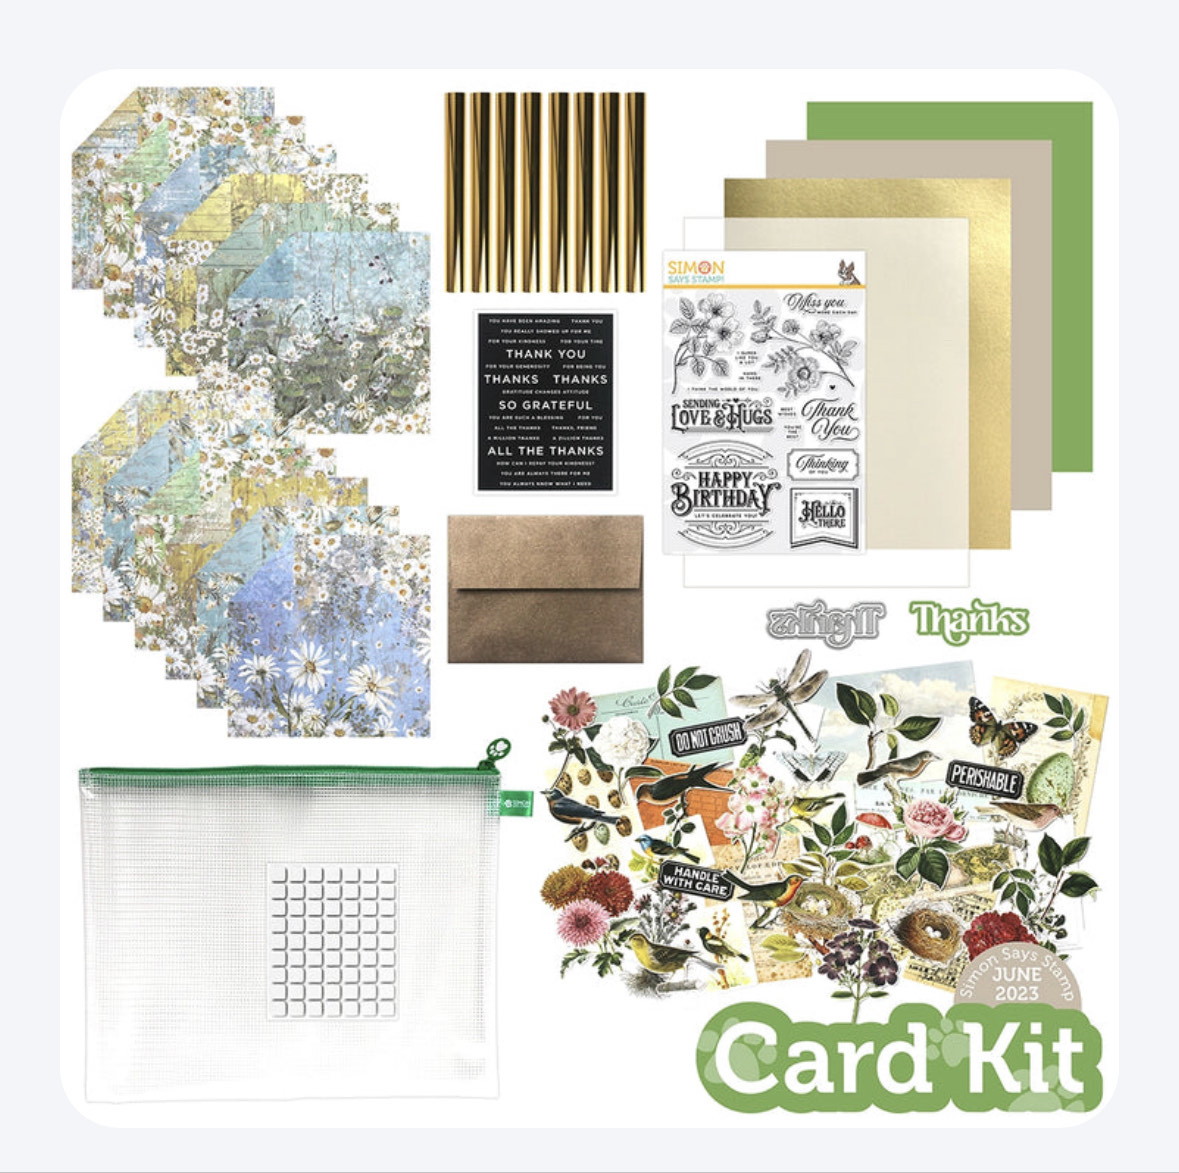
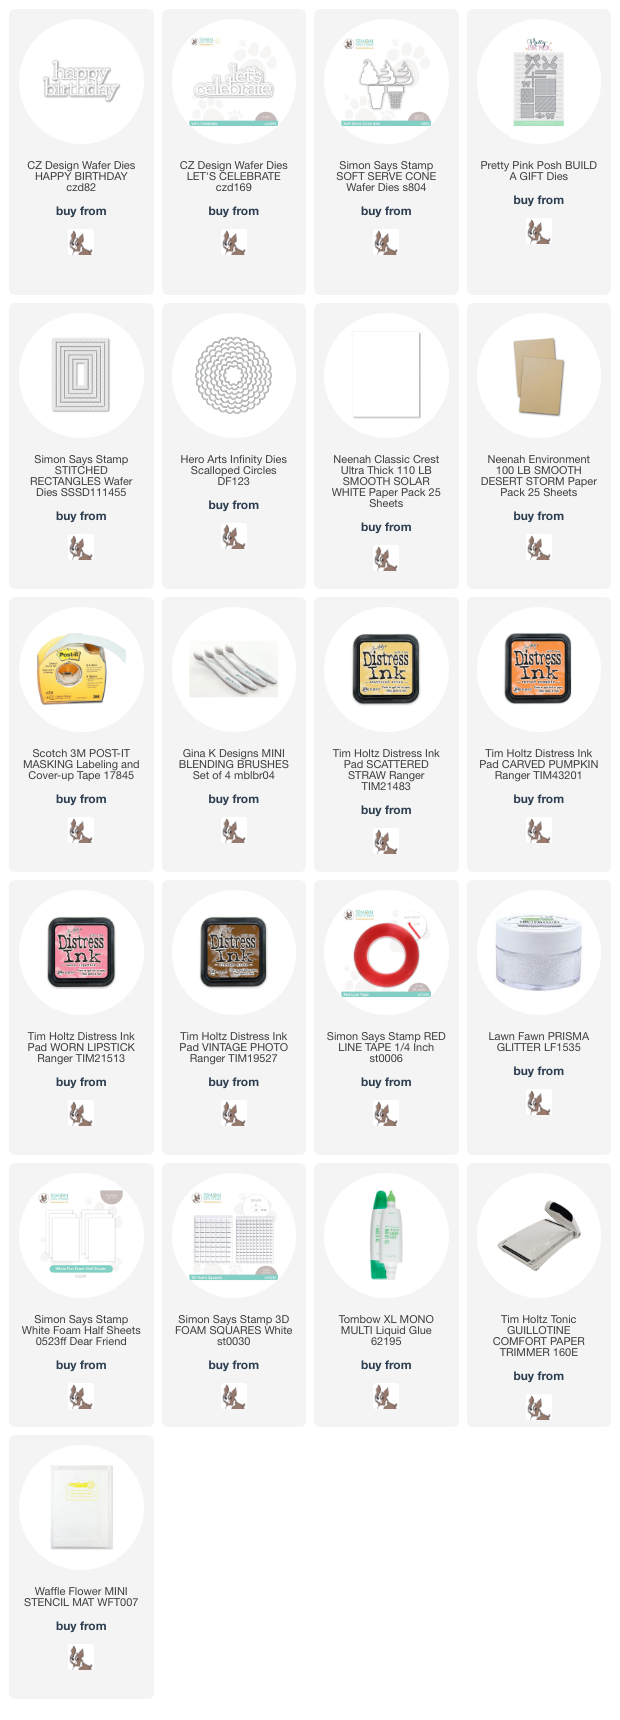
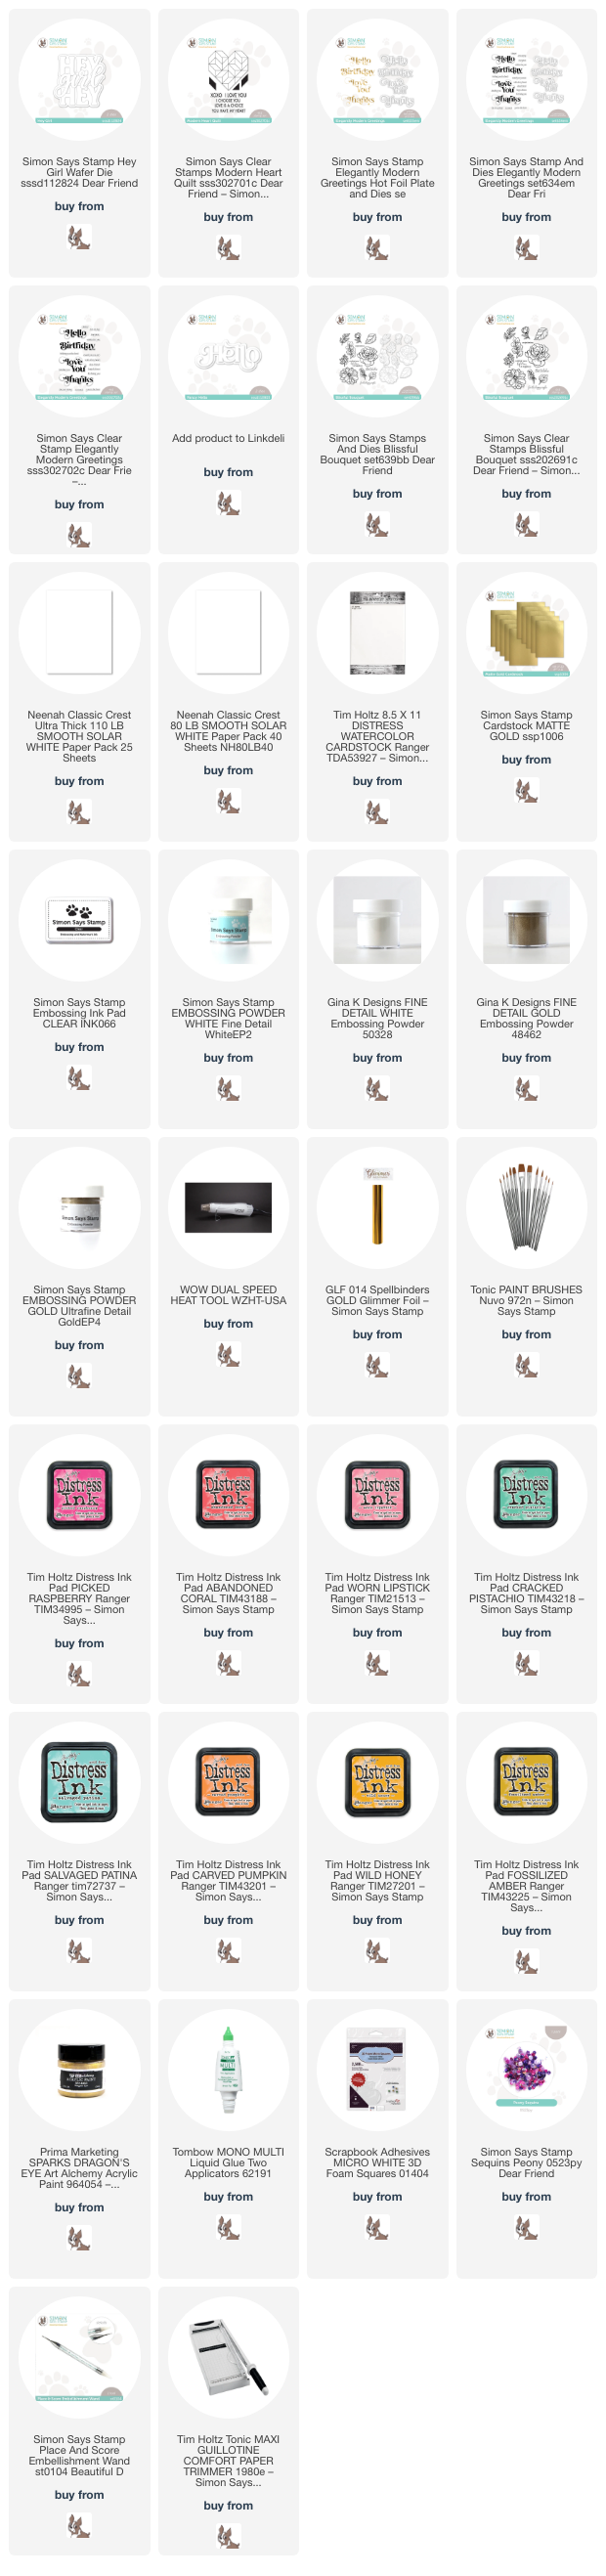
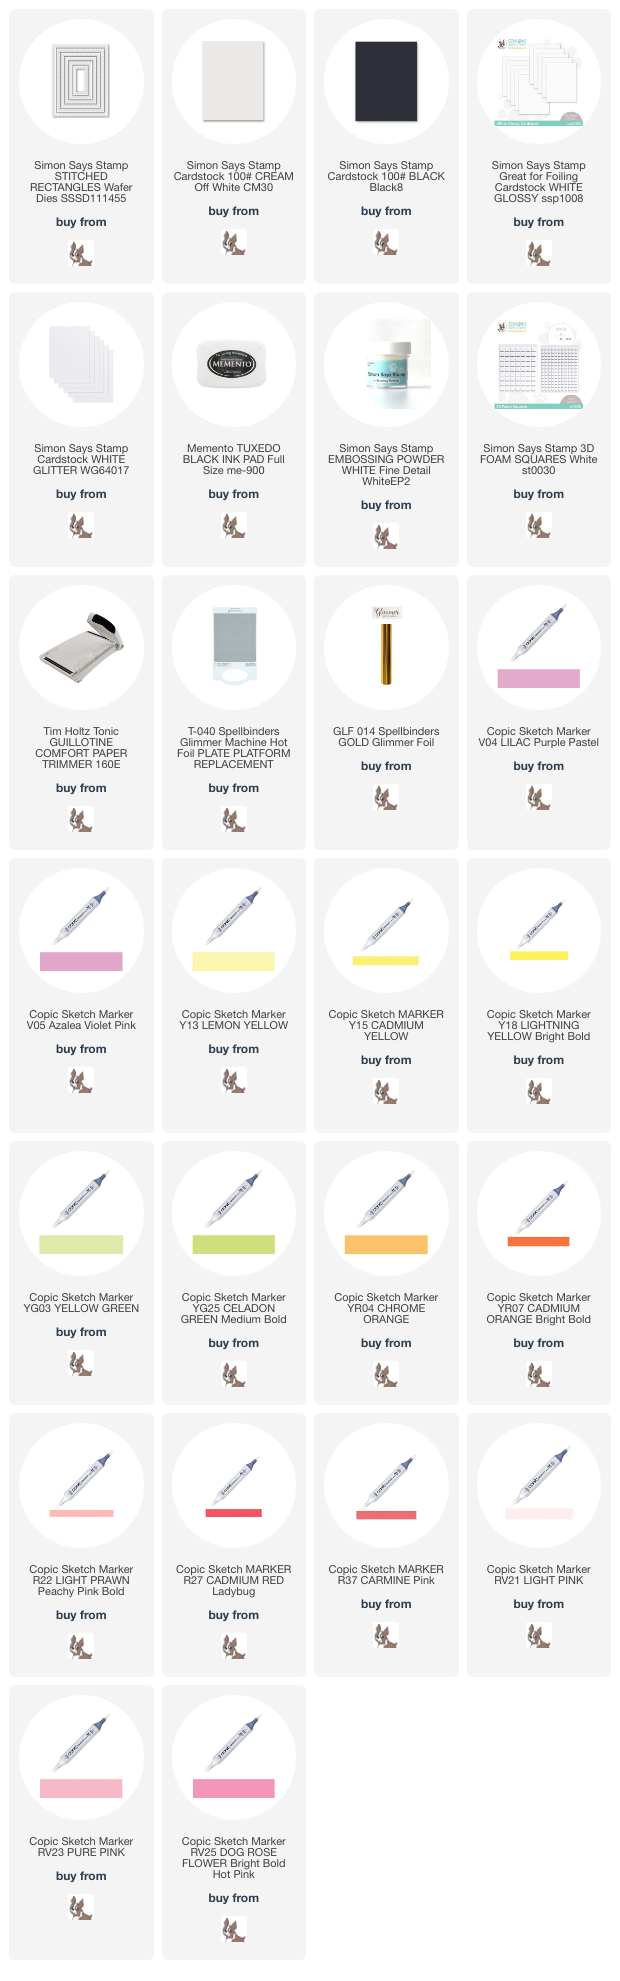
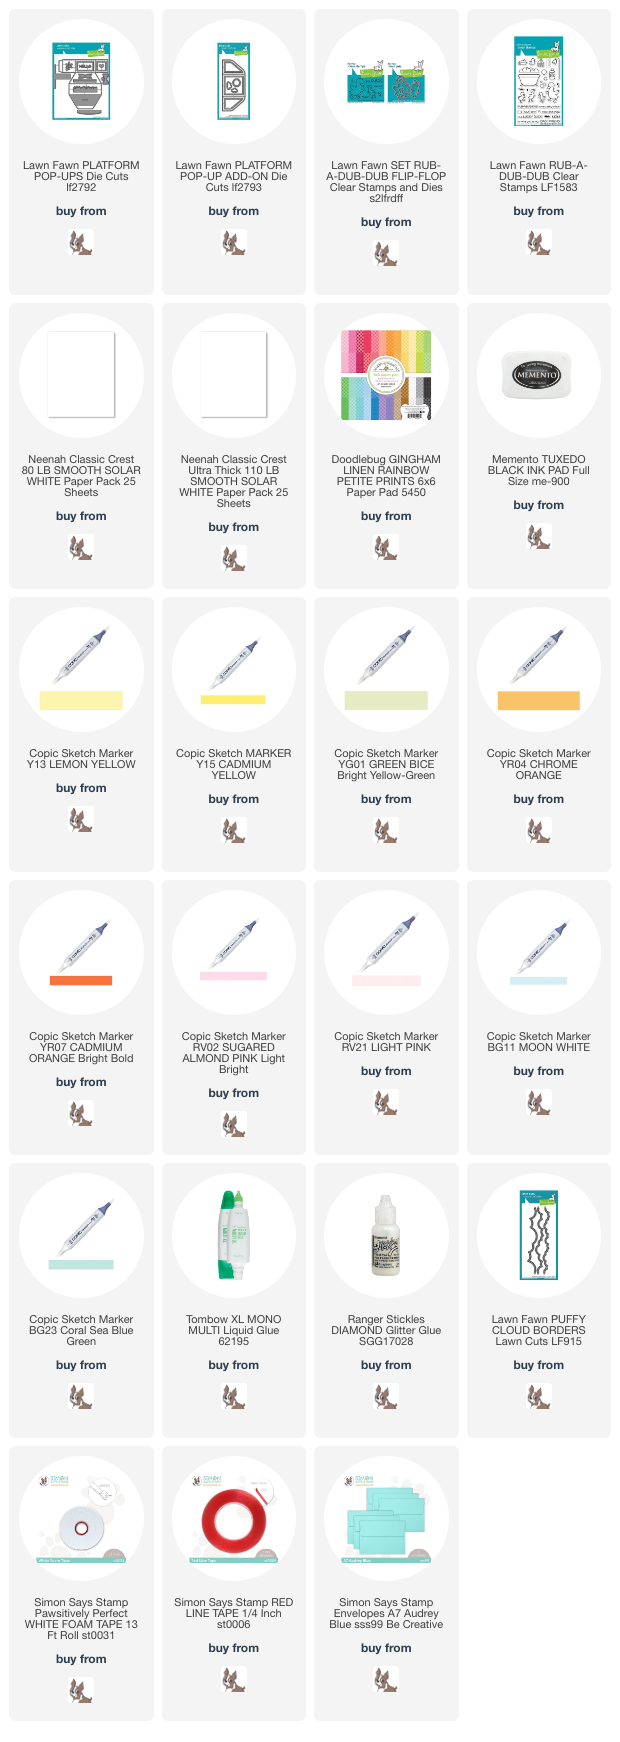
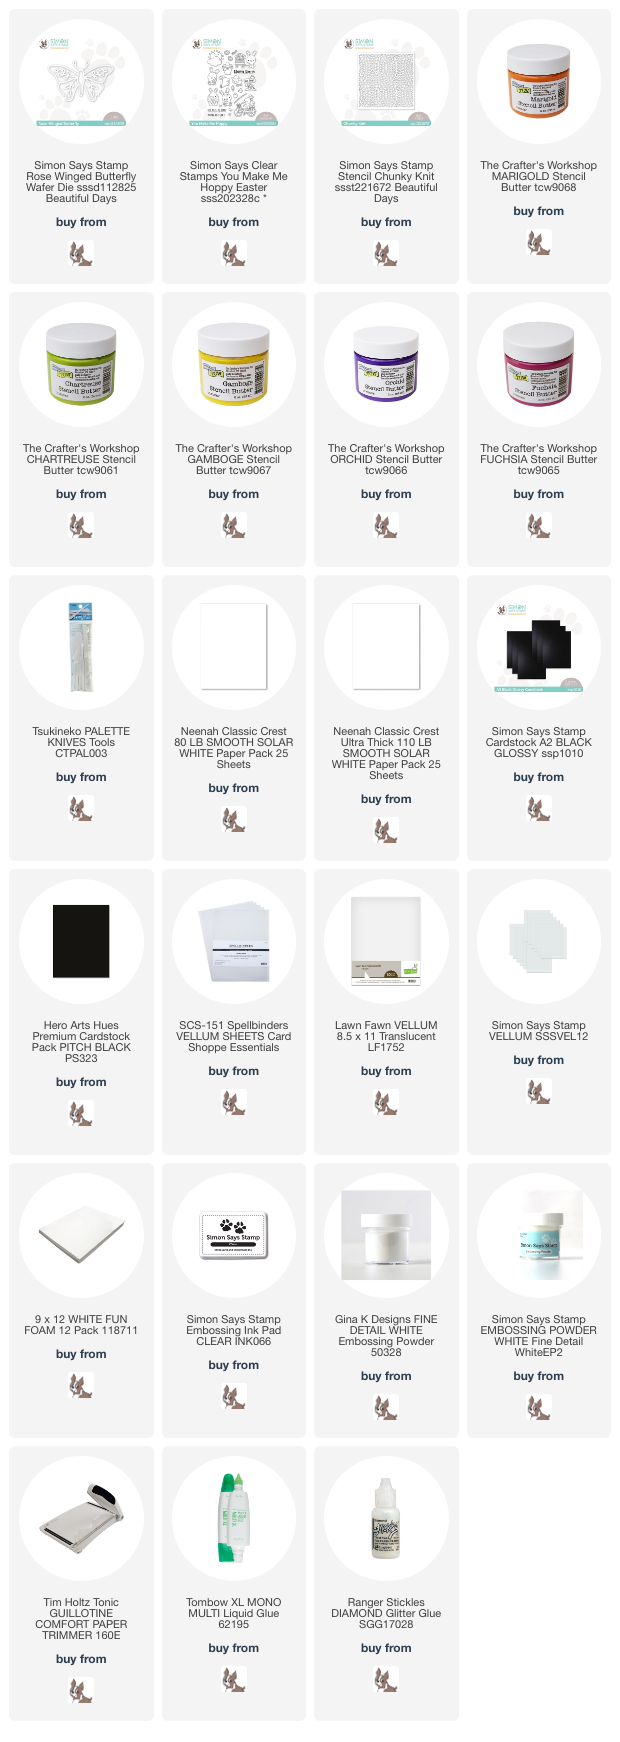
Supplies:
Now it's your turn! Happy crafting!
Do you use Instagram ? If so please add #ssswchallenge to your challenge entry uploads so we can see them on there too.


You have until Wed 8am Ohio time. 1pm UK time, 2 pm CET to join in
.jpeg)
.jpeg)
.jpeg)
.jpeg)
.jpeg)
.jpeg)
.jpeg)
.jpeg)

.jpeg)
.jpeg)
.jpeg)

.jpeg)
.jpeg)
.jpeg)
.jpeg)
.jpeg)
.jpeg)
.jpeg)
.jpeg)
.jpeg)
.jpeg)
.jpeg)
.jpeg)
.jpeg)