Thursday, August 31, 2023

Simon Says Stamp STAMPtember release day

It's here! The best time of the year for card makers or any kind of makers! It's STAMPtember!! Yay!! Ok yes I'm a little excited. This month is going to be really fun and there is a brand new release to kick it off! Click HERE to see the entire release.
The project I have made for this first day of STAMPtember is a fun Summer card using the Plentiful Poppies embossing folder, the Billow Butterfly die and the sentiment is from the CZ Sassy Friends stamp set
I made this card using an A2 size card base made from smooth white cardstock. It might be easier if I just break down the steps on how I made this card:
Poppies:
Inked up the inside of the Plentiful Poppies embossing folder that is flat with yellow ink and brayer.
Added a trimmed down piece of white cardstock to the embossing folder and ran through the machine.
Using copic markers I colored in all the RAISED areas that were left white, flowers and stems.
Using a ink blender tool I distress the sides of the colored panel with a darker yellow and added some ink splatters for some interest.
I adhered the inked and colored poppy panel to the card base.

Butterfly:
I used the Billow Butterfly die to cut out of white cardstock the body and outline of the wings.
I cut the butterfly out a second time out of vellum
I stamped a small dot pattern on the butterfly wings using embossing ink and white embossing powder. 
I colored the back of the vellum wings with a copic marker in blue.
Using liquid glue and added all the butterfly elements together and adhered it to the card.

Sentiment:
I stamped the Best Friends sentiment on vellum using clear embossing ink and heat set it with white embossing powder.
I then used the coordinating die to cut out the sentiment and adhere it to the card with foam strips.
Using the same stamp set I stamped the sub-sentiment with coordinating ink and cut it out using a sentiment strip die.

I hope this makes it bit easier to explain how to make a card in steps. Thank you so much for stopping by! I have listed and linked all the supplies below for your convenience. Happy STAMPtember!!
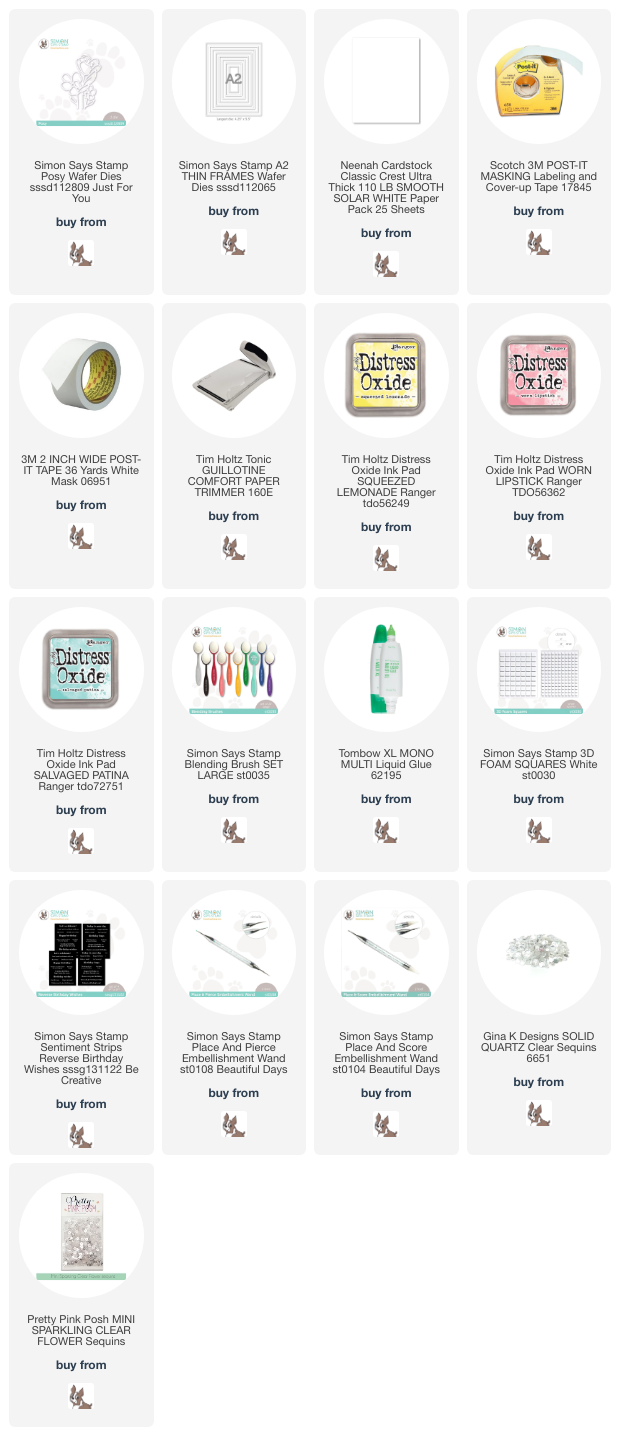
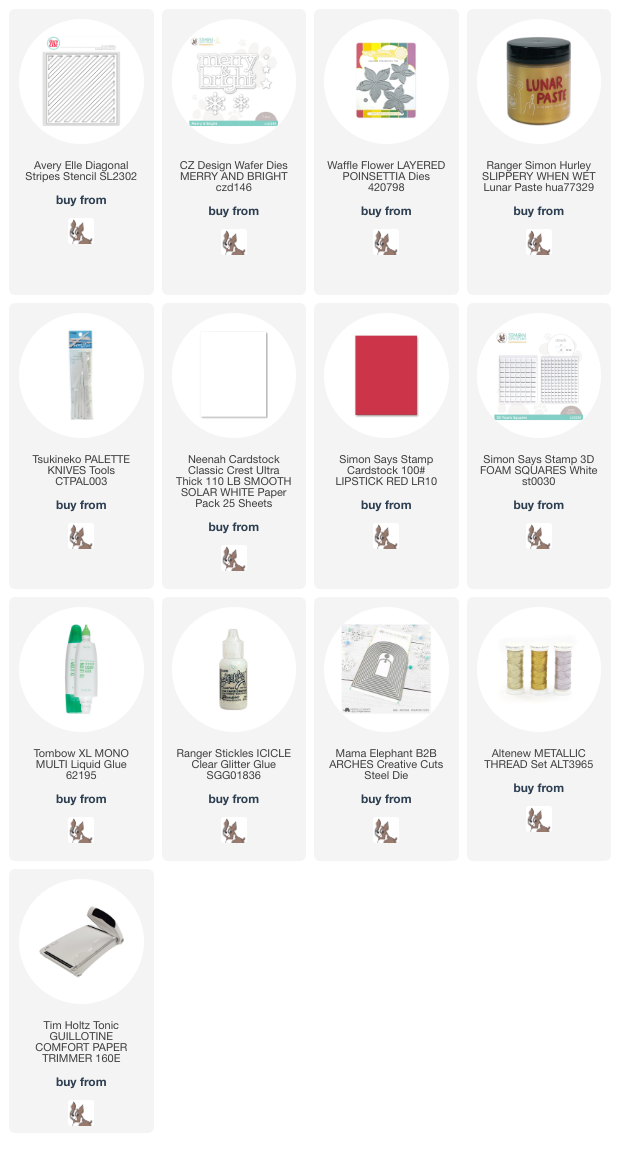
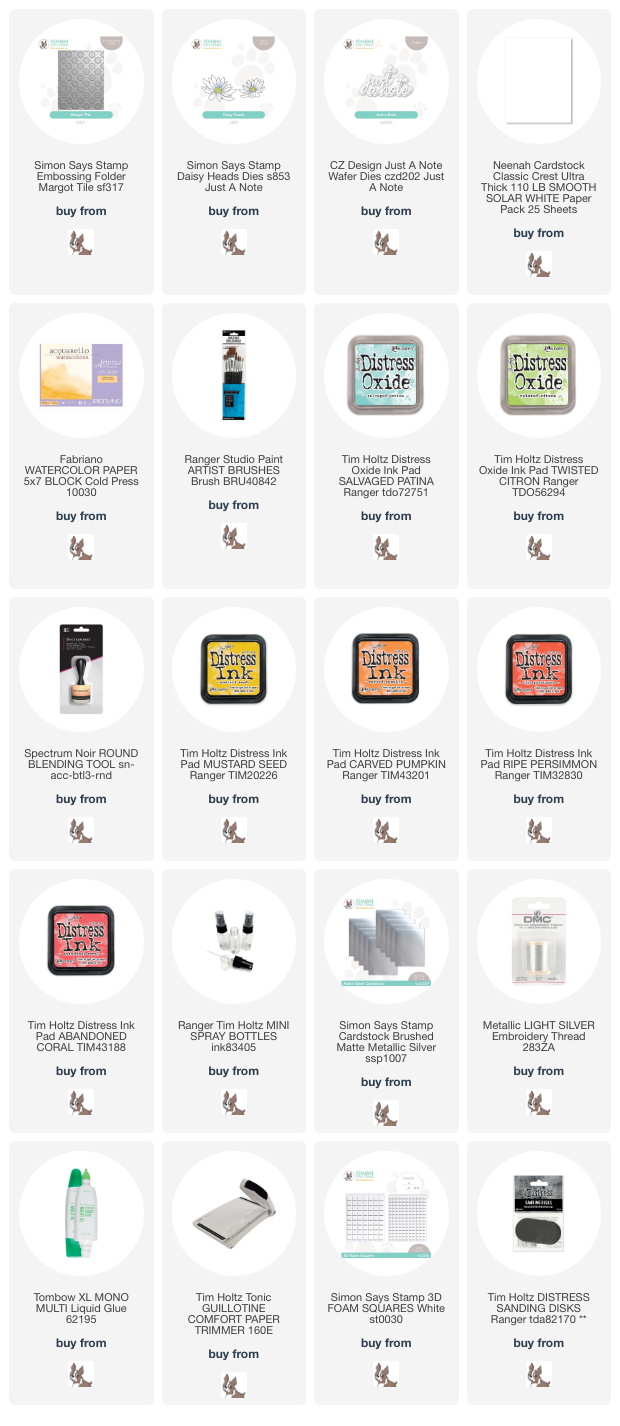
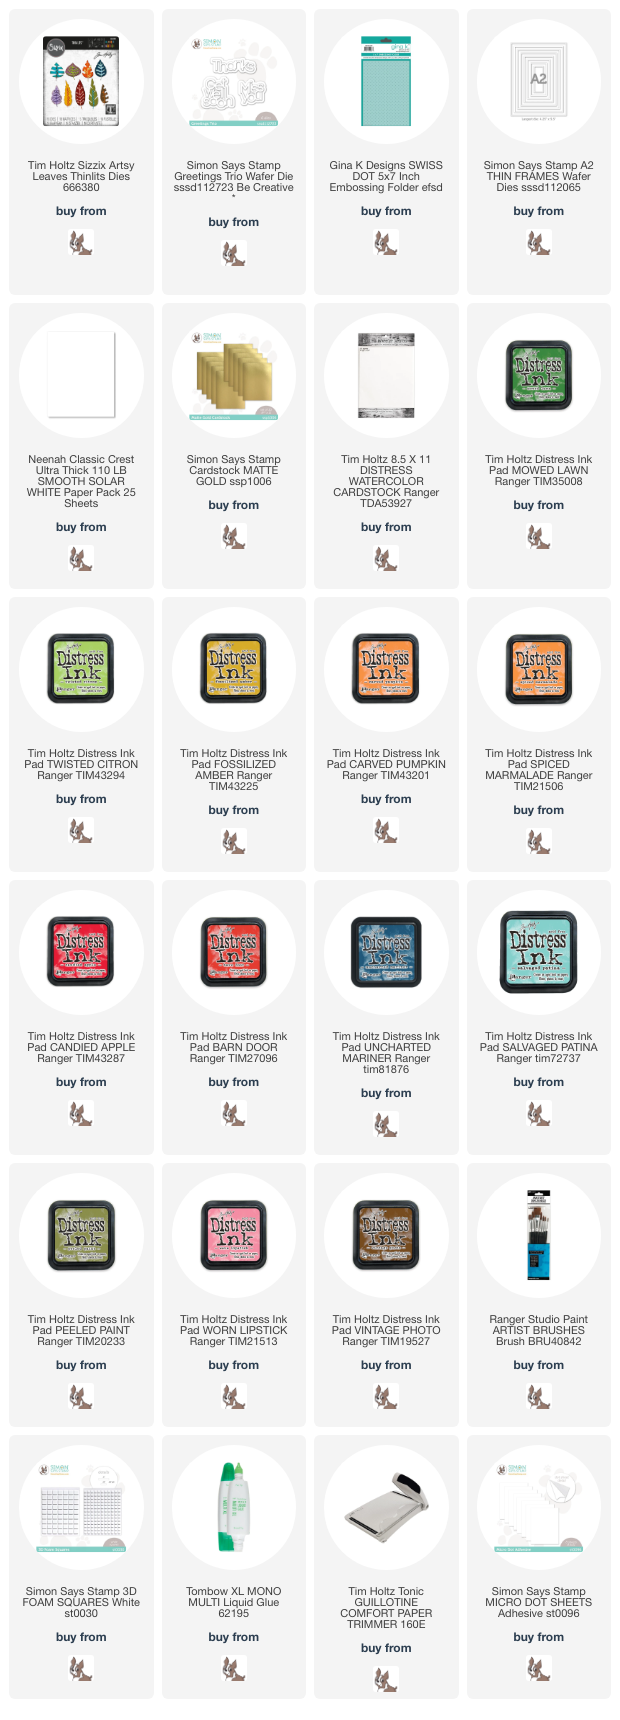
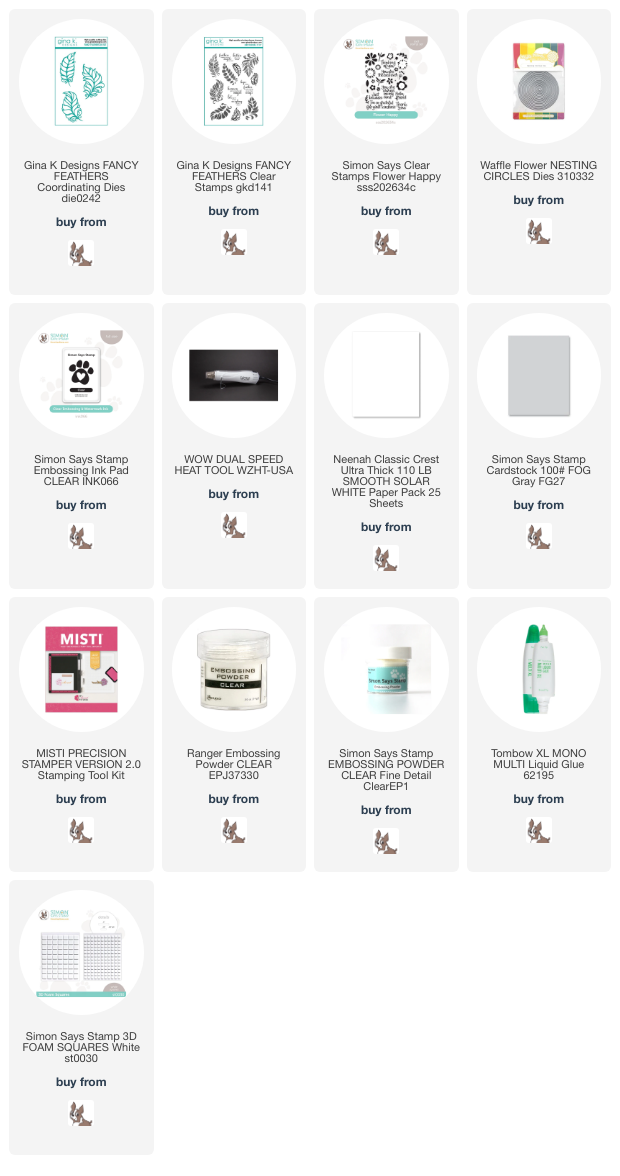
Supplies:


Wednesday, August 30, 2023

CZ Design Anything Goes

Hi all and welcome to another week of the Simon Says Stamp Wednesday Challenge.

This week's challenge theme is Anything Goes!

We are featuring products from CZ Designs. You don't have to use them to join in but if you have some we would love to see what you make! As always just for entering you will be eligible for the the drawing of a $25 voucher to the Simon store!
I love anything from CZ Designs!! I love her videos and her personality is so funny add on top that she is a talented card maker and product designer! Girl has is going on!! Can you tell I'm a big fan??
I wanted to make a fall themed card because "anything goes" and I'm just in Fall mode. I used the CZ Design Basic Trio die set. This is my go to sentiment die set for cards. It's a must have for your stash!
I made this card using smooth white cardstock trimmed down to an A2 size top folding card base. I then trimmed down another piece of white cardstock to leave a white border. I used distress oxide inks to create this ink blended background to help showcase my distressed fall leaves.
Using some watercolor paper I created three panels with distress ink and lots of water and white paint splatters. I used the fall leaf die and cut one from each panel and popped it up on the ink blended panel with foam squares and then trimmed off the excess. I then die cut the hugs from white cardstock and stamped the sending from an older stamp set in my stash then I embossed it with gold embossing powder.I then added a few jewels for a bit of sparkle.

I hope you have enjoyed the project I have made today for the challenge and got some inspiration. I have listed and linked all of the supplies I have used for your convenience. Thank you so much for stopping by.

Supplies:
Now it's your turn! Happy crafting!

Do you use Instagram ?  If so please add  #ssswchallenge to your challenge entry uploads so we can see them on there too.


You have until Wed  8am Ohio time. 1pm UK time, 2 pm CET to join in


Monday, August 28, 2023

Darcy Bouquet card

One of my new favorite techniques is to color an embossing folder using copic markers. Depending on the embossing folder it can be a long project but it's color therapy for me, so I love it!!
Using the new Darcy Bouquet Embossing folder from the Just a Note release from Simon Says Stamp, I grabbed some of my favorite copic colors and went to town!
I first wanted to have a light neutral shade for a background to the raised images of the embossing folder. I used Pumice Stone oxide ink and a brayer to ink up the flat inside of the folder and then ran a piece of white cardstock through the die cut machine. 
It worked great! It looked so good that I was tempted to leave like that but I wanted to color so I began with each flower and colored them until all the raised images were colored.  I then die cut the CZ Scripty Hello die out of thick white cardstock and some champagne colored cardstock and glued it to the shadow cut from more white cardstock. I just added to the bottom right side of the card and called it a day!
I hope this inspires you to play around with these amazing embossing folders and create something fun and beautiful! I have listed and linked all the supplies below for your convenience. Thank you so much for stopping by!!

Supplies:

Friday, August 25, 2023

Plaid Birthday Hugs card

So if you have been following my cardmaking you know that I am just in love with making a fun plaid background. It had been a while so I decided to make bright and colorful plaid background. 
This is a very simple card and anyone can make it! Hope it gives you some inspiration to try your hand at making your own plaid pattern backgrounds. They are so fun, I promise!! 
To make the plaid background I trimmed down a piece of white cardstock to fit an A2 size card base leaving a white border to make the pattern pop! It's super simple, I just use post it tape to mask off the strips and then using distress oxide ink I just blend each strip at a time. I don't use that much post it tape. Just 4 strips to be exact. I will list the colors that used below.
I then die cut the Posy outline flower die three times and glued them together for thickness. I chose this outline flower to let the background be the star of this card. I then used the Thin Frames die to frame the flowers also cutting it out 3 times for thickness and then adhered it all to the center of the card.
For the sentiment I just pulled out some reverse pre-printed sentiment birthday cards but instead of cutting a strip I used a circle die to cut out the sentiment. I love the circle contrast to all the straight lines. I added a few sequins for a bit of sparkle.

I have listed and linked all the supplies I have used for your convenience. Thank you so much for stopping by!

Supplies:

Wednesday, August 23, 2023

Avery Elle Bright and Cheerful

Hi all and welcome to another week of the Simon Says Stamp Wednesday Challenge.

This week's challenge theme is Bright and Cheerful

We are featuring products from Avery Elle. You don't have to use them to join in but if you have some we would love to see what you make! As always just for entering you will be eligible for the the drawing of a $25 voucher to the Simon store!
I have to admit that I got a little excited about the holidays when I made this card for this week's theme. When I saw that theme was Bright and Cheerful I immediately thought of Christmas. I chose the Avery Elle diagonal stripe stencil. I wanted to make a classic holiday card and matching tag in red, white and gold.
I made the card by using an A2 size card base from dark red cardstock. I then trimmed a piece of white cardstock for a panel that would leave a bit of a border. I then took another panel from white cardstock and used the diagonal stencil to add gold paste for an amazing background. After it was dry I cut the panel in two strips. One for the card and one for the tag.
I then die cut the poinsettia die out three times out of more white cardstock. I adhered the leaves together with liquid glue and added some glitter to the edges of the flowers for some sparkle. I added two to the card and one to the tag. 
I die cut out the Merry and Bright from more of the red cardstock that I used for the base and out of fun foam for dimension and added it to the card with the poinsettias.The tag came together quickly since I had made almost all of the elements. I just had to die cut out a rounded tag from my stash and some small alpha letters that spelled JOY. I tied some red gingham ribbon and some gold thread to the top and that was it!

I hope you have enjoyed the project I have made today for the challenge and got some inspiration. I have listed and linked all of the supplies I have used for your convenience. Thank you so much for stopping by.

Supplies:
Now it's your turn! Happy crafting!

Do you use Instagram ?  If so please add  #ssswchallenge to your challenge entry uploads so we can see them on there too.


You have until Wed  8am Ohio time. 1pm UK time, 2 pm CET to join in


Monday, August 21, 2023

Just a Note card

Summer has been just flying by and I never say that! So I am sharing a card that might brighten even the most cloudy of days.
I used some fun products from the latest Simon Says Stamp Just a Note release. Click HERE if you want a glimpse into that release.
I made this card using an A2 size card base cut from smooth white cardstock. I then trimmed down a piece of white cardstock and using distress oxide ink I ink blended it and then ran it through the Margot Tile embossing folder. I then used some sandpaper to remove the top layer of the raised portion of the panel to reveal the white cardstock underneath to bring out the pattern of the embossing folder.
I then die cut the Daisy Heads floral die from watercolor paper that I ink distressed with in shades of yellow and orange. I added them to the bottom right corner of the card with some silver twine and the Just a Note sentiment cut from silver cardstock and matted with white cardstock.

I hope you enjoyed the card I made today and got some inspiration! I have added all the supplied that I have used below for your convenience. Thank you so much for stopping by!!

Supplies:

Friday, August 18, 2023

Tim Holtz Artsy Leaves card

I am just in love with the Tim Holtz Artsy Leaves dies from his new release! I wish I had a fraction of the talent that Tim has to make such magical projects with his products! But we use what talent we are given, right! Here is a fun fall themed thank you card!
I made this card by pulling out a piece of watercolor paper and cut it up and useds distress inks and water to made some fun background panels to die cut each leave out. I wanted use fall colos but also wanted to use some non-traditional colors for the leaves. 
I then die cut the "veins" of the leave out of matte gold cardstock and added them to the leaves with liquid glue. I added foam squares to the backs of the leaves and added them to a panel of white cardstock I ran through the die cut machine using a dot embossing folder for texture.
I then die cut a thin frame from more white cardstock and the word thanks from matte gold cardstock and added them all to the card base.

I hope you enjoyed that card I have made today and go some inspiration. I have provided affiliate links below to all the supplies I have used for your convenience. Thank you so much for stopping by! Happy crafting!!

Supplies:

Wednesday, August 16, 2023

Gina K Designs Clean and Simple

 Hi all and welcome to another week of the Simon Says Stamp Wednesday Challenge.

This week's challenge theme is CAS (clean and simple)

We are featuring products from Gina K Designs. You don't have to use them to join in but if you have some we would love to see what you make! As always just for entering you will be eligible for the the drawing of a $25 voucher to the Simon store!
I have been drooling over the Gina K Designs Fancy Feather stamps and the coordinating dies forever and finally got my hands on them! Today's card will feature them. I will try to keep it clean and simple but it might be a little fancy.
I made this card using an A2 card base made from smooth white cardstock. I then trimmed down a panel made from gray cardstock to leave a bit of a white border. 
I then stamped the feathers using distress oxide inks on white cardstock and then using the coordinating die I cut them out. I also die cut each feather two more times from white cardstock for some dimension.
I then glued them the feathers randomly onto the gray panel and trimmed off the excess. I added the panel to the card base and then stamped the greeting using more distress oxide ink and the die cut it out using a circle die. I popped it us using foam squares. I added some sequins to add a bit of sparkle.

I hope you enjoyed the project I have made for you today and got some inspiration! I have listed all the supplies I have used below for your convenience. Thank you for stopping by!!

Supplies:
Now it's your turn! Happy crafting!

Do you use Instagram ?  If so please add  #ssswchallenge to your challenge entry uploads so we can see them on there too.


You have until Wed  8am Ohio time. 1pm UK time, 2 pm CET to join in


Wednesday, August 9, 2023

Doodlebug Add Some Doodles

Hi all and welcome to another week of the Simon Says Stamp Wednesday Challenge.

This week's challenge theme is Add Some Doodles!

We are featuring products from Doodlebug. You don't have to use them to join in but if you have some we would love to see what you make! As always just for entering you will be eligible for the the drawing of a $25 voucher to the Simon store!
I'm not very good at drawing pictures or doodling so I'm relying on a very cute stamp set that reminds me of doodling. I made a two cards today because I couldn't decide which color set I liked better.
I made both of these cards using smooth white cardstock cut into A2 sized top folding cards. I then trimmed down a panel for each card out of more white cardstock and placed it my MISTI and stamped the flower images all over the panels in pinks, yellow and orange.
I then die cut the birthday sentiment out of color cardstock that matched each card and the shadow from white cardstock. I glued them to the center of each card.
To add a bit of bling to these two cards, I added the Doodlebug gems to the centers of a few flowers.

I hope you enjoyed these two cards I have made for you today and got some inspiration! I have listed all the supplies I have used below for your convenience. Thank you for stopping by!!

Supplies:
Now it's your turn! Happy crafting!

Do you use Instagram ?  If so please add  #ssswchallenge to your challenge entry uploads so we can see them on there too.


You have until Wed  8am Ohio time. 1pm UK time, 2 pm CET to join in