Hi all and welcome to another week of the Simon Says Stamp Wednesday Challenge.
.JPG)
This week's challenge theme is Love is in the Air!
We are showcasing products from Clearly Besotted. You don't have to use them to join in but if you have some we would love to see what you make! As always just for entering you will be eligible for the the drawing of a $25 voucher to the Simon store!
.JPG)
It's February 1st and Love is in the Air! Such a fun time to make cards for those you love and want to let them know. What better way than with a hand made card!
.JPG)
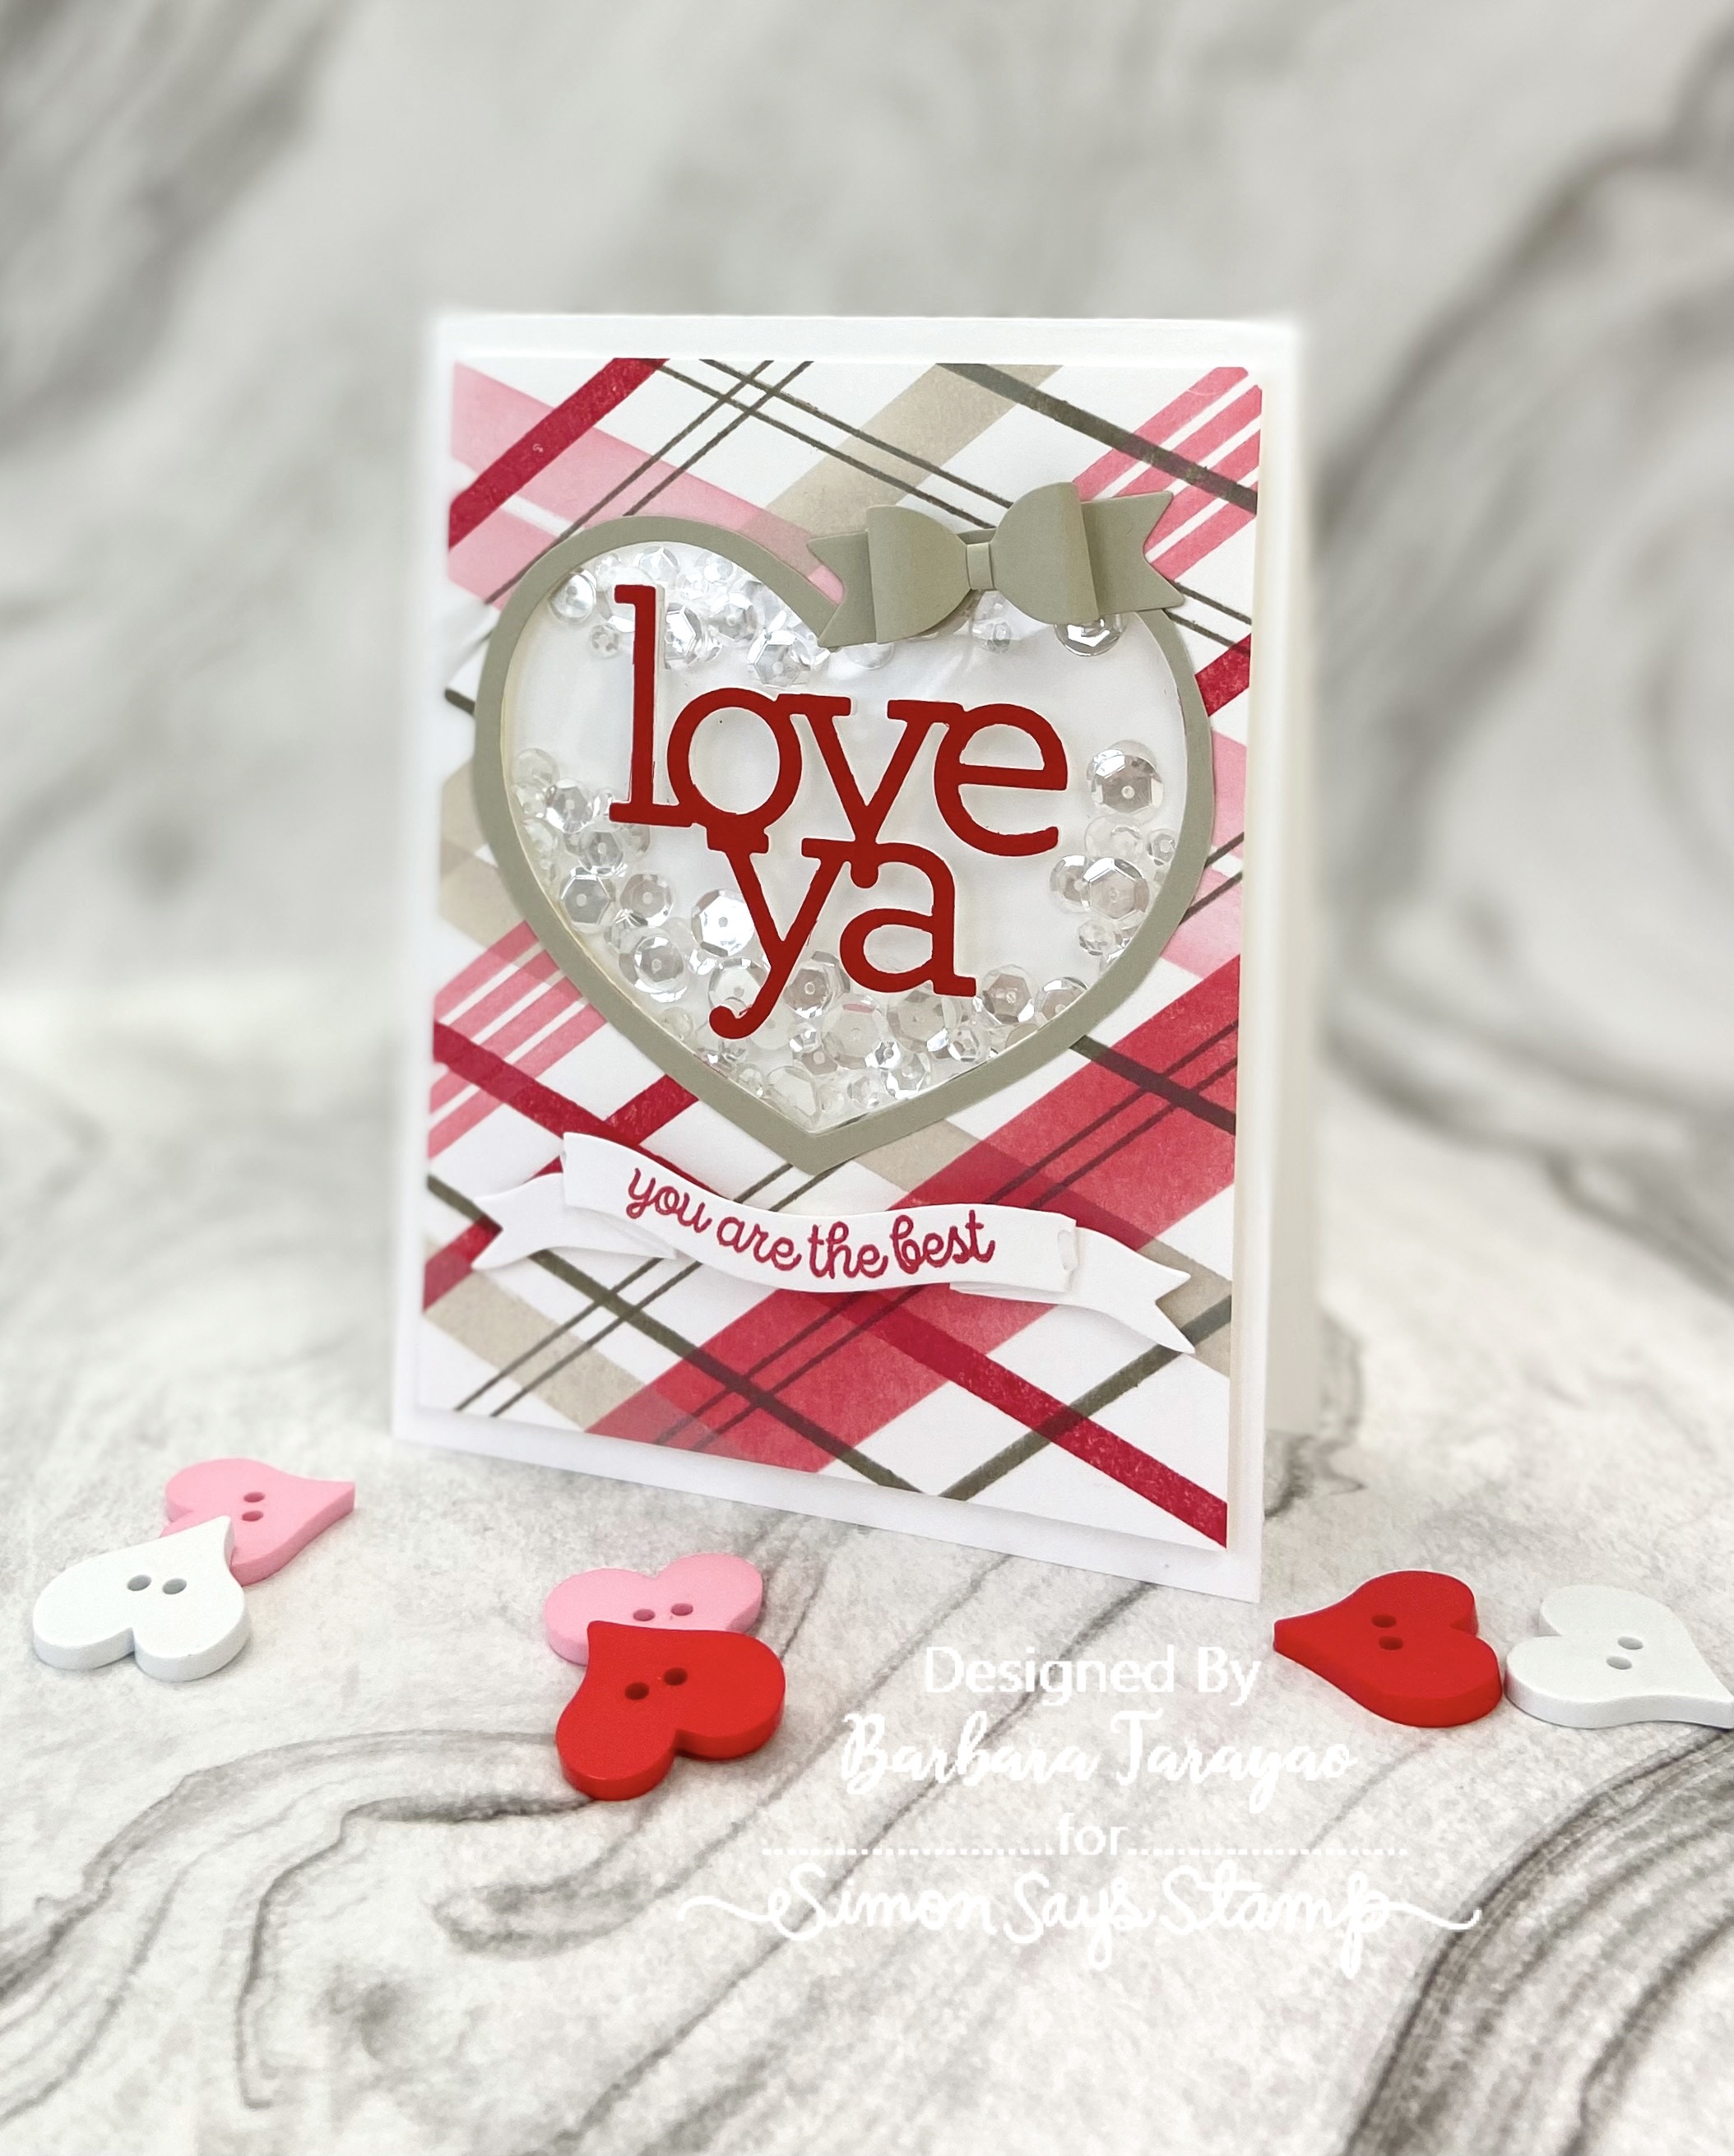
This week's challenge card is a little different from your traditional valentine's colors. I just love blending bright colors these days. I used the Clearly Besotted Splattered Shapes Stencil for the focal point of my card.
.JPG)
I began with a piece of heavy weight white cardstock that I taped the stencil over and masked off the heart image. I then used distress oxides to ink blend from top to bottom. Leaving the stencil in place I then added some shiny texture glaze over the whole image. This will give it a glass like look. I set that aside to dry. I then die cut the You 3 times out of more white cardstock for thickness.
.JPG)
I then used a stitched square die to frame my stenciled heart. Using smooth white cardstock I created a diy plaid panel. I just used some stencils and stamps that I had in my stash to make the plaid with coordinating distress oxide colors. I also trimmed down very thin strips of gold cardstock to add a bit of shine to my plaid panel. I adhered it all to an A2 card base. I heat embossed the sub-sentiment using gold embossing powder and added a few gold sequins.
.JPG)
I hope you have enjoyed the card I made today and got some inspiration! For your convenience I provided affiliate links to all of the products I have used for this card.
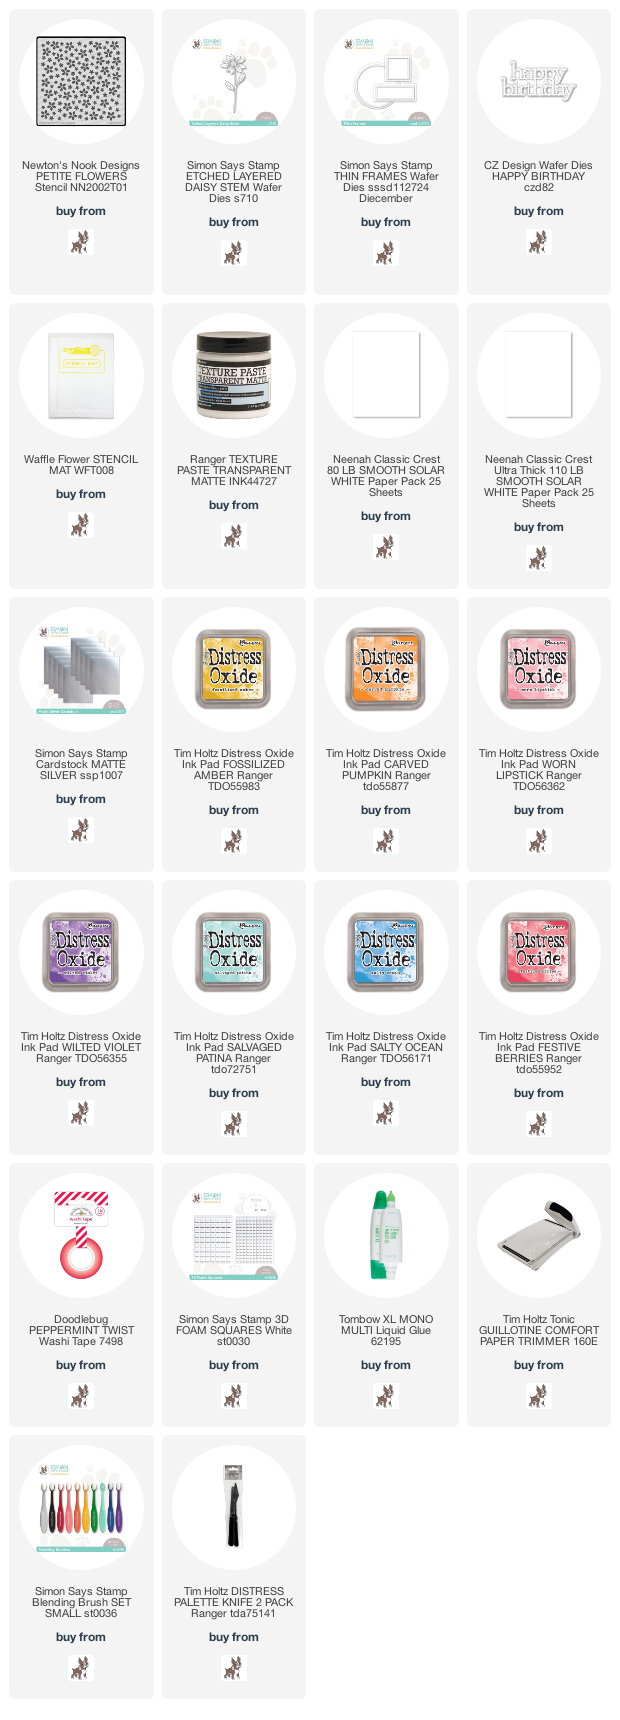
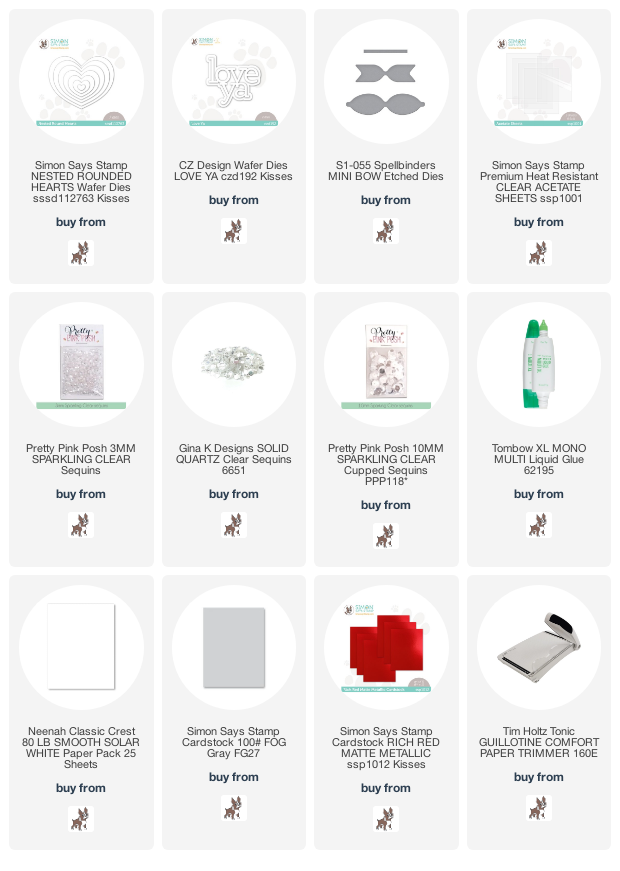
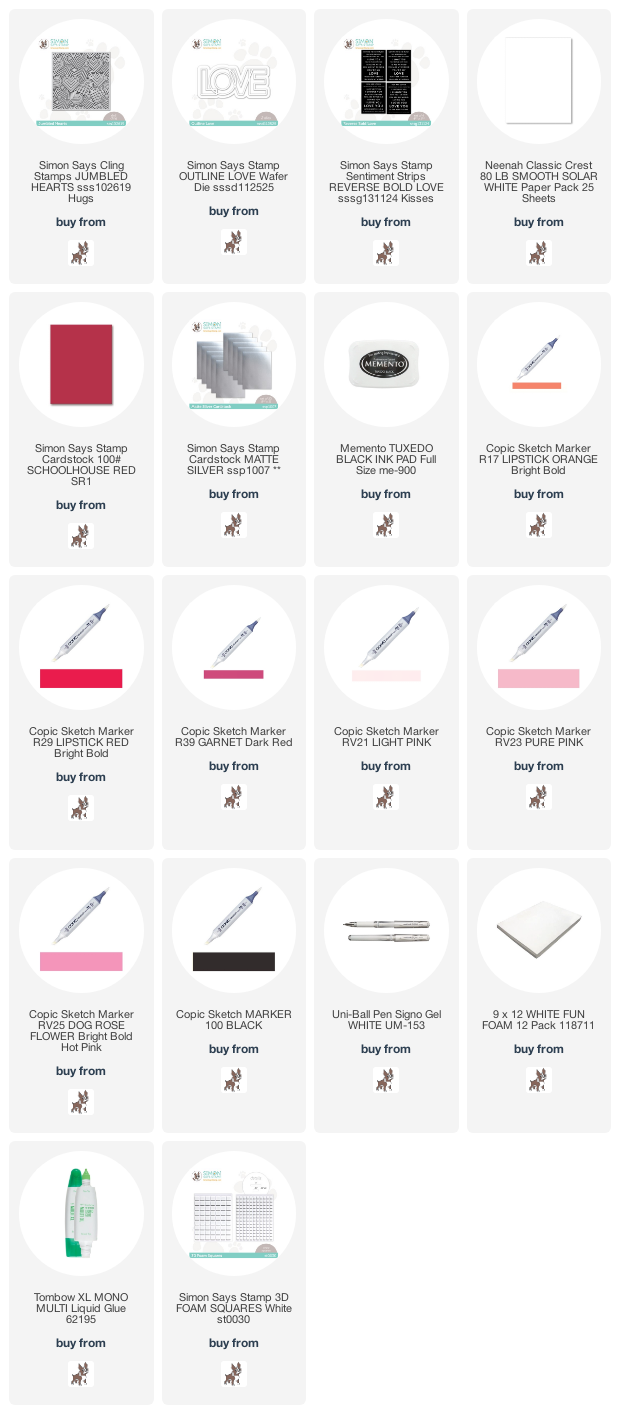
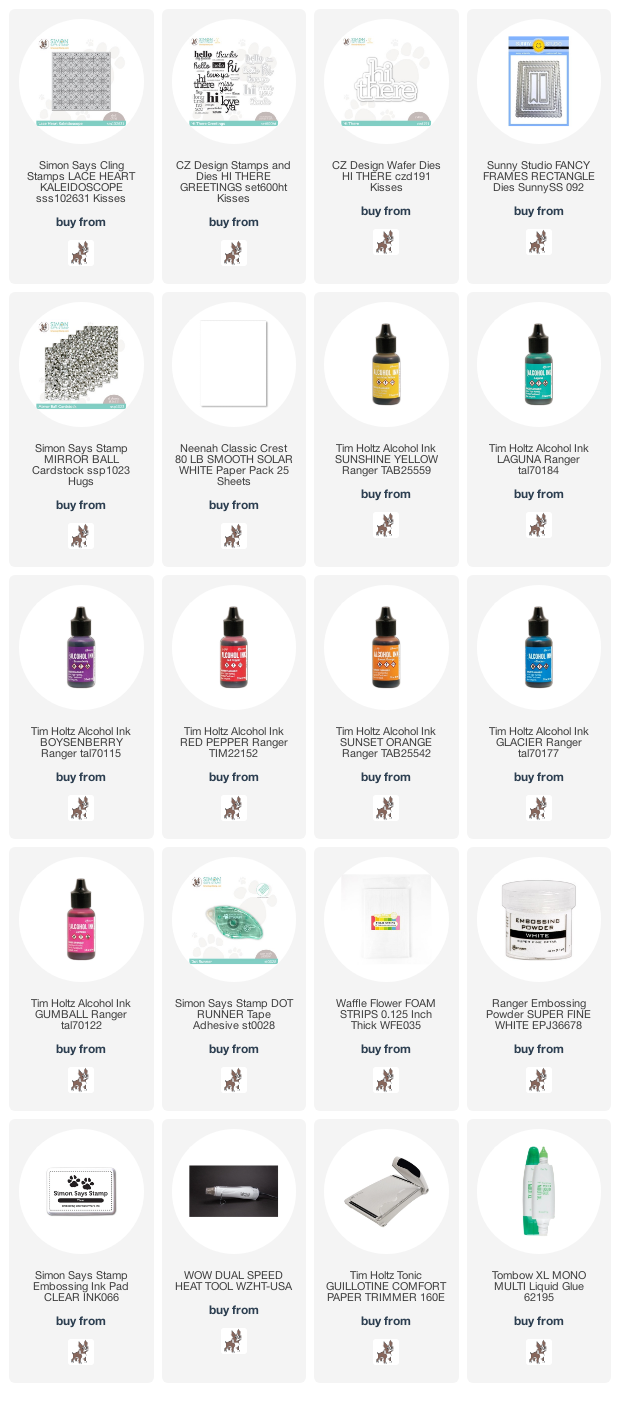
Supplies:
Now it's you turn! Happy crafting!
Do you use Instagram ? If so please add #ssswchallenge to your challenge entry uploads so we can see them on there too.


You have until Wed 8am Ohio time. 1pm UK time, 2 pm CET to join in
.JPG)
.JPG)
.JPG)
.JPG)
.JPG)
.JPG)
.JPG)
.JPG)
.JPG)
.JPG)
.JPG)
.JPG)


.JPG)
.JPG)
.JPG)

.JPG)
.JPG)
.JPG)

.JPG)
.JPG)