Thursday, December 29, 2022

Stained Glass Valentine Hugs release

Sharing some more paper love! Have you checked out the Simon Says Stamp Hugs release? Click HERE if you want a peek. 
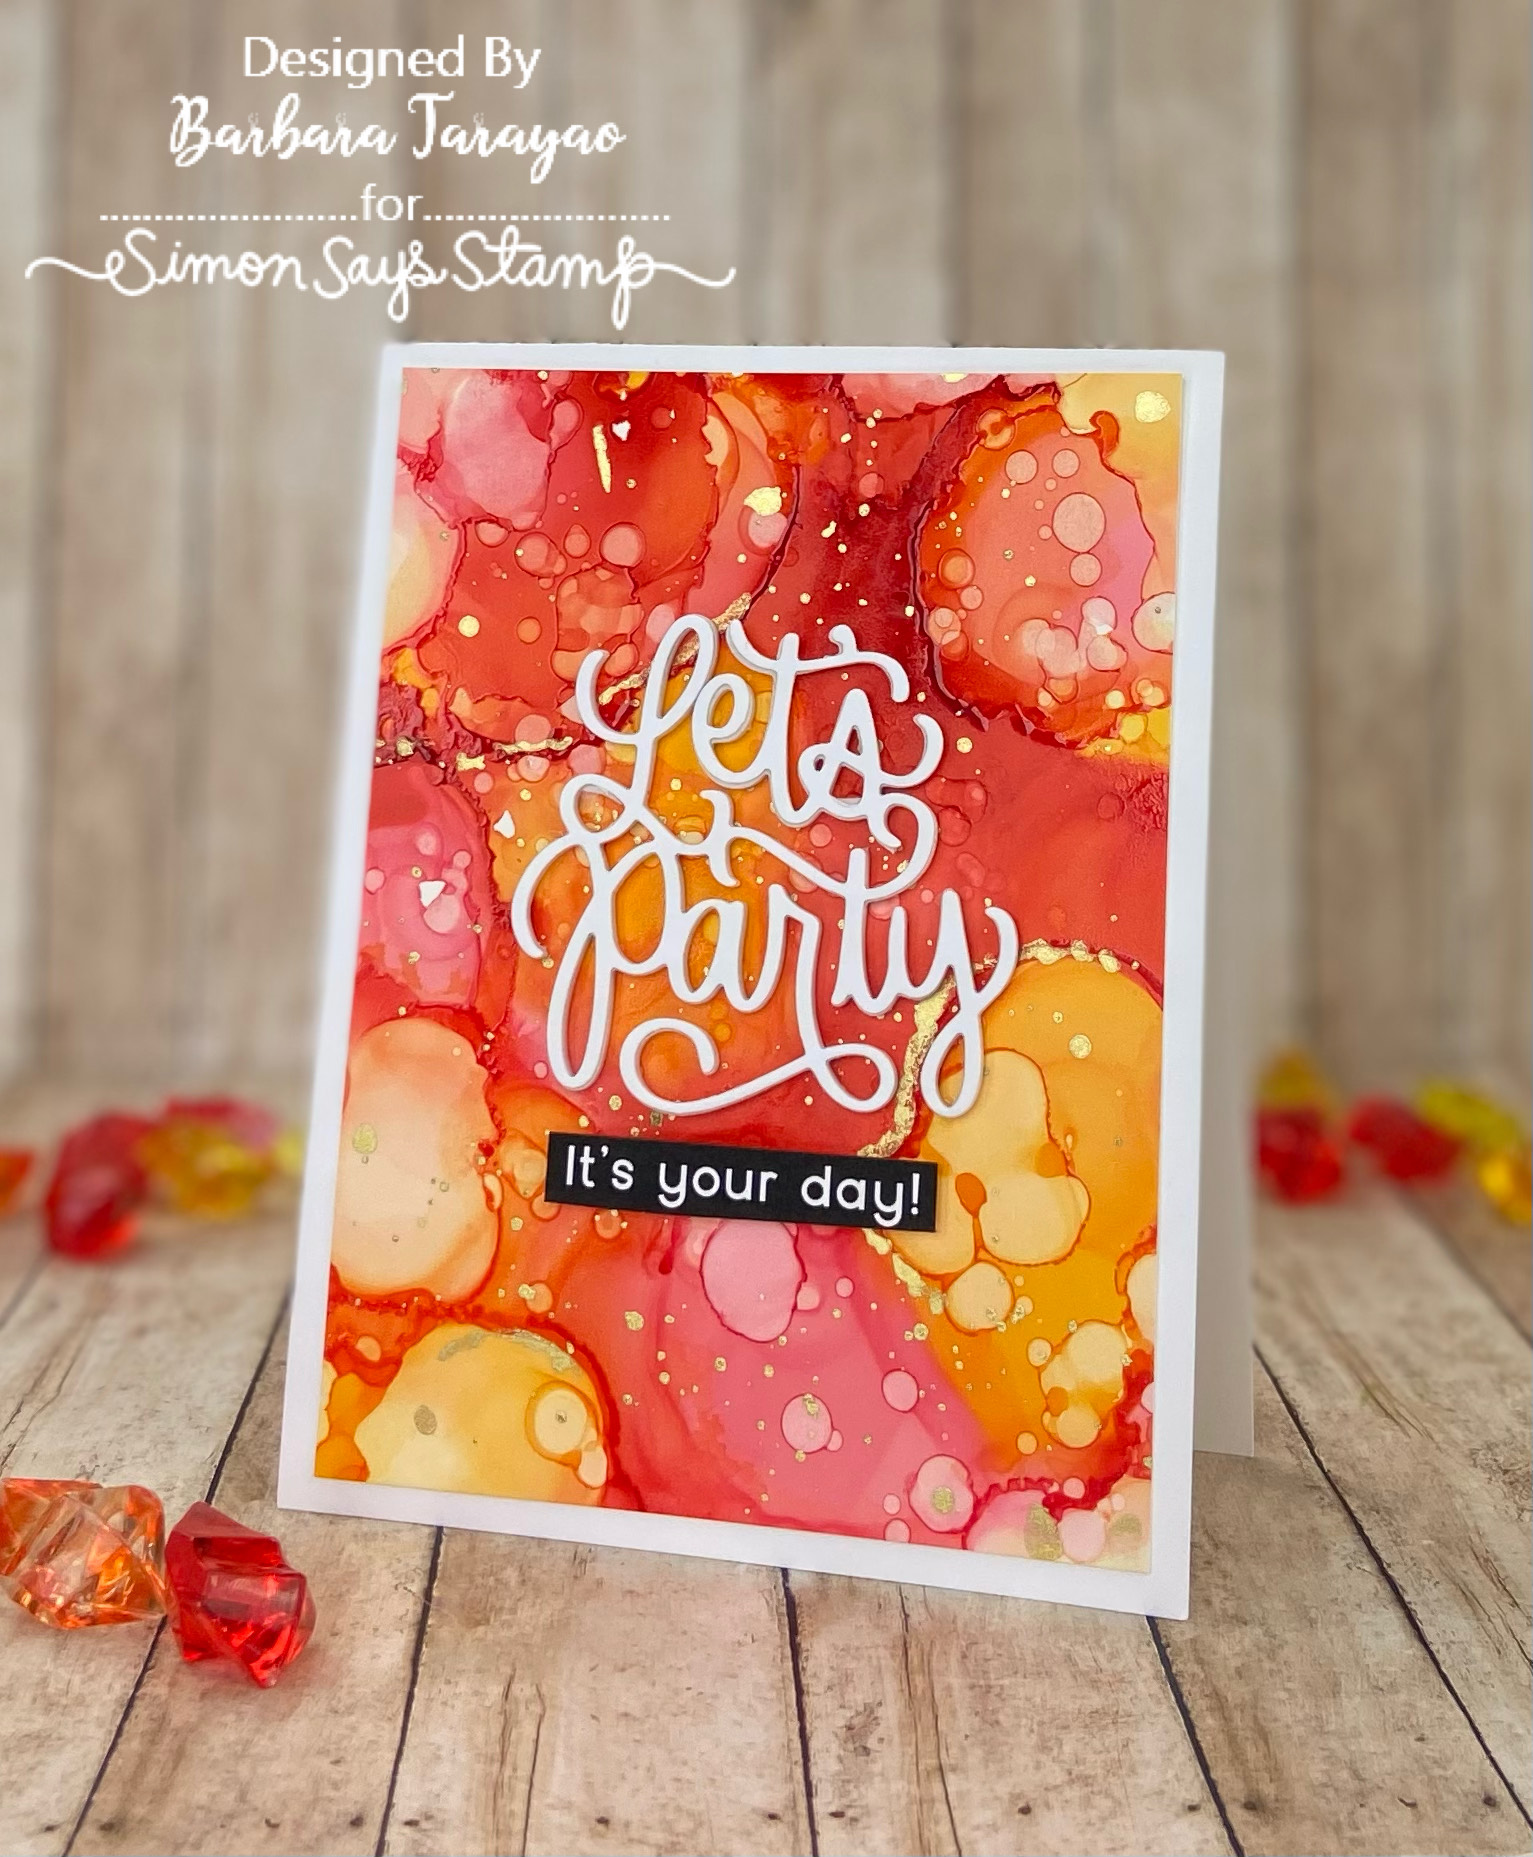
I think stained glass is so beautiful. I absolutely fell in love with the Heart Panes Cover Plate die. I wanted to try something fun and use alcohol inks on acetate to look like stained glass. So here is what I came up with!
I made this card using an A2 size card base out of smooth white cardstock. I chose several shades of red and pink alcohol inks that I used on panel of acetate. I added a bit of gold alcohol ink for shine. 
I die cut the cover plate frame out of white cardstock 3 times for thickness and glued together. I then added it to the acetate piece and then adhered it to the card base. The sentiment is the new Happy Valentine's Day die from the Hugs release. I cut it out of gold cardstock and added it to the center of the cover plate. I added a few gold flat pearls for a bit of interest.
Valentine's Day is just around the corner and I hope you got some inspiration. Also, if you are interested in how I created the beautiful stained glass look with alcohol inks, I watched several videos that Jennifer McGuire made on Youtube demonstrating this amazing technique. Tim Holtz is another great source for using alcohol inks. Hope that helps!! Thanks for stopping by!

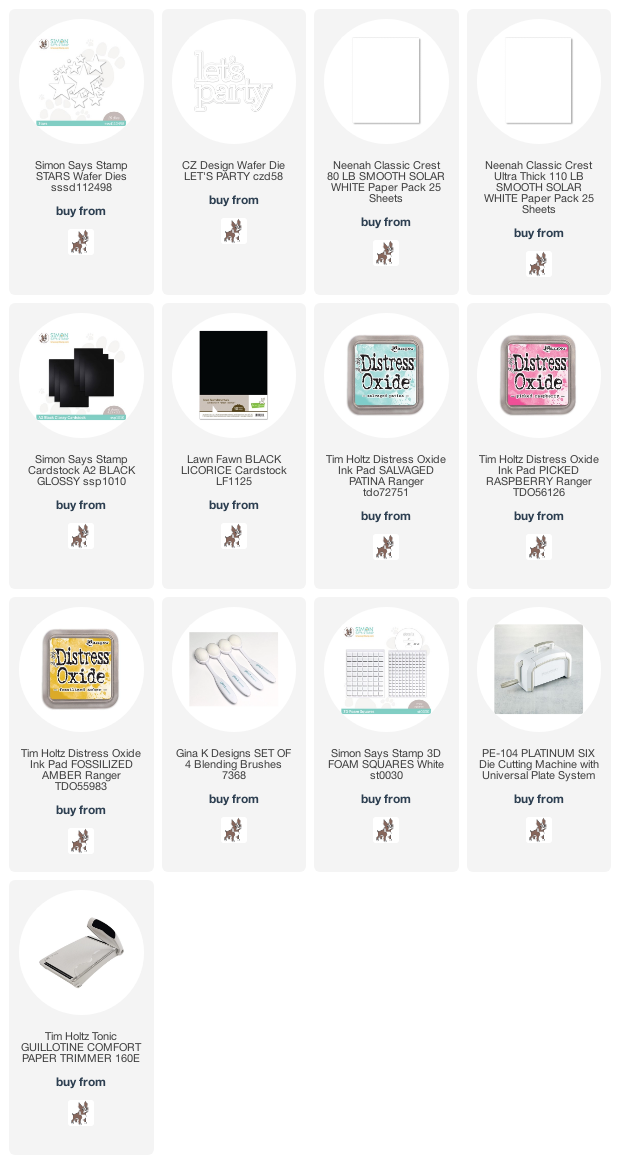
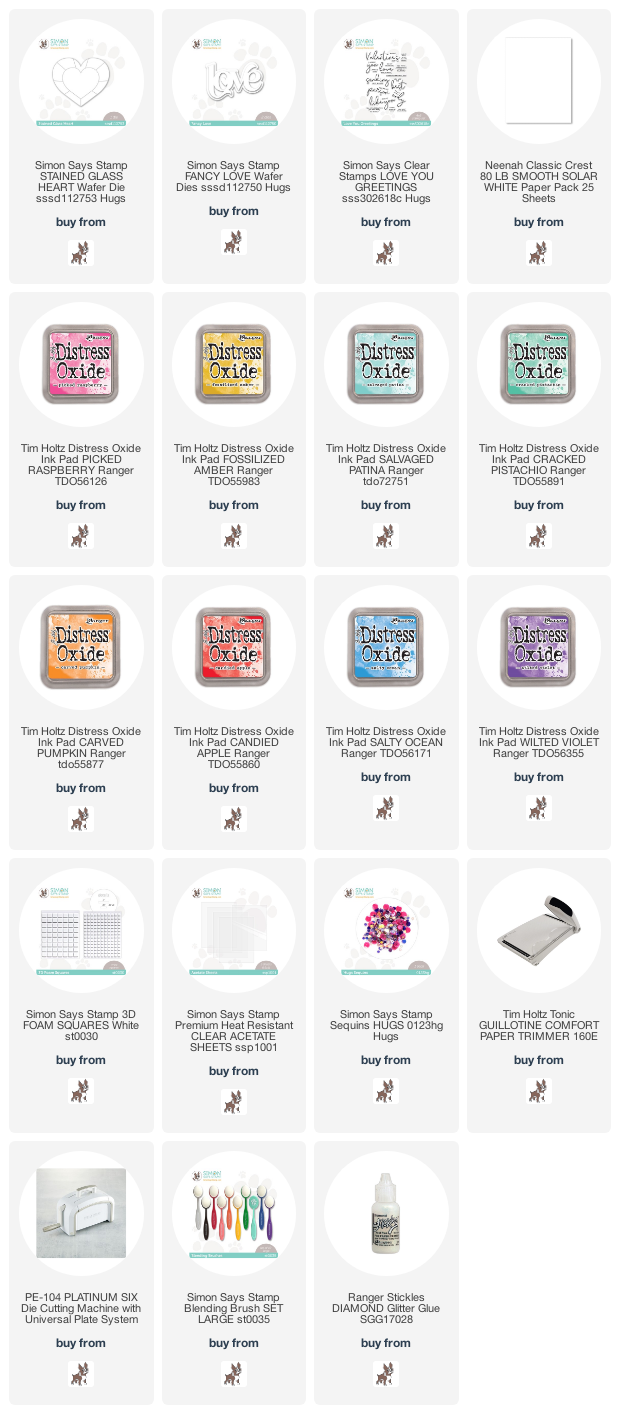
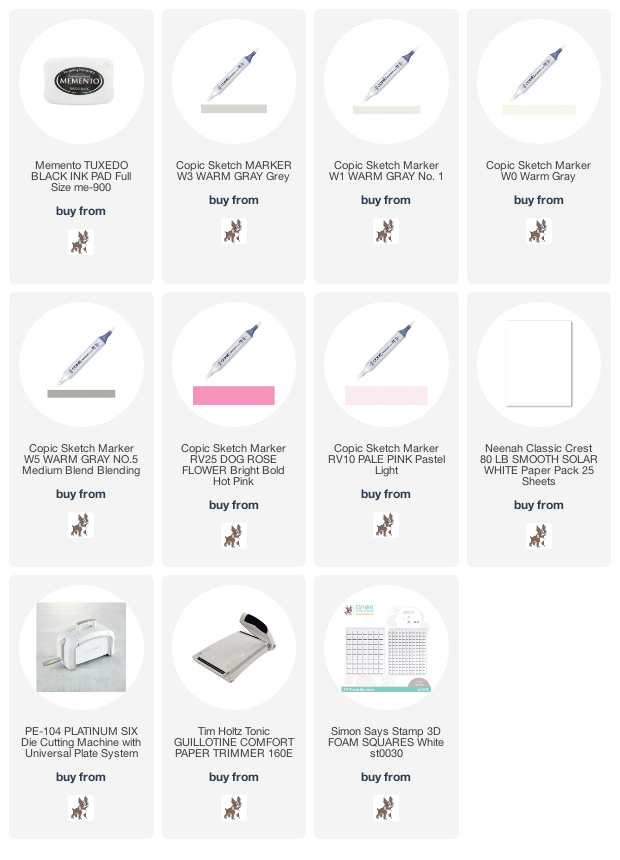
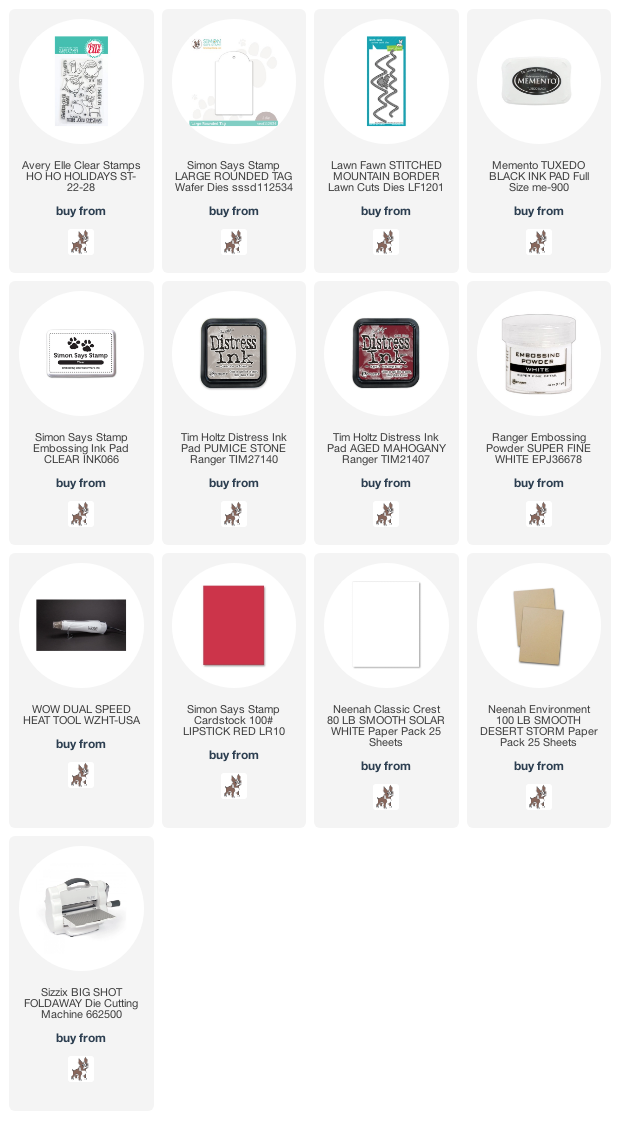
I have provided affiliate links to all the products and supplies I used to make this card below.

Supplies:


Monday, December 26, 2022

Hey Girl card Hugs Release

Sharing some paper love with this fun friendship card! Have you checked out the Simon Says Stamp Hugs release? Click HERE if you want a peek.
I made this card using an A2 card base made from smooth white cardstock. I trimmed down a panel of white cardstock to leave a white border and ran it through the Spun Glass embossing folder for a nice soft textured background.
I then stamped on another piece of white cardstock the the envelope image from the You're My Gal stamp set. I stamped the images using a clear embossing ink and then I heat set them with white embossing powder. 
After embossing the envelopes I used distress oxides and a blender tool to add color. I then used the coordinating dies to cut out several envelopes and arrange them around the main sentiment that I heat embossed using a distress oxide and clear embossing powder.  I adhered them with some 3d foam squares and trimmed off the excess before gluing the whole panel to the card base. The sub-sentiment is also from the same stamp set and I used more white embossing powder on a strip of black cardstock. I added a bit of sparkle to each heart on the envelopes with some stickles.

This card was so much fun and easy to make. Combining a few of my favorite techniques. Ink blending, embossing and die cutting! Hope this inspires you to share some paper love with a friend who might need to hear from you!!!

If you are interested in any of the products I have used to make this card, I have listed and linked them below. Thanks for stopping by!💕

Supplies:


Thursday, December 22, 2022

Entwined Hearts card

I didn't think it was possible to have a favorite embossing folder! Simon Says Stamp has so many gorgeous folders. But I do!! The Spun Glass embossing folder from the new Hugs release is so special and unique! I have made a fun card using this folder and a technique using 3 distress oxide inks to create 5 colors.
I began with an A2 size card base made from smooth white cardstock. I like to use Neenah Solar White smooth cardstock when ink blending with distress inks. I feel like it takes the color so well and is so easy to blend on. 
You could probably use any type of ink to create these colors but I like to use distress oxides in yellow, pink and blue. I start with a 4 1/4" X 5 1/2" size panel that I can trim down to leave a white border. I ink in thirds. First I blend the yellow and then the pink overlapping the yellow which will create orange. The last third I add blue overlapping the pink which will create purple. It's a great way to stretch your ink supplies! I then added a shimmery glaze over the whole panel. I set it aside to dry completely before I ran it through the embossing folder.
I then die cut the entwining hearts 3 times and layered them together with liquid adhesive for thickness. I stamped the sentiment using a sticky clear ink and embossed it on black cardstock using white embossing powder and trimmed it to a strip.

I made a short tutorial to show you how I made this shimmery background.
I hope you got inspired to create your own amazing background for almost any kind of card. I have provided a list and links to all the products I used to make this card. Thank you so much for stopping by!

Supplies:


Tuesday, December 20, 2022

Simon Says Stamp Party!

Hi all and welcome to another week of the Simon Says Stamp Wednesday Challenge.

This week's challenge theme is Party!

We are showcasing products exclusive to Simon Says Stamp. You don't have to use them to join in but if you have some we would love to see what you make! As always just for entering you will be eligible for the the drawing of a $25 voucher to the Simon store!
Tis' the season to party!! As for me, I used to be a party all night girl but these days my favorite treat, a good movie and in bed by 10pm is more my speed! 😆
I still know how to make a party in a card though! I call this card "Party with the Stars!"
I made this card using an A2 card base from smooth white cardstock. I then trimmed down another piece of white cardstock to leave a bit of a white border. Then, using just three distress inks, I was able to create a five color ink blend. I have a tutorial coming soon showing how I did that. I also splattered water drops and ink to add to the festive look of this background. 
I then die cut out lots of stars in all sizes from heavy weight white cardstock and arranged them in a cascading formation across the card with 3d foam adhesive. Last, I die cut the Let's Party sentiment out of white cardstock and used a black cardstock for the outline. I popped up the sentiment using 3d foam adhesive.
I wanted to show a little behind the scenes of how I photographed this card using just some natural light
and a few ribbon curls for props. I had so much fun making this card. You can make this card for a  birthday or new year's card. Pretty much anything you want to celebrate!

I hope you got some inspiration. If you liked any of the products I used to make this card, I have listed and linked them below. Thank you for stopping by!

Supplies:
Now it's you turn! Happy crafting!

Do you use Instagram ?  If so please add  #ssswchallenge to your challenge entry uploads so we can see them on there too.


You have until Wed  8am Ohio time. 1pm UK time, 2 pm CET to join in


Saturday, December 17, 2022

Simon Says Stamp Hugs release Shaker card

Shaking things up a bit with a fun shaker card using some products from the new Simon Says Stamp Hugs release.
It's been a nice change of pace to switch from Christmas to Valentines Day. Makes me so excited for Spring even though it still a bit of a wait. As I type this I see more snow falling out my window!
I made this card using an A2 size card base made from smooth white cardstock. I then cut another piece of white cardstock a bit smaller to create a panel to leave a white border. I chose some bright fun distress oxides to ink blend a cheerful background. Using a paintbrush and some white paint for splatters along with more distress ink and water. I then die cut the heart shape using the Stained Glass Heart die. I thought it would be perfect for a shaker card. I added some acetate to the back and replaced the center heart that i had cut out of the panel.
I then die cut the Fancy Love die out of white cardstock and ink blended it. I added a bit of sparkle to the heart on the love sentiment. I added a sub-sentiment from the Love You Greeting stamp set and cut it down to a strip. Please leave a comment if you have any more questions about how I put this card together. 
This is such a fun release and if you want to see the entire release just click HERE!

I have listed and linked all of the products I have used to make this fun shaker card. Thank you for stopping by!!

Supplies:


Thursday, December 15, 2022

Simon Says Stamp Hugs Release day

I am so happy to help introduce the new Simon Says Stamp HUGS release! 👈Click here to see the full release.
This release is packed full of adorable goodies to spread lot's of love!
When I was in grade school Valentine's Day was always so fun.  We used to decorate a shoe box to collect all the adorable little cards and treats we would pass out to our classmates. When I became a mother I always looked forward to making cute little Valentines for my children to share. 
Valentine's Day is also very special to me because it's both my mother's and my son's birthday.
I have made a set of easy and adorable Valentine's using the Wild Love stamp set and coordinating dies from the new release.
These came together so quickly! I wanted use minimal color so I just used some grays and pinks.
I just love the sweet sentiments that went with each animal.
I used some black ink to stamp the image and the sentiment that was copic marker friendly. 
I used the coordinating dies to cut out the animals and I popped them up with a foam square. These cards are made smaller than an A2 size cardbase. The dimensions are 5" X 3 3/4". They fit perfectly into a cellophane bag with room for some sweet treats!
I hope you have enjoyed my little trip down Valentine's memory lane with me! I have listed and linked all the supplies I used to make these sweet little cards. Thanks for stopping by!💗

Supplies:

Tuesday, December 13, 2022

Avery Elle Ice Cold

Hi all and welcome to another week of the Simon Says Stamp Wednesday Challenge.

This week's challenge theme is to Ice Cold!

We are showcasing Avery Elle products. You don't have to use them to join in but if you have some we would love to see what you make! As always just for entering you will be eligible for the the drawing of a $25 voucher to the Simon store!
Nothing says cold like the North Pole and if I'm not mistaken I think that's where Santa lives! I'm  also pretty sure he is wrapping lots of presents so he will need some tags!
I cut some tags using a die from my stash out of red heavy weight cardstock. I used a swiss dot stamp to create a snowy sky with heat embossing white powder. I then die cut a mountain scape out of craft cardstock. Then, using the same tag die,  I cut some white cardstock to create a snow base for each tag. 
I then stamped the images from the Avery Elle Ho-Ho-Holiday stamp set with black ink on to white cardstock.  I colored them using copic markers and fussy cut them out.
Using the same stamp set, I stamped each tag with a sentiment in the bottom snow area using black ink.
I tied each tag with a white ribbon and some sparkly red twine.

I hope you have enjoyed the project I made and got some inspiration. I have listed and linked all the supplies I used for your convenience. Thank you for stopping by and happy holidays!!

Supplies:

Now it's you turn! Happy crafting!

Do you use Instagram ?  If so please add  #ssswchallenge to your challenge entry uploads so we can see them on there too.


You have until Wed  8am Ohio time. 1pm UK time, 2 pm CET to join in


Sunday, December 11, 2022

DieCember release Let's Party card

I have made a fun card using some fun products from the Simon Says Stamp DieCember release.
I have seen so many wonderful cardmakers creating beautiful cards using alcohol inks. I have always wanted to try this fun technique but was very intimidated. I decided to break out of my comfort zone and try it.
I also wanted a special and festive background to showcase the new Let's Party die from the new release. I chose some of my favorite ink colors to play with.
I made this card using a smooth white cardstock to create an A2 size card base. Using Yupo paper which is created for use of alcohol inks, I applied the different alcohol colors and let them dry. I then trimmed down the panel to add to the card base to leave a bit of white border. I then die cut the sentiment out of white cardstock 3 times for thickness and stacked them on top of each other with liquid glue. I finished the card off with a pre-printed sentiment strip.

I hope you like my premier alcohol inked background. I plan to keep exploring this medium and create some more fun backgrounds. I have listed and linked the supplies I used below. Thank you for stopping by!

Supplies:


Friday, December 9, 2022

Simon Says Stamp DieCember Instagram Hop

Today I am participating in the Simon Says Stamp DieCember Release Instagram Hop! Thank you for stopping by! 
I have taken a small break from making holiday cards to make a birthday card. I have lots of birthdays in December including mine! 
I used several fun techniques to make this card! Created a stencil from a die, ink blending, ink splattering and die cut inlay for a low profile card. So fun!!
Well, let's dive into how I created this fun birthday card. I began with a panel cut from smooth white cardstock to fit an A2 size card base and leave a bit of a border. Using the large balloon from the Simon Says Stamp Balloon Trio die set, I die cut the balloon in the center of three pieces of vellum trimmed to be the same size as the panel. I then used the shape of the ballon cut into the vellum as my stencil. I then ink blended each balloon to look transparent just by overlapping the stencils each time I ink blended them using distress oxides.
Using some coordinating distress inks to create my ink splatter. I then die cut the Let's Party sentiment from holographic paper for a shiny festive look. I then took the stencils and ink blended panel and placed the Let's Party die in the center balloon and ran that through my die cut machine. I made sure to keep all the bits because I wanted to do some die cut inlay with the sentiment. So I just pieced it all together like a puzzle for that low profile look. I then just added some silver twine for the string to my balloons for a little extra shine.

Head over to my Instagram channel to get more inspiration from all the great designers participating in this fun Hop. Make sure you leave a comment on each for more chances to win a $25 shopping spree to the Simon store!
Hope enjoyed this project and got some inspiration. If you are interested in any of the products I have used for this card, I have listed and linked them for your convenience! Thanks for stopping by!

Supplies: