Hi all and welcome to another week of the Simon Says Stamp Wednesday Challenge.
.JPG)
This week's challenge theme is Slimline Cards
We are showcasing products from Whimsy Stamps. You don't have to use them to join in but if you have some we would love to see what you make! As always just for entering you will be eligible for the the drawing of a $25 voucher to the Simon store!
.JPG)
I love love love adding texture to a card! I used the Whimsy Stamps Diagonal Dots embossing folder to add lots of texture to my mini-slimline card for this challenge.
.JPG)
I made this card using a card base that measures 6 1/4" X 3 1/4" from gray cardstock. I then trimmed down a piece of white cardstock to 6" X 3" and ran that through the die cut machine using the embossing folder.
.JPG)
I then used the Layered Candles stencil and ink blended the candles with some distress oxide inks. I then added some texture paste and set that aside to dry. I then stamped the sentiment from the Let's Celebrate stamp set in clear sticky ink and heat embossed it using silver embossing powder.
.JPG)
I then took the stenciled candles and fussy cut them out and arranged them across the card in rainbow order. I popped up every element of the card using foam adhesive. I added some stickles to the flames.
I hope you enjoyed the card I made for this week's challenge and got some inspiration. I have provided affiliate links to all the supplies I used to make this project. Thank you so much for stopping by!!
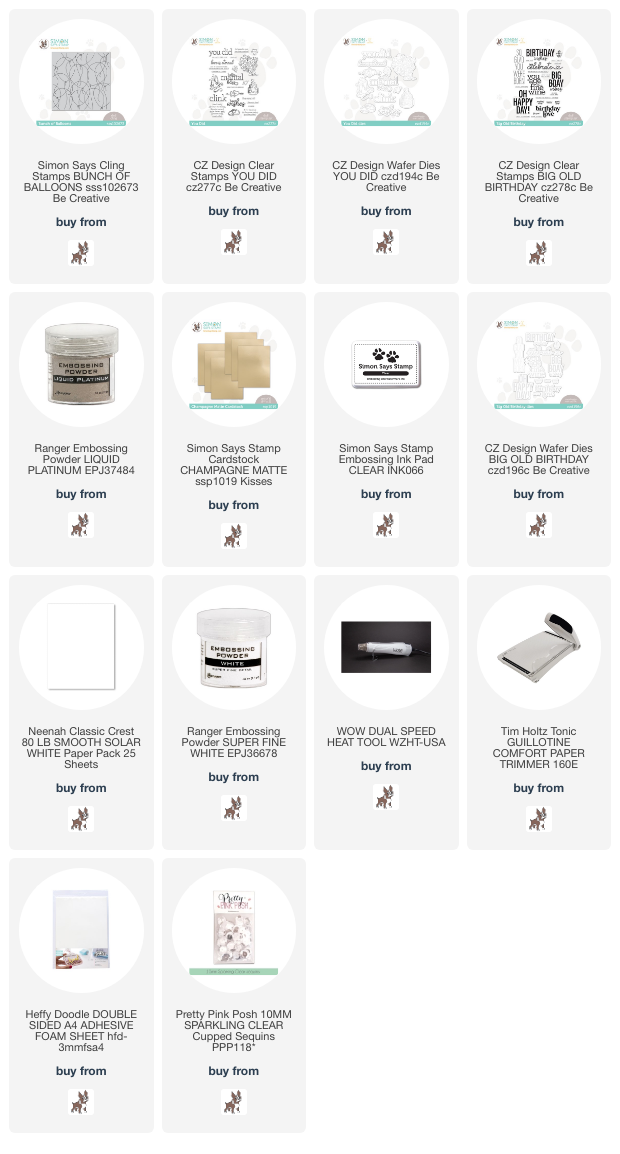
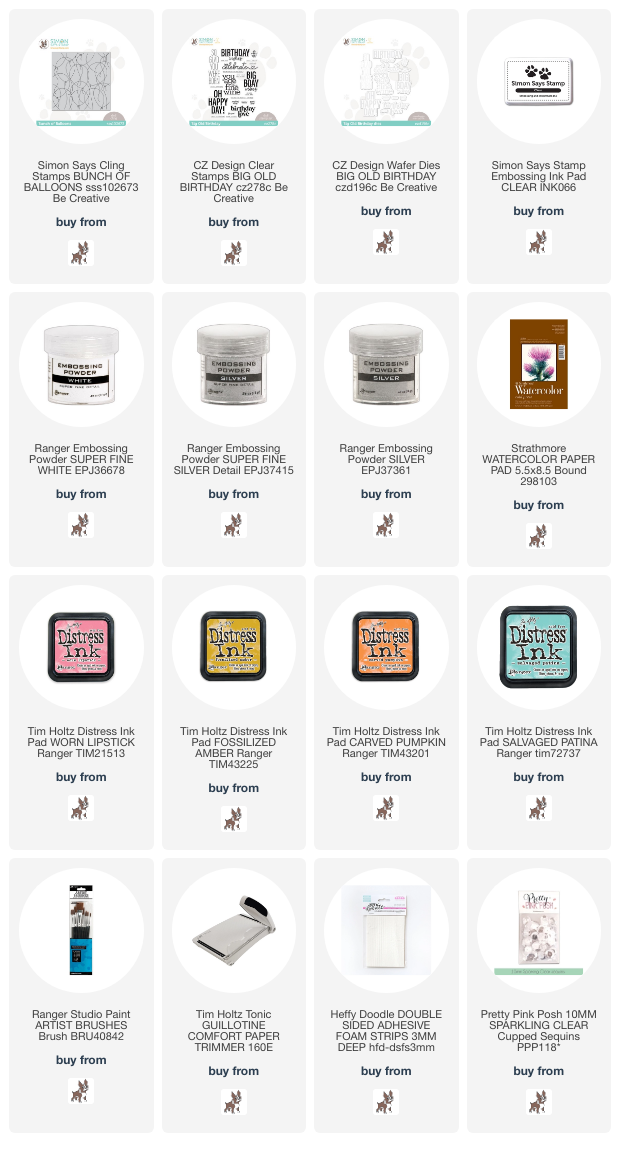
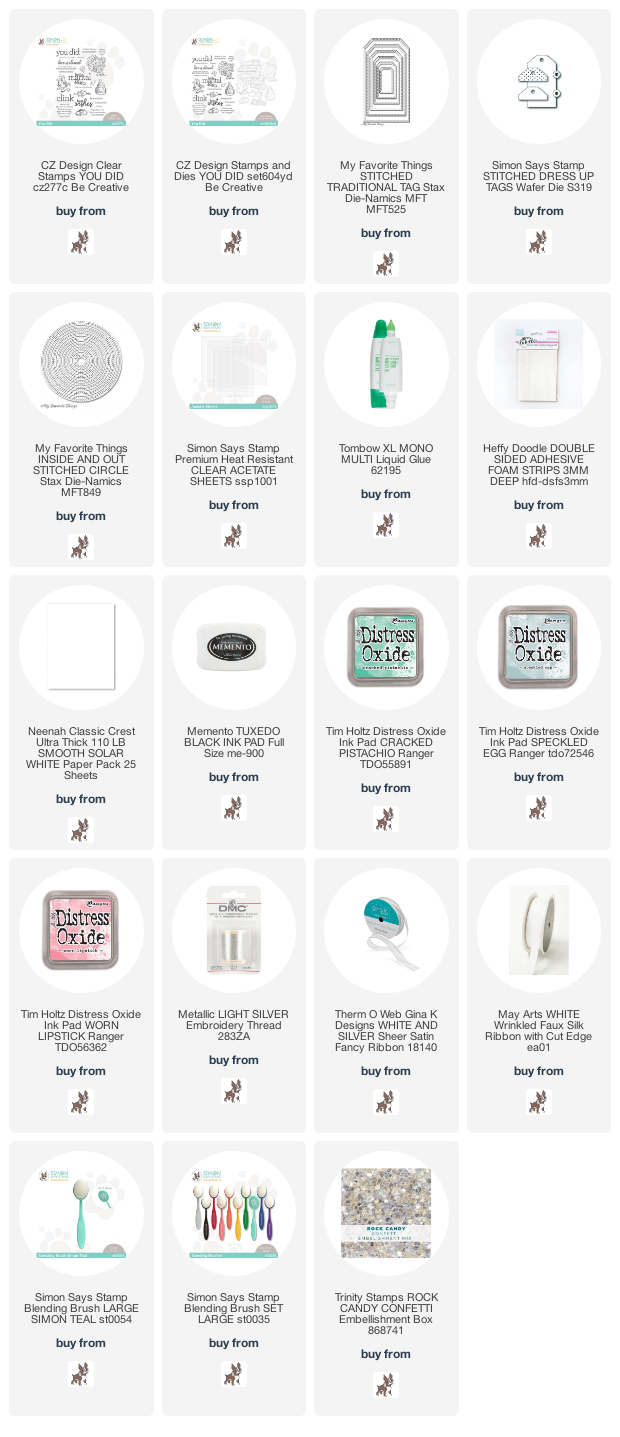
Supplies:

Now it's you turn! Happy crafting!
Do you use Instagram ? If so please add #ssswchallenge to your challenge entry uploads so we can see them on there too.


You have until Wed 8am Ohio time. 1pm UK time, 2 pm CET to join in
.JPG)
.JPG)
.JPG)
.JPG)
.JPG)
.JPG)
.JPG)

.JPG)

.JPG)
.JPG)
.JPG)
.JPG)
.JPG)
.JPG)
.JPG)
.JPG)
.JPG)


.JPG)
.JPG)
.JPG)
.JPG)