Thursday, November 3, 2022

Pink, Gold and White Christmas card

We just got dumped on!! Woke up to a blanket white snow everywhere! Well, since I have the white I guess I'll just add the pink and gold! It's an amazing color combination for Christmas decor. Today's post is all about the non-traditional colors for gorgeous Christmas cards.
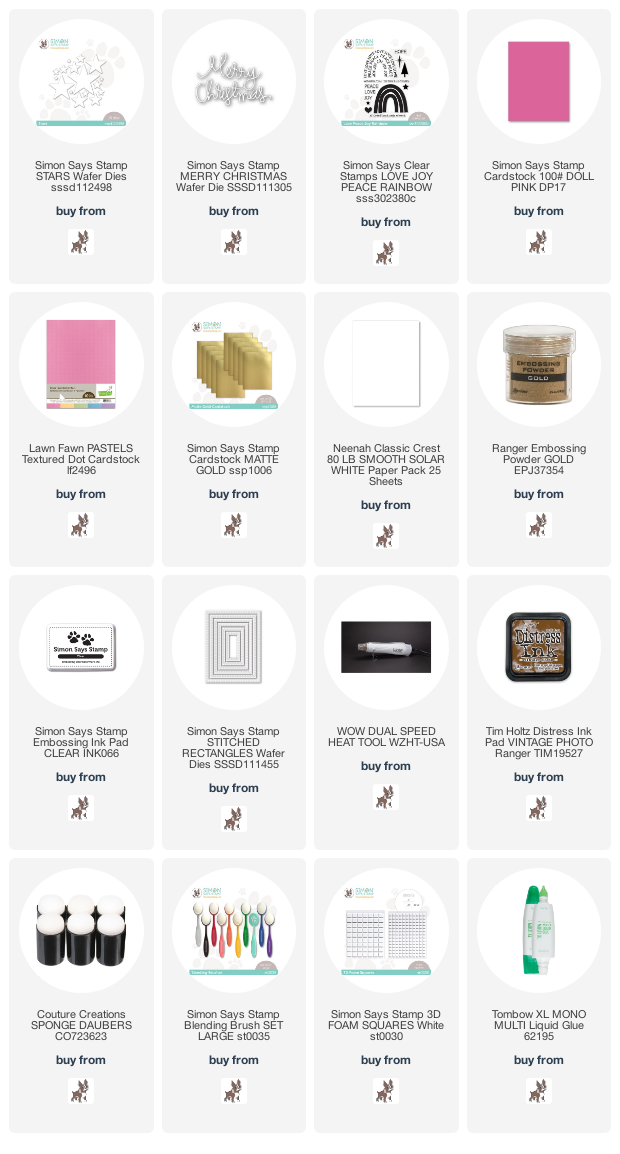
I made this card using an older die set from Simon Says Stamp called Stars. It has so many different sizes of stars I thought it would make an amazing wreath.
I began with an A2 size card base made from smooth white cardstock. Then using the largest of a stitched die set I cut a panel that was a bit smaller than the base. I ink blended the whole panel using a neutral distress ink.  I also added some paint splatters with coordination colors. I then die cut the different sizes of stars from white, light pink, dark pink and gold cardstock. Using some foam squares I arranged the stars in a circle pattern. Just randomly adding the different sizes and colors to be pleasing to my eye.
I then die cut the Merry sentiment from the Simon Says Stamp Merry Christmas set out of gold cardstock and white cardstock for thickness. I then stamped Christmas from the Simon Says Stamp Love Peace Joy Rainbow stamp set. I stamped it in a clear sticky ink and heat embossed it using gold embossing powder.
It's definitely not one to mass produce but you can make for someone very special. ๐Ÿ’›๐Ÿ’๐Ÿค
I made a little video to show you how amazing the shine is on this card! Hope you give it a try. 
I have listed and linked all the supplies I used to make this card for your convenience. Thanks for stopping by!!

Supplies:


Wednesday, November 2, 2022

Hero Arts Thanks/Thanksgiving

Hi all and welcome to another week of the Simon Says Stamp Wednesday Challenge.

This week's challenge is Thanks/Thanksgiving!

We are showcasing Hero Arts products this week. You don't have to use them to join in but if you have some we would love to see what you make! As always just for entering you will be eligible for the the drawing of a $25 voucher to the Simon store!
Today I have made a fall themed shaker card. When I moved to the northern mid west 11 years ago I have come to love when the seasons change especially Fall when the leaves turn yellow, orange and red! So magical and so beautiful. Anyway, I wanted to capture all the fall leaf colors on this card.
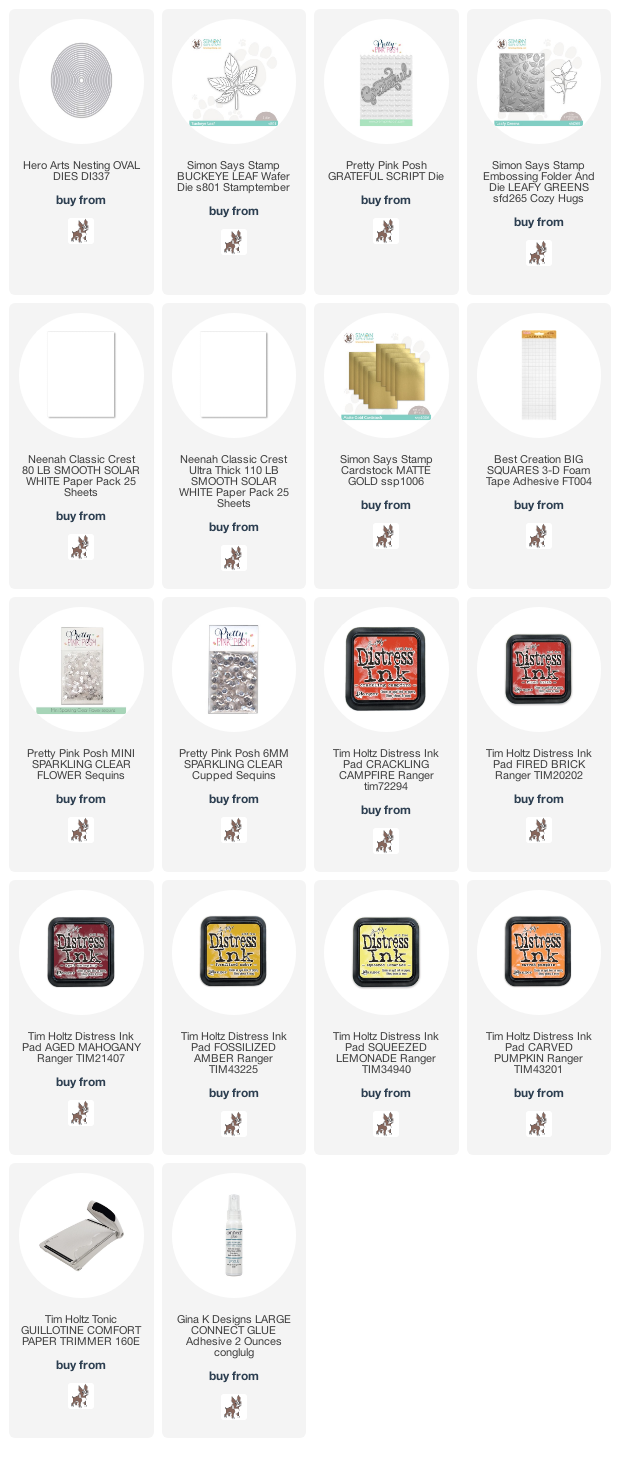
I made this card using an A2 size card base made from smooth white cardstock. I then trimmed down another piece of white cardstock for a panel a bit smaller than the card base. I used the Hero Arts nesting oval dies to create an oval window in the center of the panel and ran it through the Leafy Greens embossing folder. I added a piece of acetate behind the oval window and adhered the panel with foam adhesive to pop it up off the cardbase. Before adding to the card base I added clear sequins for the shaker element. I ink blended the Buckeye Leaf die that I cut twice with distress inks. 
I then die cut the Grateful die out of gold metallic cardstock and again out of thick white cardstock. I added a pre-printed sentiment strip to finish the card off.
I hope you enjoyed the card I made today and got some inspiration. All the supplies I used to make this fun fall shaker card are listed and linked below for your convenience. Thank you for stopping by!!๐Ÿ’—

Supplies:
***If any product is out of stock, just click on the "Notify Me" button and you will receive an alert from Simon when that item is back in stock! 

Now it's you turn! Happy crafting!

Do you use Instagram ?  If so please add  #ssswchallenge to your challenge entry uploads so we can see them on there too.


You have until Wed  8am Ohio time. 1pm UK time, 2 pm CET to join in


Friday, October 28, 2022

Glistening Snowflake Emboss and Cut Christmas card

I wanted to make a very traditional and sparkly Christmas card. If you haven't tried Simon's emboss and cut folders, you are missing out. I'm officially obsessed! Click HERE to see the Cozy Hugs release! I want  to share the technique of embossing using metallic cardstock. I just love the deep red background with the amazing dimension of the snowflakes from the the embossing folder.
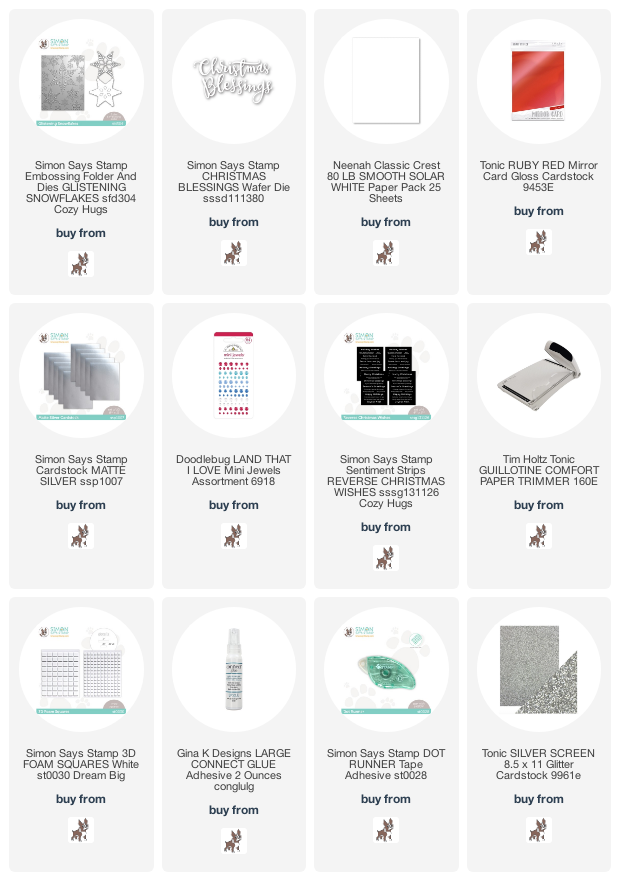
I made this card using an A2 card base made from smooth white cardstock. I then cut a piece of metallic red cardstock down to a size that left a nice white border. I then ran it through my die cutting machine using the Glistening Snowflake Embossing folder and then die cut the snowflake from silver glitter cardstock and the border from white cardstock using the dies that come with the embossing folder.
I then layered the silver snowflake for extra dimension and adhered it to the white snowflake border. I added the metallic panel to the cardbase and the snowflake in the upper center of the card.
Using the Christmas Blessings die I cut it several times for dimension and added it under the snowflake. I then added a pre-printed sentiment strip. Last, but not least, I wanted some more sparkle so I pulled out some red jewels for final touches on the snowflake!
I hope you try using these emboss and cut folders! They are so amazing and easy!! I already have made 5 versions of this card! I made a short tutorial on how I put this card together๐Ÿ‘‡

I have listed and linked all the products I have used below for your convenience. Thanks for stopping by!

Supplies:

Wednesday, October 26, 2022

Pink and Main Anything Goes

Hi all and welcome to another week of the Simon Says Stamp Wednesday Challenge.

This week's challenge is Anything Goes!

We are showcasing Pink and Main products this week. You don't have to use them to join in but if you have some we would love to see what you make! As always just for entering you will be eligible for the the drawing of a $25 voucher to the Simon store!
How about 2 cards this week!! I had so much fun playing with the Pink & Main Rectangle mask. I love to mask when creating a card. Especially if you are going to be sending it through the mail. Using a stencil or a mask can give your card the appearance of having more layers. I also love the "reveal" when you pull off the mask. Love that wow factor. 
My first card is made with an top folding A2 size card base made from smooth white cardstock. I then trimmed down another piece of white cardstock to create the panel to use my mask on. Using Pumice Stone distress oxide and a cloud stencil, I created a cloudy day scene. I used some white acrylic paint and a paint brush to flick or splatter on "snow". I pulled off the mask and set aside to dry. 
I then stamped the images for the card from the Simon Says Stamp Warmest Wishes stamp set to create a fun holiday scene. I colored then in with copic markers, fussy cut them out and added them to the ink blended panel. I stamped the sentiment from the stamp set using some black ink. I added some white gel pen detail and a bit of stickles for some sparkle.
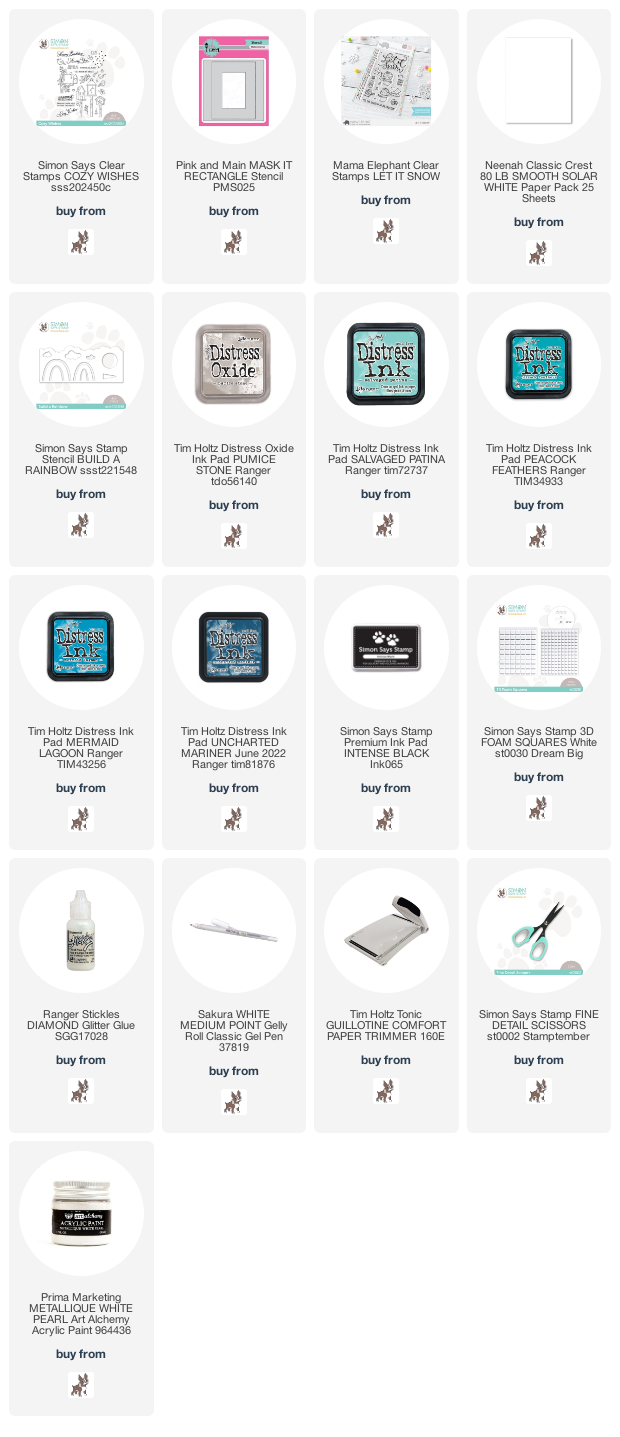
The second card began much like the first. This time I made a landscape card. I just turned the rectangle mask to the side, added another mask for a snowbank and then began to ink blend a wintery sky using shades of blue distress inks. I'll have them all listed below. Again using some white acrylic paint I created the look of snow. I pulled off all the masks and was left with a beautiful snowy scene. I added some stamped, copic colored and fussy cut snowman and snowgirl๐Ÿ˜ƒ images from the Mama Elephant Let it Snow stamp set. I added more white gel pen detail and more stickles for some sparkle. The sentiment is from the Warmest Wishes stamp set stamped in black and die cut with a sentiment strip die. Everything was popped up using 3d foam adhesive squares.

That's it! Hope you enjoyed the cards I made today and got some inspiration. All the supplied I used to make these fun holiday cards are listed and linked below for your convenience. Thank you for stopping by!!๐Ÿ’—

Supplies:

***If any product is out of stock, just click on the "Notify Me" button and you will receive an alert from Simon when that item is back in stock! 

Now it's you turn! Happy crafting!

Do you use Instagram ?  If so please add  #ssswchallenge to your challenge entry uploads so we can see them on there too.


You have until Wed  8am Ohio time. 1pm UK time, 2 pm CET to join in


Wednesday, October 19, 2022

Simon Says Stamp Spooky

Hi all and welcome to another week of the Simon Says Stamp Wednesday Challenge.

This week's challenge is Spooky!

We are showcasing exclusive Simon Says Stamp products this week. You don't have to use them to join in but if you have some we would love to see what you make! As always just for entering you will be eligible for the the drawing of a $25 voucher to the Simon store!
Do I love Halloween? Yes!! Ever since I was a kid it's been my favorite holiday it was just so fun getting to dress up and get candy. Even when I grew up and had children Halloween just became so fun in my home! Now that my kids are grown, I still look forward to Halloween. We decorate outside, pass out candy to the neighborhood children and then put on our favorite spooky movies! ๐Ÿ‘ป
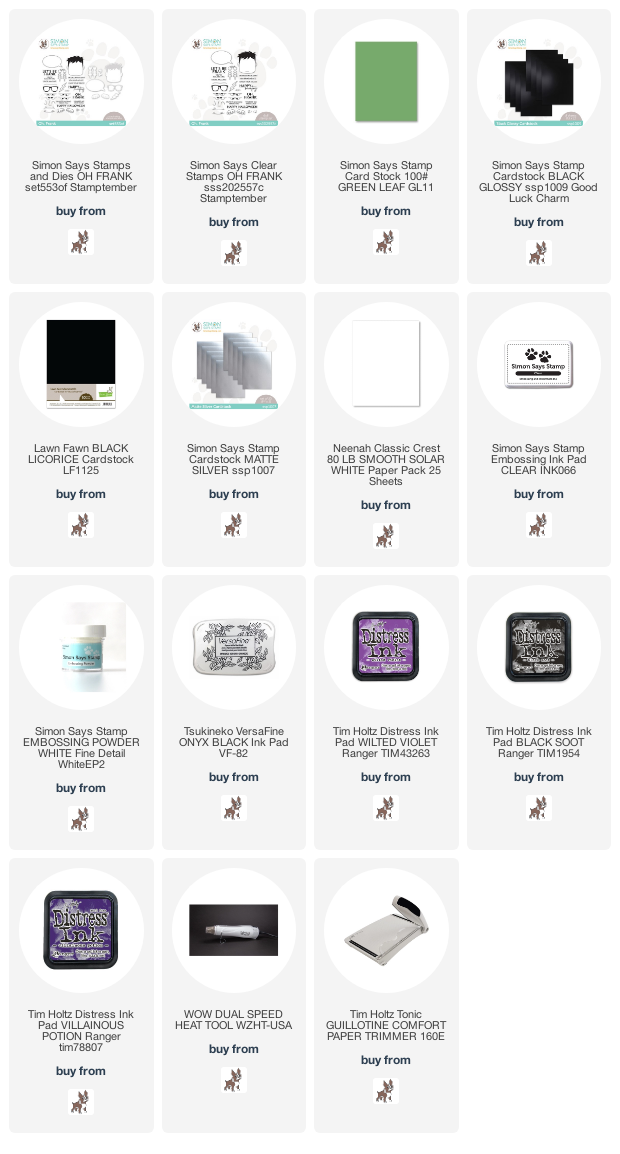
I have made a fun and spooky card for the challenge using the Simon Says Stamp Oh Frank stamp and die set.  I began with an A2 size cardbase made from smooth white cardstock. I then trimmed down a panel of more white cardstock and ink blended using distress inks in shades of purples. I even added a bit of black around the edges. I then did some ink splattering using some white acrylic paint and a paintbrush. I set that aside to dry and stamped the monster out of green cardstock. I die cut him out and arranged him on the inked panel. I then stamped the sentiments onto silver and black cardstock. I heat embossed the sub-sentiment using white embossing powder. I trimmed out the sentiments and added them to the bottom portion of the card. I popped everything up using some 3d foam squares.

I hope you enjoyed the card I made today and if you are interested in any of the products I used, they are listed and linked below for your convenience. All supplies can be found at the Simon Says Stamp store.

Supplies:
***If any product is out of stock, just click on the "Notify Me" button and you will receive an alert from Simon when that item is back in stock! 

Now it's you turn! Happy crafting!

Do you use Instagram ?  If so please add  #ssswchallenge to your challenge entry uploads so we can see them on there too.


You have until Wed  8am Ohio time. 1pm UK time, 2 pm CET to join in


Sunday, October 16, 2022

Pumpkin Pie card Cozy Hugs Release

 Every year I look forward to Thanksgiving! I'll be honest, it's the food for me! I love it all. Roast turkey, cranberry sauce, stuffing and pumpkin pie! When I saw the adorable Pumpkin Pie Slice die from the new Simon Says Stamp Cozy Hugs release, I knew I had to make a pumpkin pie card!
If you haven't seen all the goodies from the new release, you can click HERE.
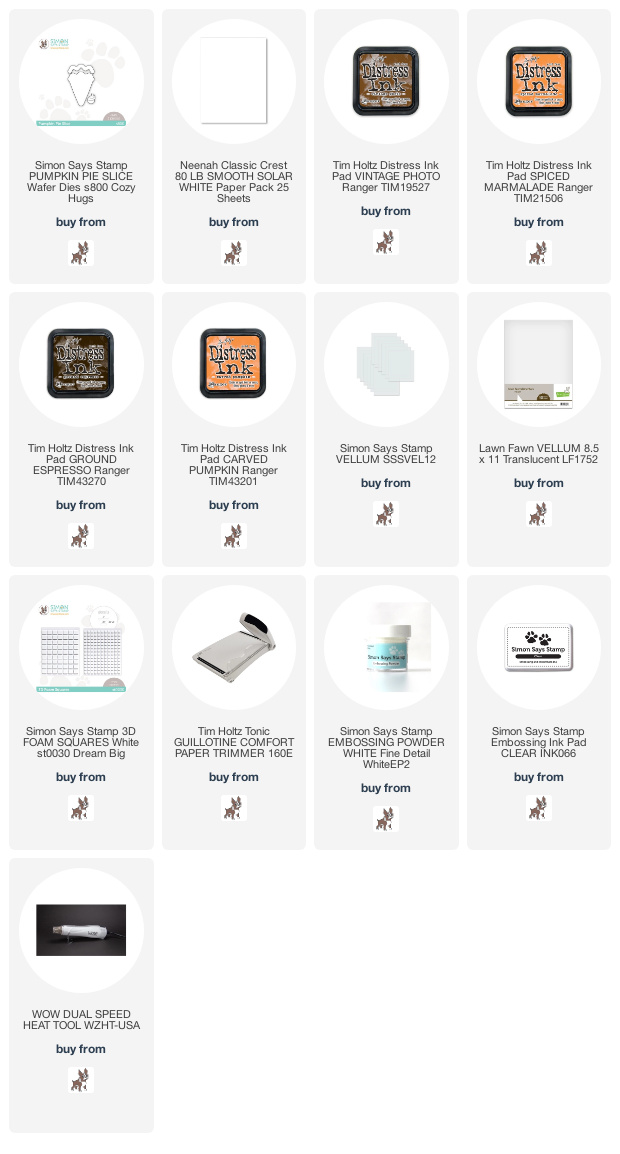
I made this card using smooth white cardstock for an A2 size card base. I then cut a panel from more white cardstock a bit smaller to leave a white border and ink blended it using some distress ink. I then die cut the pumpkin pie slices from all white card stock. I then ink blended each element of the pie slice and adhered them all together and arranged them around the inked panel with 3d foam squares. I then stamped the thank you on to a strip of vellum. I heat embossed the thank you with white embossing powder for a shiny look. That's it!! Super simple card.
I hope you enjoyed the card I made today and if you are interested in any of the products I used, they are listed and linked below for your convenience. All supplies can be found at the Simon Says Stamp store.

Supplies:


Thursday, October 13, 2022

Simon Says Stamp Cozy Hugs Instagram Hop

There is a fun and inspiring Instagram hop going on to celebrate the new Simon Says Stamp Cozy Hugs release. To join the hop just click HERE or on the Instagram button on the right and it will take you to my page. I am featuring a card made using products from the new release. 
I just want sweater weather!! Days are still to warm to throw on a cozy sweater. Well, at least I can make a cute cozy sweater card. The gorgeous texture of this new Autumn Knits 3d embossing folder is amazing.
If you leave a comment on my Instagram post for this card, you will be entered into a drawing to win a $25 gift voucher to the Simon store. 

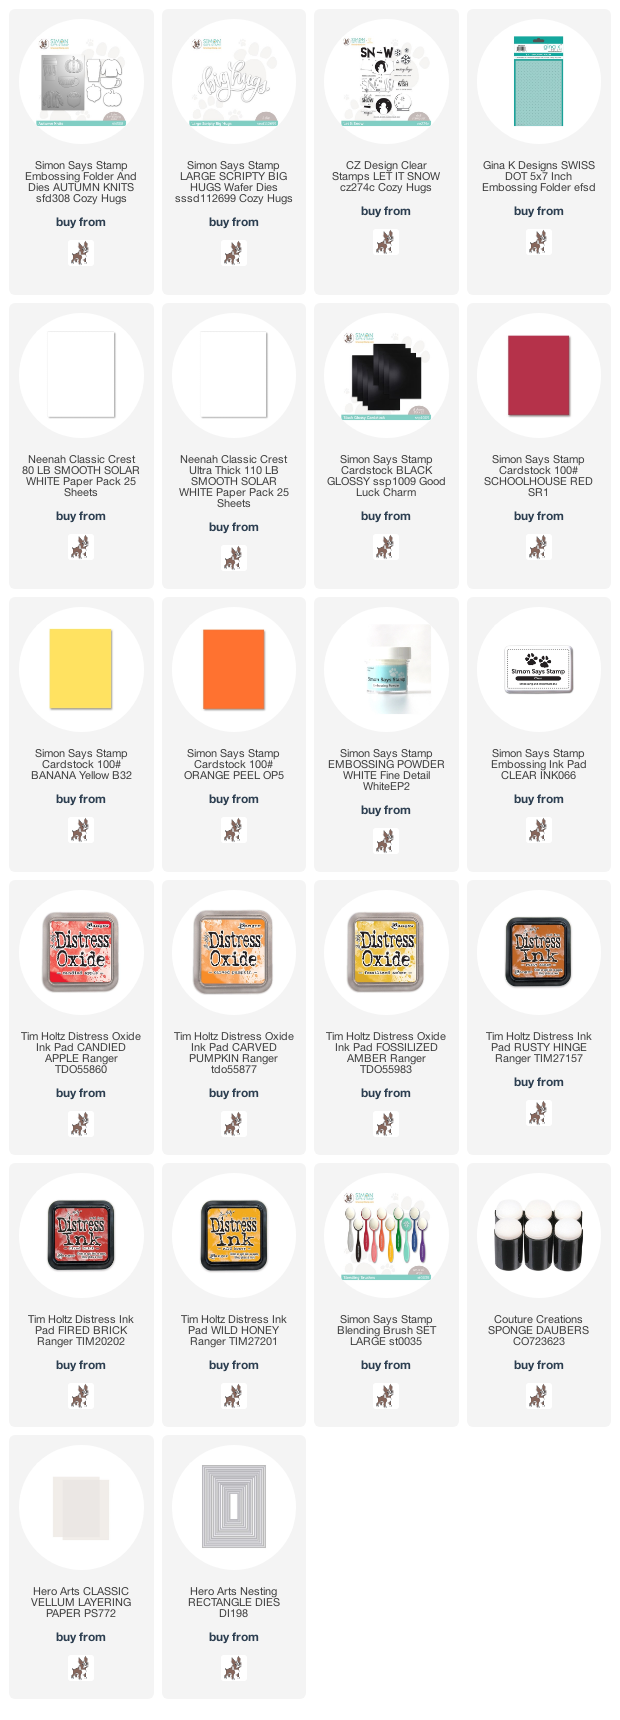
I made this card using an A2 size card base from smooth white cardstock. I then cut another panel of white cardstock to leave a bit of a border. I then made a rectangle mask out of vellum using a rectangle die. Using removable adhesive I placed it over the center of the panel. I then chose some fall distress oxide inks and using a blender brush lightly applied ink to three sections. I wanted to add some interest to this background so I grabbed a swiss dots background stamp from my stash and ink it up with the same three shades of ink, just a bit darker. I then peeled off the mask to reveal a background to showcase my sweaters!
Next, I embossed the only the sweater area of the embossing folder using red, orange and yellow cardstock. Then using the coordinating die I cut out each sweater and ink blended lightly over the tops of the raised portions of the sweaters. I tried to use inks that were close the the same color of the sweater but a bit darker to show the amazing texture of the sweater. I then die cut the Large Scripty Big Hugs die three times for thickness and glued them together. Using the CZ Let it Snow stamp set I chose the sentiment that was perfect for this card and stamped it onto some black cardstock using embossing ink and embossing it using white embossing powder. I used a sentiment strip to cut it out and added it to the card.

I hope you liked the card I made today! I have listed and linked products I used for your convenience. Thank you for hopping by!!

Supplies: