Wednesday, July 19, 2023

Penny Black 4 Legged Friends

Hi all and welcome to another week of the Simon Says Stamp Wednesday Challenge.

This week's challenge theme is 4 Legged Friends!

We are featuring products from Penny Black. You don't have to use them to join in but if you have some we would love to see what you make! As always just for entering you will be eligible for the the drawing of a $25 voucher to the Simon store!
What a fun and cute challenge! I used the adorable Penny Black Rain or Shine stamp set to create a card perfect for this challenge.
I made this card using an A2 size card base made from smooth white cardstock. I then die cut another piece of white cardstock using a stitched rectangle die and then I die cut a stitched circle window out of that panel to create the shaker element to my card.
Before adding the stitched circle window panel I ink blended some gray clouds to the card base using distress ink and a cloud stencil so it will show through the window. I then added a clear piece of acetate to the back of the circle window along with some foam adhesive and added to the card over the the shaker bits.
I then stamped the adorable image from the stamp set out of black copic friendly ink and colored the image in using copic markers. I fussy cut the image out and added to the lower left area of the window. I die cut the love you sentiment out of red cardstock and adhered the sentiment over the right side of the window with liquid glue. Using the sentiment from the stamp set, I finished the card off by stamping the rain or shine in more black ink and then added some white gel pen detail to the umbrella.

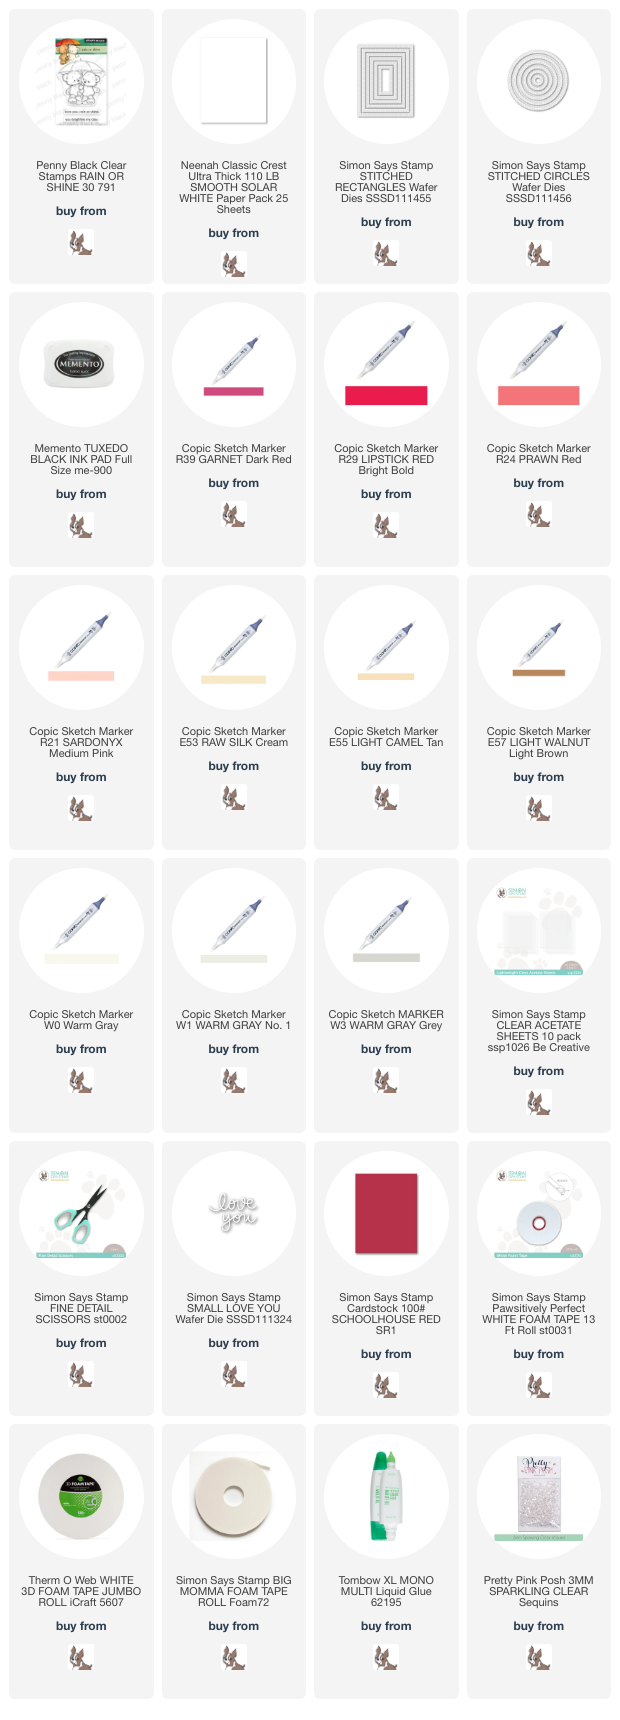
I hope you enjoyed the project I have made for you today and got some inspiration! I have listed all the supplies I have used below for your convenience. Thank you for stopping by!!

Supplies:
Now it's your turn! Happy crafting!

Do you use Instagram ?  If so please add  #ssswchallenge to your challenge entry uploads so we can see them on there too.


You have until Wed  8am Ohio time. 1pm UK time, 2 pm CET to join in


Monday, July 17, 2023

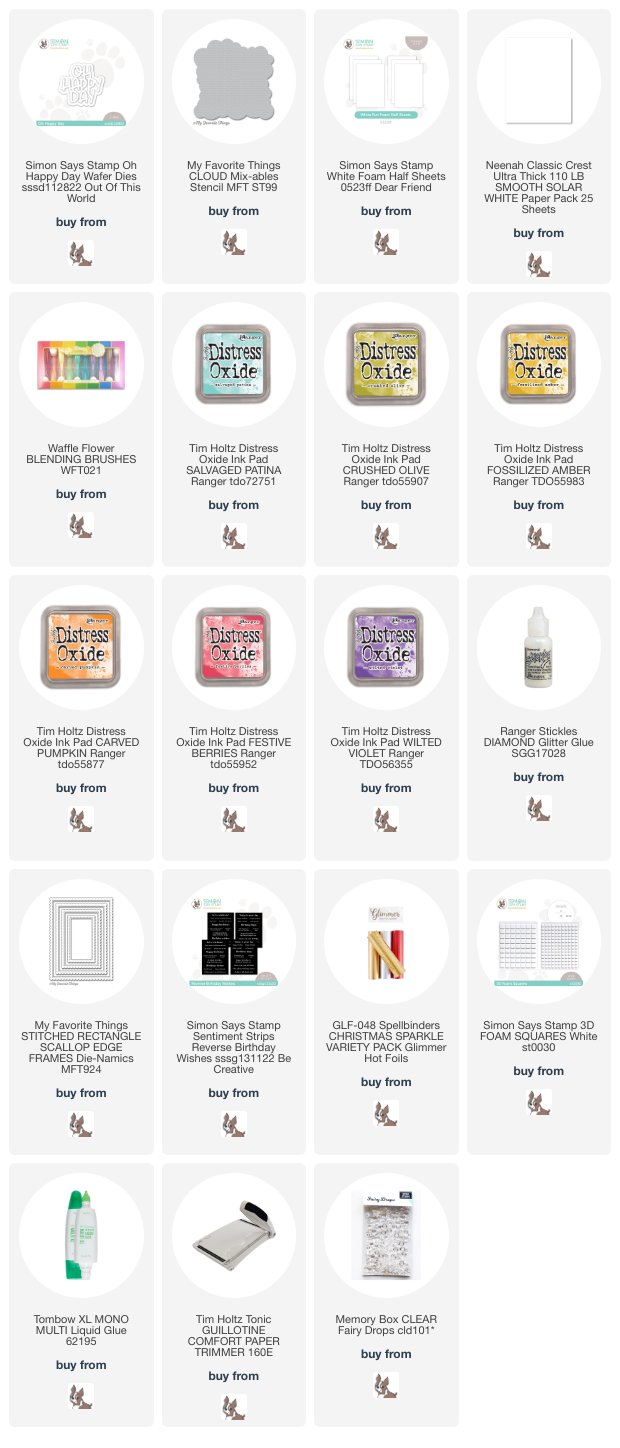
Oh Happy Day card

Just a quick post to share a project I made a using few goodies from the Out of this World release. I just fell in love with this large Oh Happy Day die and knew it would make the perfect birthday card. 
I made this card using an A2 card base made from smooth white cardstock. Using the same cardstock I die cut a scalloped frame to fit the size of my card. I then used a cloud stencil to ink bend a multi-colored cloud background. I outlined the top of each cloud with some diamond stickles for some sparkle.
I die cut the the large Oh Happy Day sentiment from more white cardstock and some fun foam for dimension and added to the center of the card. I then trimmed down a stip of the reverse birthday sentiments and ran that through my hot foil machine to make it a shiny gold! I popped that up with a couple of foam square and added a few sequins and called it a day!
Thank you for stopping by and I hope you got some inspiration! I have listed and linked all the supplies I used to make this project below for your convenience. Thank you so much for stopping by!!💖

Supplies:


Friday, July 14, 2023

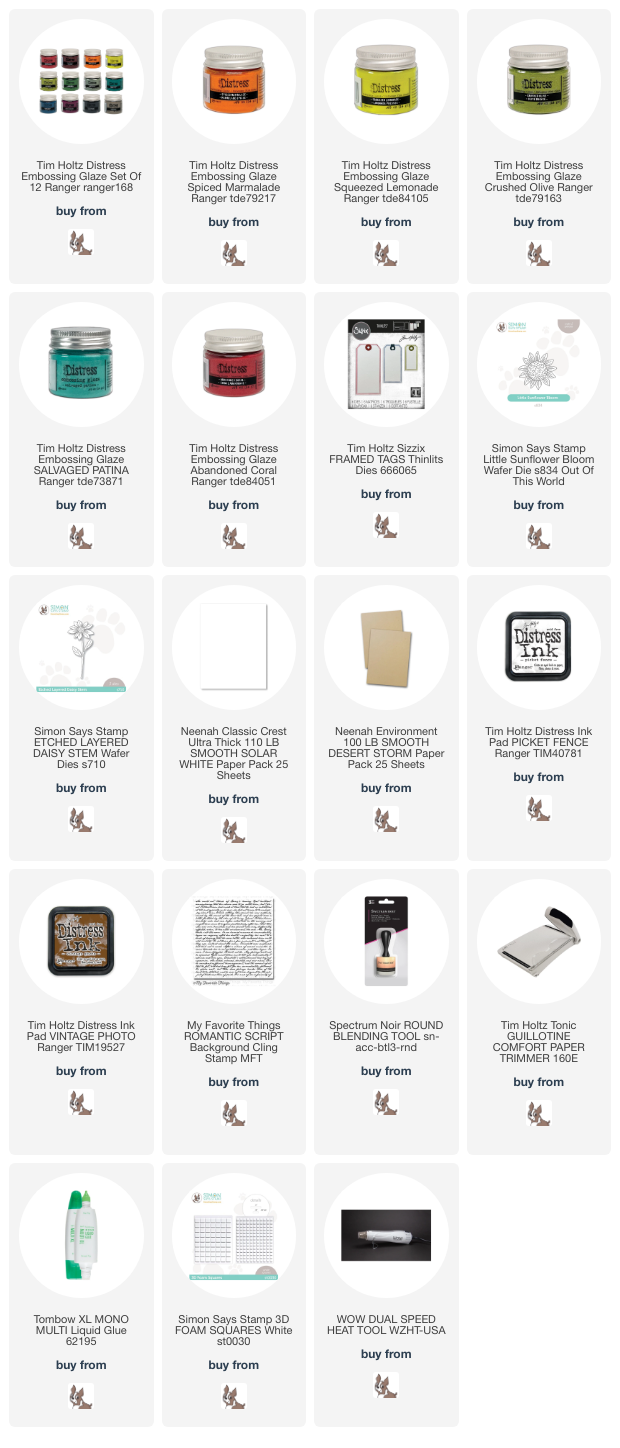
Tim Holtz Embossing Glaze powders

I am so excited to share with you a project I made using the new Tim Holtz Embossing Glaze powders! When I think of Tim Holtz I think tags! I had the amazing opportunity years ago at a scrapbooking convention to watch Tim demonstrating some of his amazing talents on tags! So I thought it would be fun to made a tag using some of these gorgeous embossing glaze powders.
I used the largest one of Tim's framed tag dies. I die cut the tag out of craft cardstock. I then stamped it using a scripty background stamp and used some distress ink to blend on the edges of the tag to give it a distressed look. I then ink splattered some Vintage Photo and Picket Fence ink using some water and a paintbrush. I die cut the circle reinforcer out of white cardstock and adhered to the top of the tag.
To make the fun sunflowers I used the new embossing glaze on white cardstock and die cut the ne Little Sunflower bloom die out 6 times from the embossed cardstock. I then did the same with the leaves, stems and center of the sunflowers.
I then stamped the sentiment using the Best Year Yet stamp set using Vintage Photo ink on to white cardstock strips. I used some foam adhesive to pop them up for a bit of dimension. I added some natural twine to the top of the tag and that was it!

I hope you enjoyed the project I have made today using some of the new Tim Holtz Embossing Glaze powder. If you want to see all the gorgeous colors from his new release, just click HERE. I have provided a list of all the supplies I have used to make this project below for your convenience. Thank you so much for stopping by!!!

Supplies:

Wednesday, July 12, 2023

Paper Rose Shimmer and Shine

Hi all and welcome to another week of the Simon Says Stamp Wednesday Challenge.

This week's challenge theme is Shimmer and Shine!

We are featuring products from Paper Rose. You don't have to use them to join in but if you have some we would love to see what you make! As always just for entering you will be eligible for the the drawing of a $25 voucher to the Simon store!
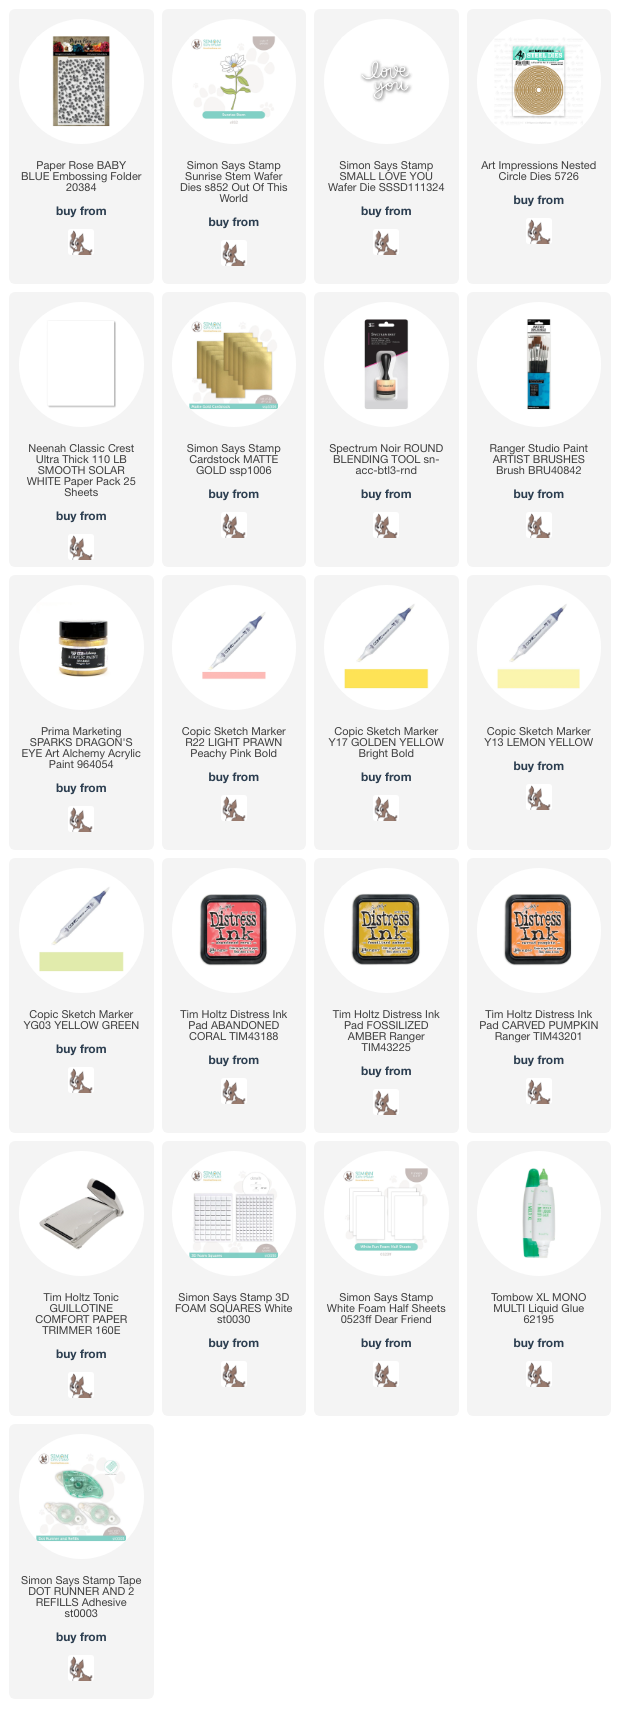
I'm happy to be participating in the new Wednesday Challenge this week. I chose to use a fun Baby Blue embossing folder from Paper Rose.
I made this card using an A2 size card base from smooth white cardstock. I then trimmed down a panel from more white cardstock to run through the embossing folder. I wanted to color the raised images from the embossed panel with copic markers. 
I then trimmed down the embossed panel and adhered it to the cardbase. I then trimmed down a second panel to leave a bit of a border. I ink blended the opposing edges of the panel with distress ink and added some ink splatters for some interest. I then die cut a circle from the upper middle of the inked panel. I also die cut a circle frame from more white cardstock and added it around the circle window. I used foam squares to pop up the circle window panel for some dimension.
I then die cut the Sunrise Stem flower from white cardstock and colored it with the same copic markers I used for the embossing folder. I then die cut the love you die from gold cardstock and some fun foam to pop it up. 

I hope you enjoyed the project I have made for you today and got some inspiration! I have listed all the supplies I have used below for your convenience. Thank you for stopping by!!

Supplies:
Now it's your turn! Happy crafting!

Do you use Instagram ?  If so please add  #ssswchallenge to your challenge entry uploads so we can see them on there too.


You have until Wed  8am Ohio time. 1pm UK time, 2 pm CET to join in


Monday, July 10, 2023

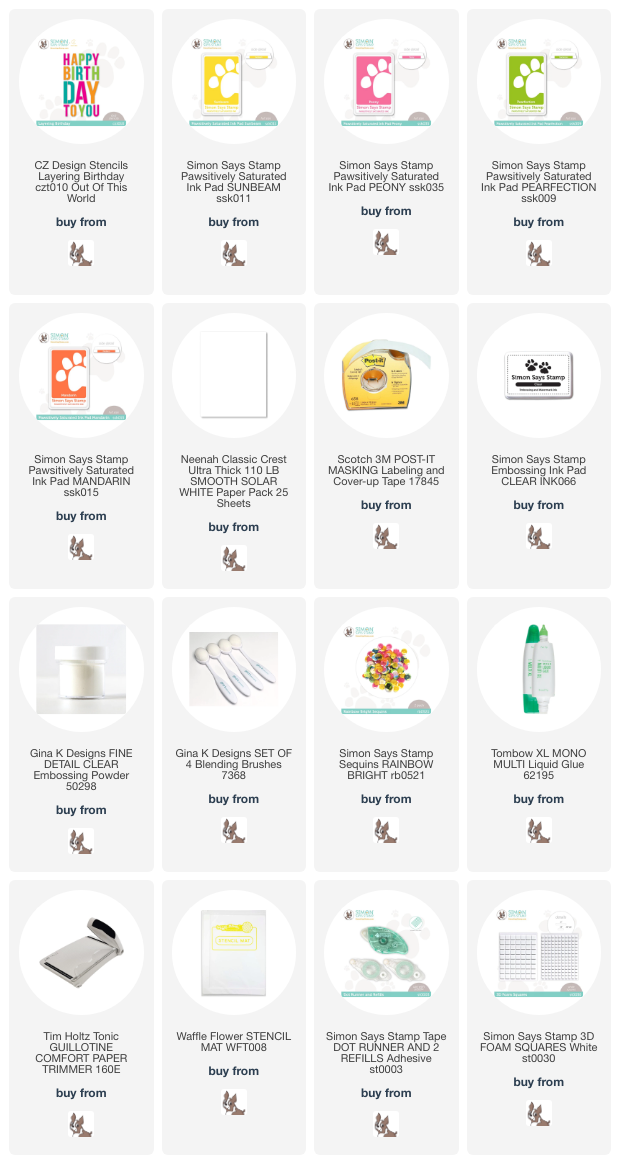
Stenciled Happy Birthday card with plaid background

I thought the new CZ Design Layering stencils  from the new Out of This World release would be the perfect sentiment to showcase with a plaid background. I hope you love this plaid background as much as I do! I had lots of fun making it.
I just love layering stencils when making a card. Just makes it so easy! I wanted to use some bright fun colors.
I made this card using an A2 size card base from smooth white cardstock. I created a plaid background with some Post-it tape and Pawsitively Saturated inks. I then used all the stencils and the same inks to create the Happy Birthday to you sentiment. I stenciled it onto white cardstock. I added some clear embossing ink and clear embossing powder and heat set it. I then popped it up in the middle of the cardbase with foam adhesive. I added few sequins for a bit of sparkle.
I hope you try your hand at making your own plaid background and the new layering stencils! I have listed and linked all the supplies I used to make this project below for your convenience. Thank you so much for stopping by!!💖

Supplies:

Wednesday, July 5, 2023

Tim Holtz Alcohol Ink/drinks

 Hi all and welcome to another week of the Simon Says Stamp Wednesday Challenge.

This week's challenge theme is Tim Holtz Alcohol Inks/Drinks!

We are featuring products from Tim Holtz. You don't have to use them to join in but if you have some we would love to see what you make! As always just for entering you will be eligible for the the drawing of a $25 voucher to the Simon store!
I had so much fun playing with alcohol inks!! I think I made a half dozen backgrounds! I will be sharing two for this challenge.
The first card was created with just three colors of alcohol inks! I used a piece of Yupo paper and a air pushing device to move the ink around after I dropped a few drops of each color down on the paper. I also used some blending solution to help soften and move the ink colors around. I made this into a birthday card for my hubby. His birthday it's next week. I die cut the birthday sentiment once from white cardstock and once from fun foam for dimension. I think he will love it!
The next card was basically done the same way but I only used some red, orange and yellow inks. I did use a few drops of gold alcohol inks for a bit of shine. I die cut a couple of feathers to make it fancy and added a sentiment.

I hope you enjoyed the projects I have made for you today and got some inspiration to try alcohol inks! It really is a fun medium to play with. Just make sure you are in a well ventilated area. I have listed all the supplies I have used below for your convenience. Thank you for stopping by!!

Supplies:
Now it's your turn! Happy crafting!

Do you use Instagram ?  If so please add  #ssswchallenge to your challenge entry uploads so we can see them on there too.


You have until Wed  8am Ohio time. 1pm UK time, 2 pm CET to join in


Monday, July 3, 2023

Dahlia Delights Simon Say Stamp Out of this World release

Just a quick card to showcase the amazing Dahlia Delights embossing folder. If you haven't had a chance to see the amazing new Out of this World release from Simon Says Stamp please click Here!
I chose this embossing folder because while it had amazing dimension it was so fun to color. I used copic markers to color it in and hopefully you like the results I came up with!
I began this card with an A2 size card base made from smooth white cardstock. I then trimmed down another piece of white card stock to run through the embossing folder. Using copic markers that I will have listed below, I colored in the raised portion of the embossed areas of the panel.
I added some white gel pen detail to the areas between the flowers for a bit of pop. I then die cut the Happy Wishes sentiment from white cardstock 3 times and adhered together for some thickness. I stamped and embossed in white embossing powder the subs-sentiment from gray paper and added below. This card came together rather quickly except for the copic coloring which alway takes a long time.

I hope you enjoyed the project I have  made today and got some inspiration. If you are interested in any of the supplies I used to make this card I have listed and linked them below. Thank you so much for stopping by and hope you feel better soon!!

Supplies: