Tuesday, October 31, 2023

Simon Says Stamp new All the Joy Release day

Happy Release Day!! I'm so happy to share a project I made using some of the goodies from the new Simon Says Stamp All the Joy release! Click HERE to see the entire release. 
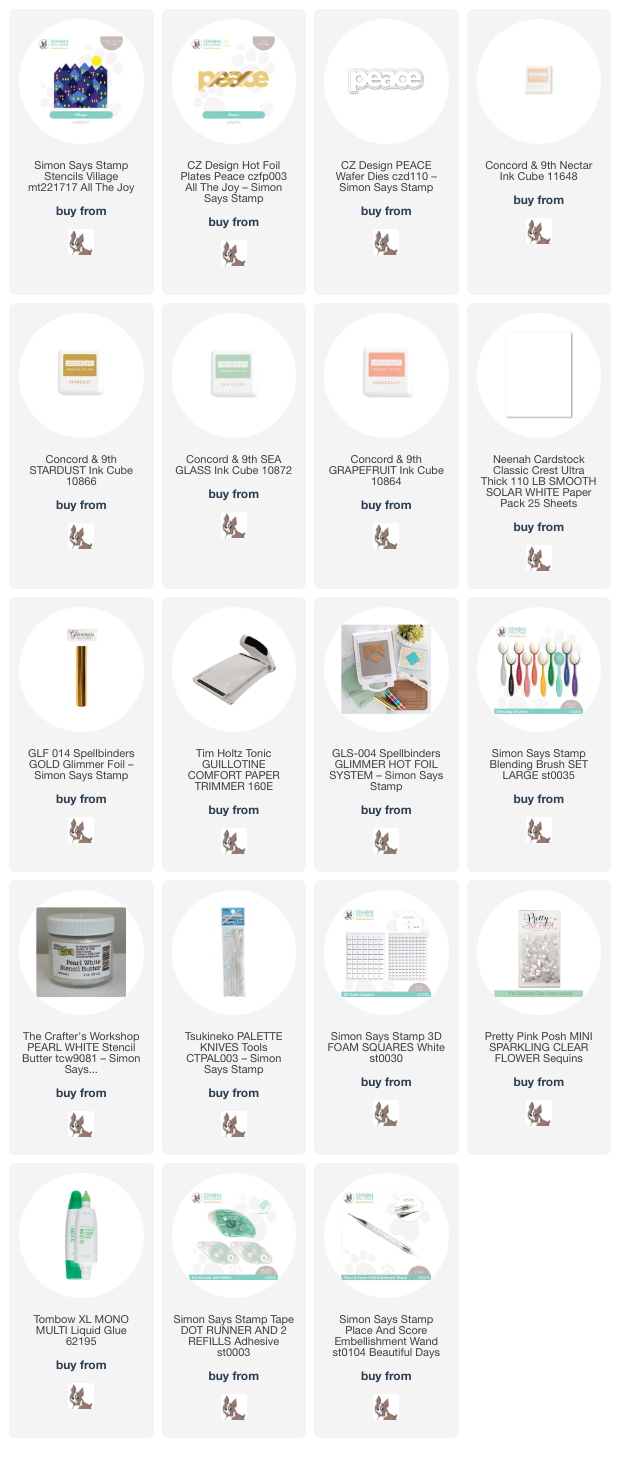
I have made a holiday card using some non-traditional colors with the Village Stencil set and the Peace Hot Foil plate from this release.
This card came together easily and would be a great card for mass production. I simply ink blended each stencil with a different color each time to create the colorful houses.
I used the window stencil for last so I could apply Paper Glitz to make the windows shine! I set that aside to dry while I used the Peace hot foil plate to create my sentiment out of gold hot foil. I then used the older outline Pease die to cut it out and adhere to the card with 3d foam squares.
Last I stamped the sub-sentiments out of the coordinating ink color using the Season's Tweetings stamp set on to white cardstock and trimmed them down to strips and adhere them to the card using more 3d foam squares. I added a few clear sequins for some sparkle!

I hope you enjoyed the new All the Joy release and the project I made. For your convenience I have listed and linked all the supplies I used to make this card. Thank you for stopping by!! 
Happy release day!!

Supplies:

Wednesday, October 25, 2023

Simon Says Stamp Anything Goes

 Hi all and welcome to another week of the Simon Says Stamp Wednesday Challenge.

This week's challenge theme is Anything Goes
We are featuring exclusive products from Simon Says Stamp. You don't have to use them to join in but if you have some we would love to see what you make! As always just for entering you will be eligible for the the drawing of a $25 voucher to the Simon store!
I always get so excited when this challenge features Simon products. So many gorgeous items to choose from! I thought this week I would resume my holiday card making and use some of my favorites that are in the Simon store.
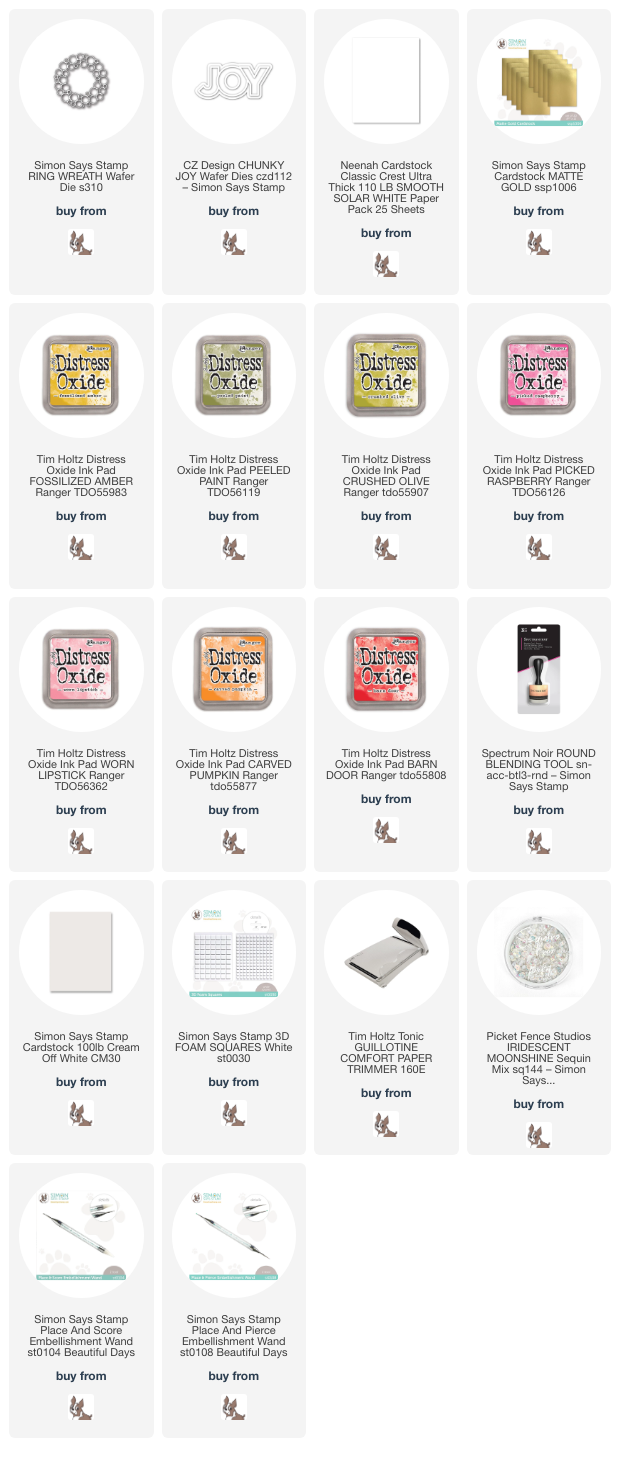
I am featuring the amazing Simon Says Stamp Ring Wreath die and the Chunky Joy die designed by CZ Designs for Simon.
I just love using non-traditional colors for my holiday cards. I also wanted to made a square card that I thought would be perfect for this rather large wreath die. I trimmed down a piece of white cardstock to 4" X 4" and adhered that to a cream colored cardbase that was 4 1/4 X 4 1/4 to leave a bit of a border.
I then ink blended four piece of white cardstock using distress oxides and die cut each out using the wreath die. This provided me with tons of circles in various sizes in each of the four colors. I chose some of the circles for my card and added a bit of shading to one side for a bit of dimension.
Using the outline piece of of the die as a guide I arranged the ink blended circles inside the outline piece in no particular order with a piece of 3d foam squares behind each one. When I was done I simply pulled off the outline and I had my colorful perfectly arranged wreath!
I then added tiny pieces of iridescent sequins to add a bit of sparkle to my wreath with liquid glue. I then die cut the chunky JOY out of white and gold cardstock and adhered it to the front of my wreath with more foam squares.

I hope you have enjoyed the project I have made and got some inspiration. I have listed and linked all the products I used for your convenience. Thank you so much for stopping by!!

Supplies:
Now it's your turn! Happy crafting!

Do you use Instagram ?  If so please add  #ssswchallenge to your challenge entry uploads so we can see them on there too.


You have until Wed  8am Ohio time. 1pm UK time, 2 pm CET to join in


Monday, October 23, 2023

Birthday Wishes Season of Wonder card
I needed a birthday card and I looked in my birthday card stash and I came up empty! Today's post will be a birthday card. I am using some goodies from the Season of Wonder release. I also needed some color therapy so this card will be perfect.
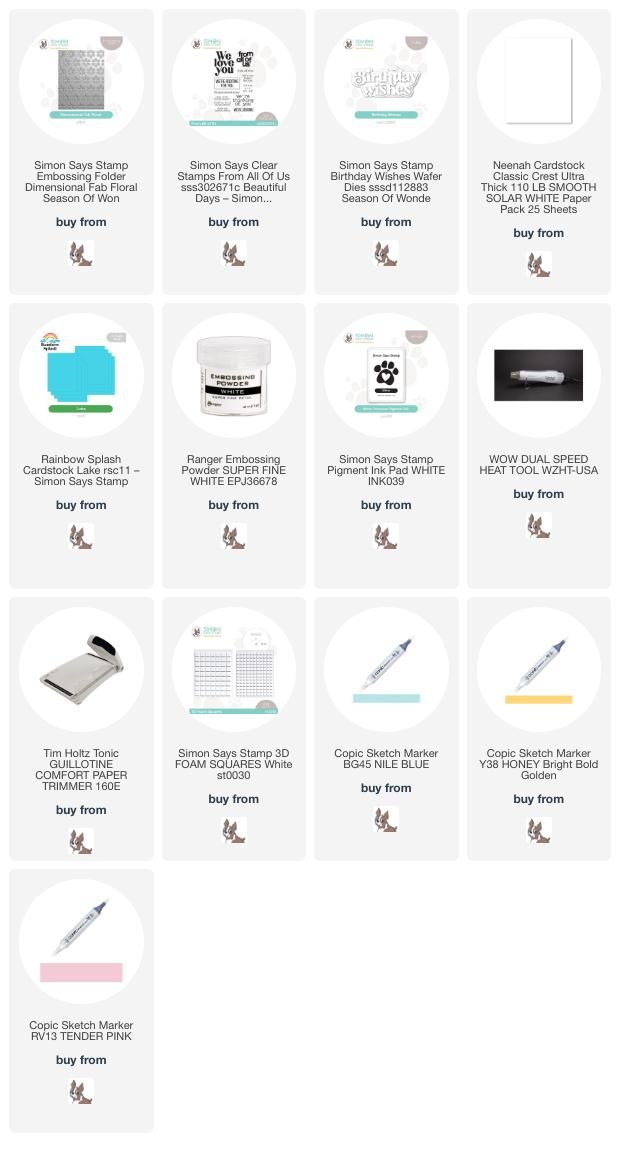
I made this card using an A2 card base made from smooth white cardstock. I then took another piece of white card stock and ran it through the gorgeous Dimensional Fab Floral embossing folder. I then trimmed it down and used copic markers to color each petal of the florals that are embossed on the cardstock.
I then die cut the sentiment using the Birthday Wishes die also from the new release from Rainbow Splash Lake cardstock. I used the shadow from the die set and cut it out of white cardstock. I then heat embossed the sub-sentiment using white embossing powder and trimmed it down to a strip. I adhered everything up with 3d foam squares. Except for the copic coloring, this is a very simple card to make lots of!!
I hope you enjoyed my project today using some of the items from the Season of Wonder release and got some inspiration. I have listed and linked all the supplies I used for your convenience! Thank you so much for stopping by!

Supplies:


Wednesday, October 18, 2023

Picket Fence Studios Food or Drink

Hi all and welcome to another week of the Simon Says Stamp Wednesday Challenge.

This week's challenge theme is Food or Drink!
We are featuring fabulous products from Picket Fence Studios.  You don't have to use them to join in but if you have some we would love to see what you make! As always just for entering you will be eligible for the the drawing of a $25 voucher to the Simon store!
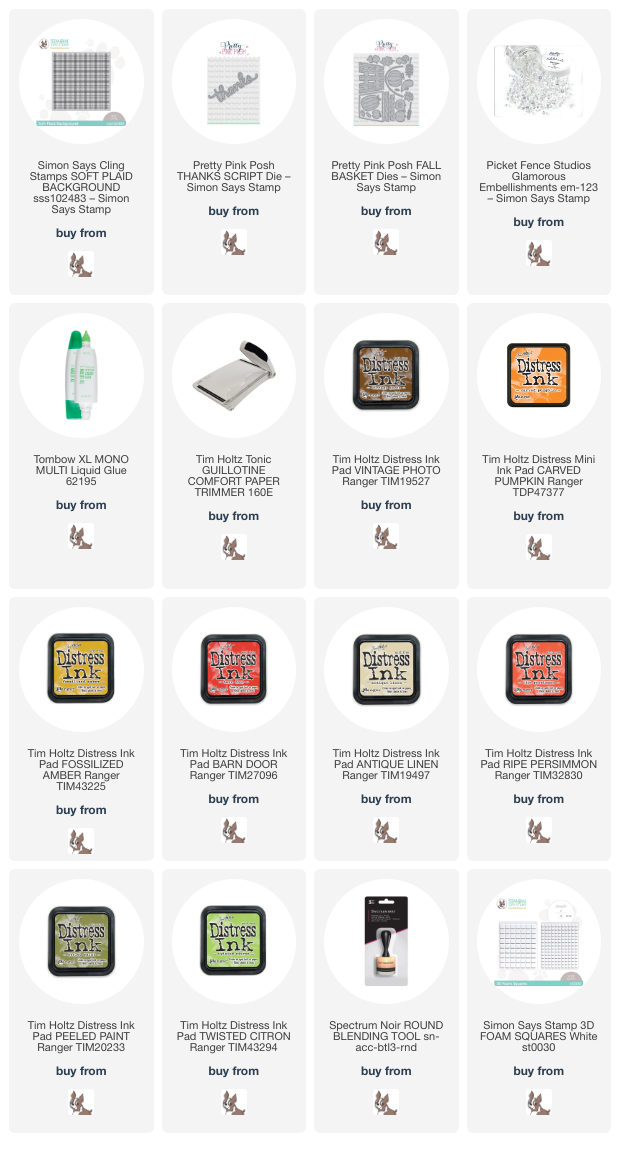
I love to add a little bling to my projects and this week I'm featuring the sparkling Picket Fence Studio's Glamorous Embellishment crystal drops. I made a fun fall themed project for this week's challenge.
I began with an A2 size cardbase made from smooth white cardstock. I then trimmed down another piece of white cardstock to create my own pattern paper. I used a plaid background stamp from my stash. This one was very old but still one of my favorites. I'll try to link something similar in the supply list.
I then pulled out some of my favorite fall dies. I die cut the images from white cardstock and colored them with distress ink and a blending tool. I die cut the thanks sentiment from more white cardstock.
I added the final touches with the Picket Fence clear drops and called it a day! That was a lot of fun! Here is a video and a peek into the process of arranging the fall goodies in the basket.
I hope you have enjoyed the project I have made and got some inspiration. I have listed and linked all the products I used for your convenience. Thank you so much for stopping by!!

Supplies:
Now it's your turn! Happy crafting!

Do you use Instagram ?  If so please add  #ssswchallenge to your challenge entry uploads so we can see them on there too.


You have until Wed  8am Ohio time. 1pm UK time, 2 pm CET to join in


Tuesday, October 17, 2023

Season of Wonder Happy Christmas card
I'd like to share a project that I made using some of the amazing products for the new Simon Says Stamp Season of Wonder release.
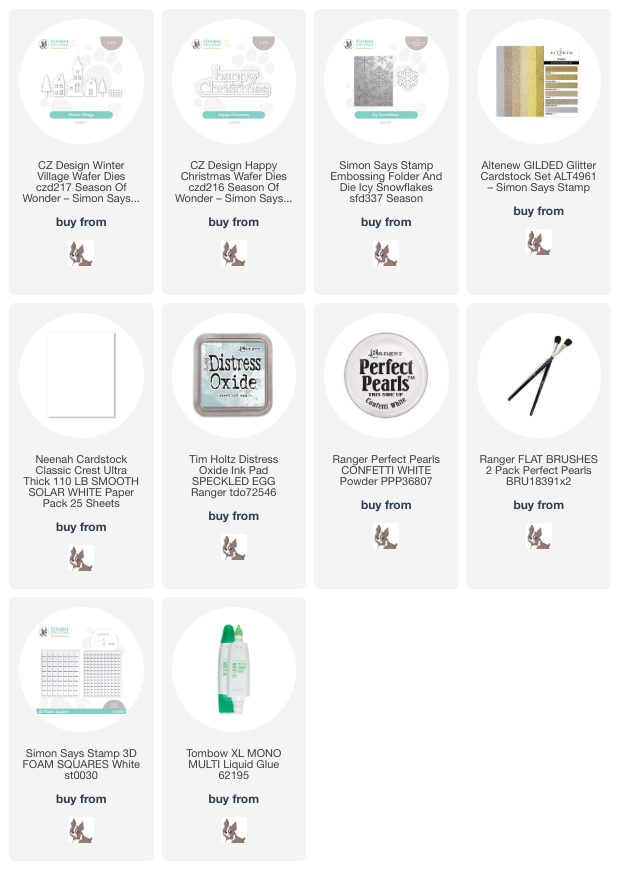
I just love making Christmas/Holiday cards! I sometimes start as early as July! I was so happy to see the CZ Winter Village dies from this release and I instantly knew I had to use them! 
I made this card using an A2 size card base made from smooth white cardstock. I then took a piece of white card stock and placed it inside the Icy Snowflakes 3d embossing folder. Using distress oxide I directly inked up the flat interior side of the embossing folder before running through the die cut machine.
I then trimmed out another piece of white cardstock to fit the embossed and inked panel to create a snow drift. I then used the CZ dies to cut out the houses and trees from white cardstock and glitter cardstock and arranged them on the snow drift with liquid glue and foam adhesive. Last, I die cut the CZ Happy Christmas word and shadow dies from more white and glitter cardstock and added to the top of the wintery scene.

I hope you have enjoyed the project I made and got some inspiration! If you are interested, I have affiliate links below to all the supplies I used to make this card for your convenience. Thank you so much for stopping by! Happy crafting!!

Supplies:


Friday, October 13, 2023

Pretty Pink Posh Blog Hop Day 3
I'm so happy to be part of the Pretty Pink Posh new release Day 3 blog hop!
I have several projects I have made using some of the adorable products from this release.
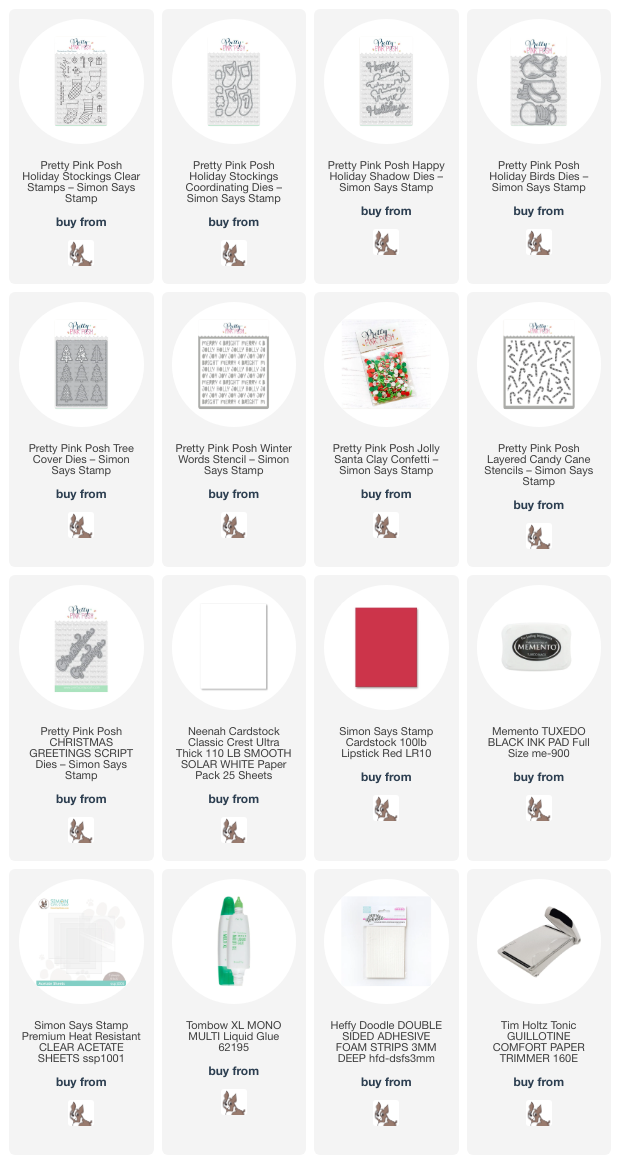
This first project I used the Holiday Stockings stamps. There are coordinating dies if you don't like to fussy cut! This is an A2 size card base with a gray panel trimmed down to leave a white border. I stamped the images out using copic friendly ink. I colored the stockings using copic markers. I added some die cut snowflakes and used the Shadow Happy Holidays die from the release. 
The second project I made using the adorable Holiday Birds die set. The I used the Happy Holidays shadow die as well. I used all distress oxides with this card to color it. I die cut everything from white cardstock and ink blended them with a dauber tool.
The third project was so fun! I used the Layered Candy Cane stencil set to make a fun background for this card. I die cut the circle joy die from white cardstock and silver paper. The sub-sentiment is stamped with white pigment ink and heat embossed onto red cardstock that I trimmed out to be a strip.
For the fourth project, I used several goodies from the new release. I die cut the Tree Cover die out of white cardstock and ink blended with distress inks. I then placed the Winter Words Stencil over the ink blended panel and using just a bit more pressure I added another layer of distress ink over the stencil for a tone on tone look. I then flipped over the panel and glued acetate and foam adhesive to make my shaker element. I adhered that to the card base with the Jolly Santy shaker bits inside. Last, I die cut the Christmas Greetings die out of white cardstock and glued that to the front of the card.
Last, I used a very unique holiday die set from the new release. It's the Love From Afar die set. I cut it out of all white cardstock and used distress ink to color the elements of the die set.

I hope you enjoyed the projects I have made for this hop and got some inspiration. I have links below of all the projects I have used for your convenience. Thanks for hopping by!!

Supplies:
Be sure to leave a comments on each stop so you can have many chances to win four $30 gift certificates to four lucky comments - 1 winner each day! Last day to leave a comment to enter will be October 19.


Wednesday, October 11, 2023

Kitchen Sink Stamps Christmas

Hi all and welcome to another week of the Simon Says Stamp Wednesday Challenge.

This week's challenge theme is Christmas!
We are featuring fabulous new products from Kitchen Sink Stamps.  You don't have to use them to join in but if you have some we would love to see what you make! As always just for entering you will be eligible for the the drawing of a $25 voucher to the Simon store!
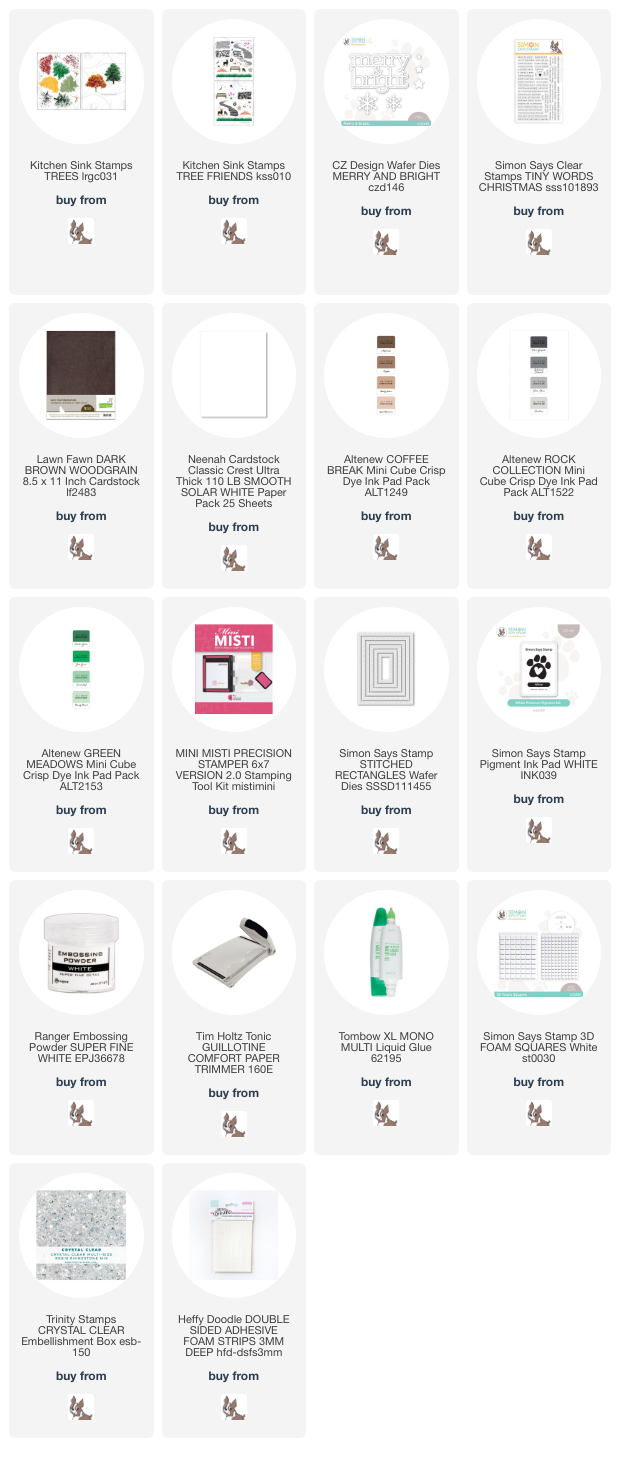
If you haven't used a Kitchen Sink layering stamp yet, you are missing out! They have the most life like images I have ever seen! I have quite a few of these sets and one of them is the Layering Trees which happens to be my favorite along with the Tree Friends coordinating stamp set. I have made a project for this challenge using those stamp sets.
I began with an A2 size card base made from dark brown cardstock. I then trimmed down a panel from white cardstock to stamp my images on. I used my MISTI stamping tool to get a great stamped image and to help with the layering process. You don't need a MISTI to use these stamps. I stamped two trees, the ascending brick steps and the deer. 
I then die cut using stitched rectangle dies a frame to make the shaker element of my card out of white cardstock. I used foam strips and acetate to pop up and enclose my shaker bits. I adhered the stamped panel to the card base, then the shaker bits and last the frame with the acetate and foam strips on top.
I then die cut the Merry & Bright sentiment from white and dark brown cardstock. I trimmed out the ampersand and glued it on top of the white one. I then adhered the sentiment directly onto the acetate along with the heat embossed sub-sentiment stamps on to more dark brown cardstock.

I hope you have enjoyed the project I have made and got some inspiration. I have listed and linked all the products I used for your convenience. Thank you so much for stopping by!!

Supplies:

Now it's your turn! Happy crafting!

Do you use Instagram ?  If so please add  #ssswchallenge to your challenge entry uploads so we can see them on there too.


You have until Wed  8am Ohio time. 1pm UK time, 2 pm CET to join in


Monday, October 9, 2023

Merry Christmas Season of Wonder card
I will be sharing a card I made using some of the amazing products from the Simon Says Stamp Season of Wonder release.
It's that time of year again when its all about Holiday cards. I hope you don't get to sick of them but for good measure I'll throw a couple of non-holiday projects in the mix. 
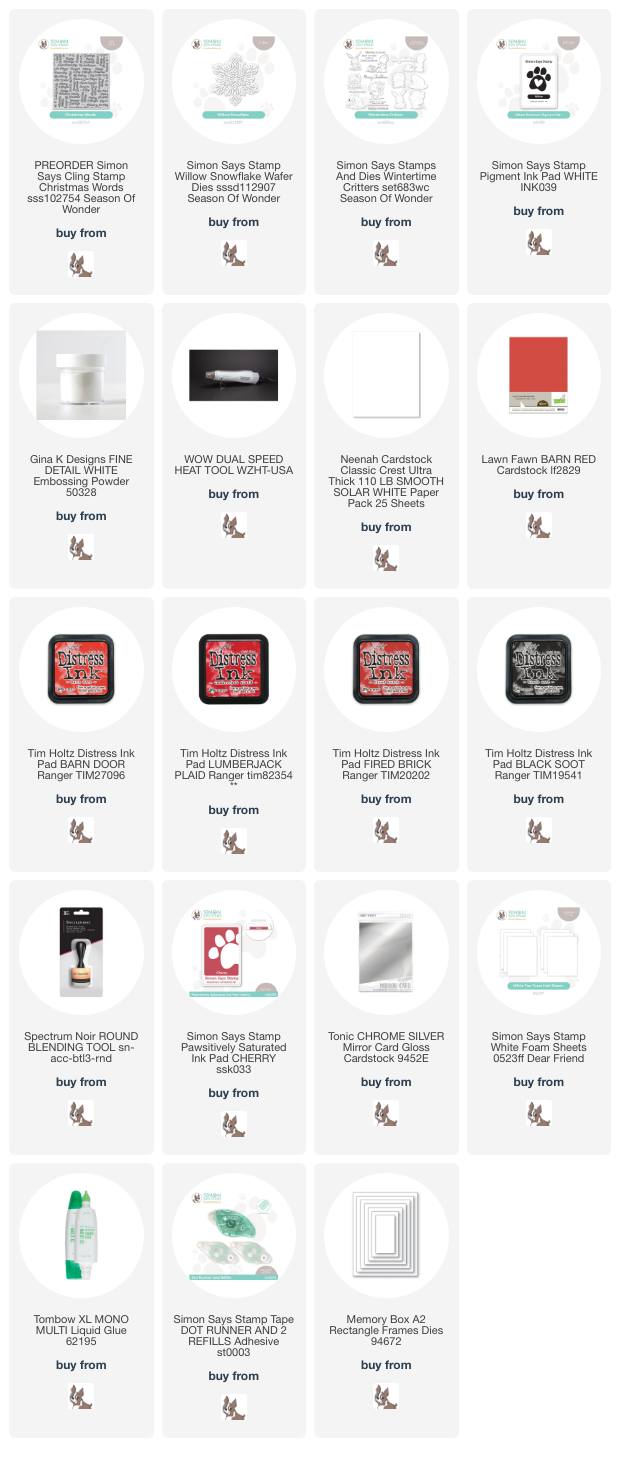
I began with an A2 size card base made from smooth white cardstock. I then used a piece of red cardstock that I stamped the Christmas Words background onto with white pigment ink. I then used white embossing powder for extra brightness and heat set that using a heat tool. 
After letting it cool a bit I used a rectangle die to cut out a panel that would leave a bit of a white border. I then used a few darker shades of red distress ink to blend around the edges of the panel. With a paper towel I wiped away the ink sitting on top of the embossed letters to brighten them back to white.
I used the Willow Snowflake die also from the Season of Wonder release. I die cut it from shiny silver cardstock and foam to give the snowflake lots of dimension against the busy inked background. 
Last I stamped the Merry Christmas sentiment from the Wintertime Critters stamp set and used the coordinating die to cut it out. I stamped that using the Cherry Pawsitivily Saturated ink. I then adhered it under the snowflake with liquid glue and some left over pieces of foam.

I hope you have enjoyed the project I made and got some inspiration! If you are interested, I have affiliate links below to all the supplies I used to make this card for your convenience. Thank you so much for stopping by! Happy crafting!!

Supplies: