Wednesday, January 10, 2024

Simon Says Stamp Sweetheart release day

Sharing a project for the new Simon Says Stamp Sweetheart release day! Click HERE to see the entire release!
I had so much fun playing with the new Friendship Leafy Cluster stamp, stencil and dies. It makes creating a beautiful card so easy!
I made this card with an A2 size card base from smooth white cardstock. I then trimmed down another panel of white cardstock to leave a bit of a border. I then stamped the new Regal Hearts background stamp on this panel with clear ink and heat set it with gold embossing powder.
I then added the leaves that I stamped from the Friendship Leafy Cluster stamp set onto white paper, stenciled with distress oxide inks using the coordinating stencils and then die cut them out with the coordinating dies.
I die cut out the new Bestie from gold cardstock and the shadow from white cardstock. I ink blended the shadow and added it to the card with liquid glue and 3d foam squares. I used more gold embossing powder to the stamped sub-sentiment which is from the Printmaking Hearts stamp set.

I hope you are enjoying the new Sweetheart release and the project I made. For your convenience I have listed and linked all the supplies I used. Thank you for stopping by!! Happy release day!!

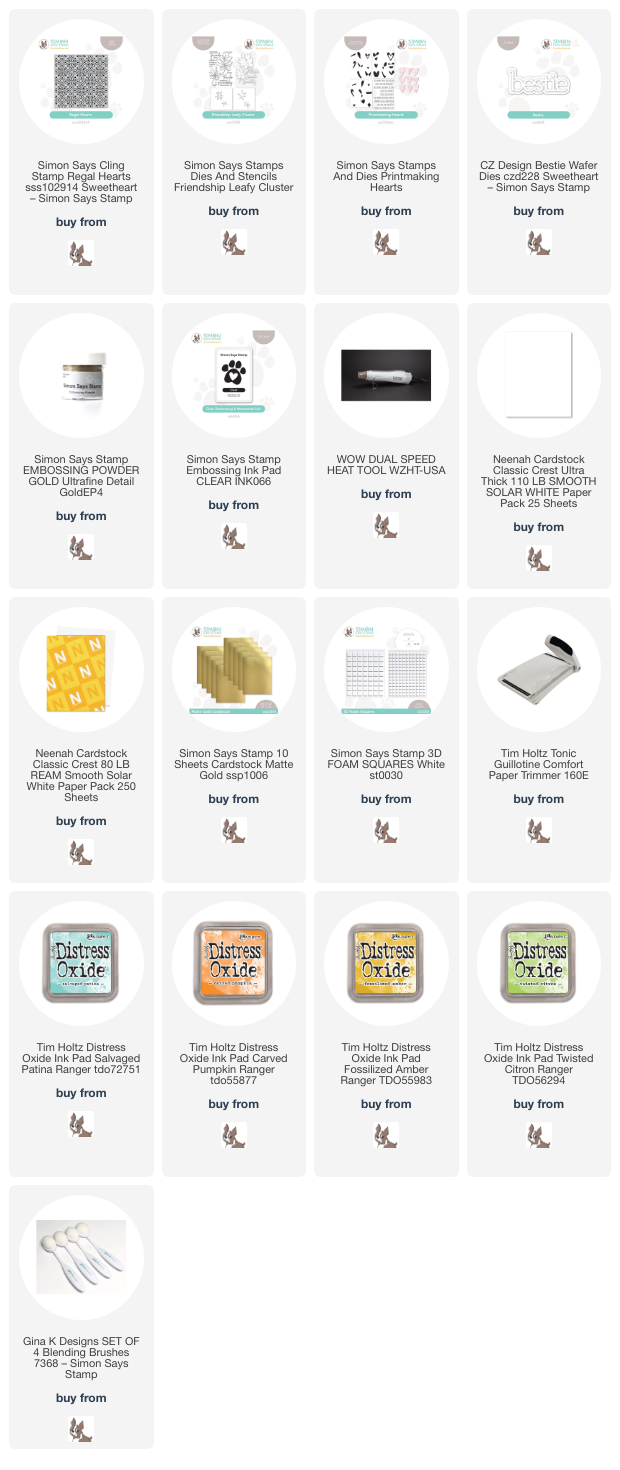
Supplies:
Newton's Nook Cute Critters

 Hi all and welcome to another week of the Simon Says Stamp Wednesday Challenge.

This week's challenge theme is Cute Critters

We are featuring products from Newton's Nook Designs. You don't have to use them to join in but if you have some we would love to see what you make! As always just for entering you will be eligible for the the drawing of a $25 voucher to the Simon store!


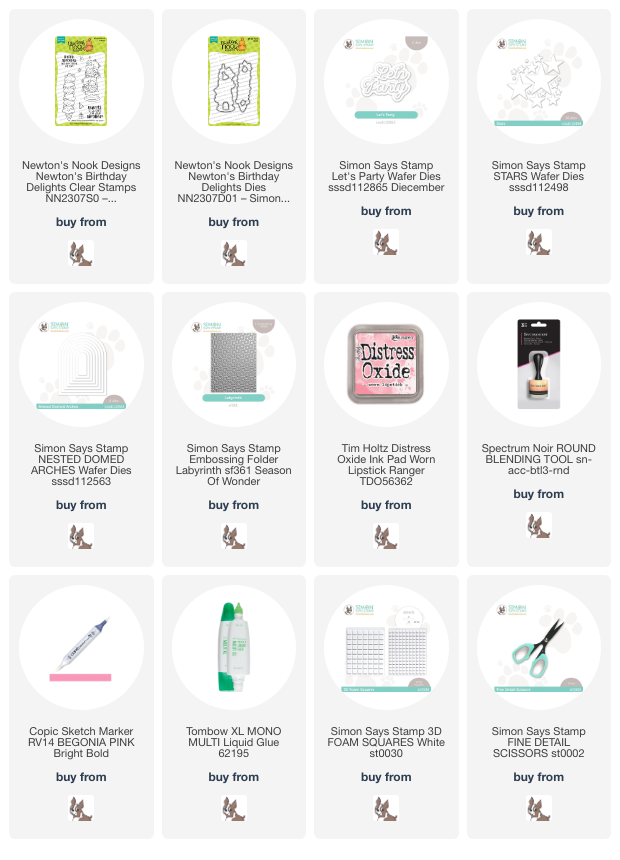
Time to replenish my stash of birthday cards! I just fell in love with Newton's Nook Birthday Delights stamp set. I used it for my project this challenge. I just had one problem with this set! Which image to use!!
I chose the adorable kittens climbing the cake!
I made an A2 card base from smooth white cardstock. I then used another piece of cardstock and die cut an arch from the center. After that, I ran the panel with the arch through an embossing folder for some dimension.
I then inked the card base with distress ink and added some detail with a copic marker and some die cut stars to frame the image. I stamped the image from the stamp set using a copic friendly ink and colored the image with copic markers.
There are coordinating dies that go with this stamp set. I chose to fussy cut the image out and added to the center of the inked area of the card using some foam squares.
I die cut out the Let's Party sentiment from gold cardstock. I added it to the card with foam squares and liquid glue.

I hope you have enjoyed the project I shared. I have listed and linked all the products I used for your convenience. Thank you so much for stopping by!!

Supplies:
Now it's your turn! Happy crafting!

Do you use Instagram ?  If so please add  #ssswchallenge to your challenge entry uploads so we can see them on there too.


You have until Wed  8am Ohio time. 1pm UK time, 2 pm CET to join in

Friday, January 5, 2024

Pretty Pink Posh Blog Hop - Day 3

I'm so happy to be part of the Pretty Pink Posh Blog Hop Day 3! 
I have several projects I have made using some of the adorable products from Pretty Pink Posh new release.
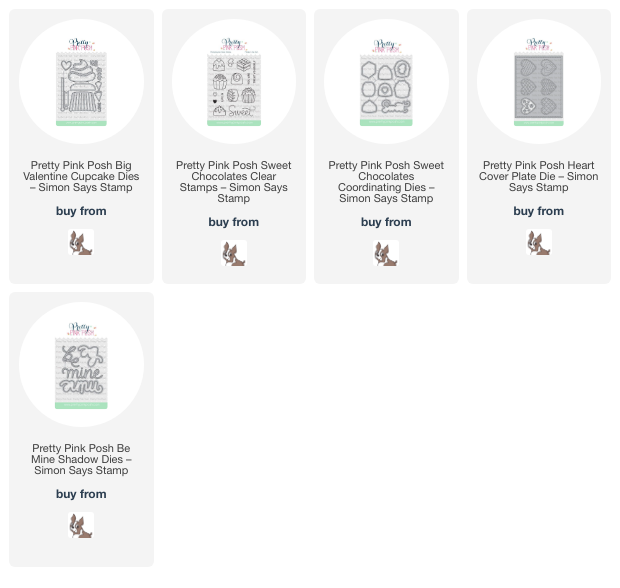
I made a fun cupcake card using the new Big Valentine Cupcake die set. I die cut the pieces out of white cardstock and then colored them in by ink blending the pieces with distress ink using an ink dauber.
I created this sweet card by first stamping the images from the new Sweet Chocolates stamp set on white cardstock in black copic friendly ink. I then colored them in using copic markers and fussy cut them out. If you are not someone who enjoys fussy cutting this set has coordinating dies. I then ink blended a panel of white cardstock with distress ink and added my sweet treats in a row with some sequins. The sentiment is also from the Sweet Chocolates stamp set. 
I created this fun card by first ink blending a white panel using distress ink to fit an A2 size card base. I added some ink splatters and set aside to dry. I then used the new Heart Cover Plate to cut out the different heart dies out of colored cardstock. These dies are so fun! I layered them with different colored cardstock for a two toned effect. I arranged them on the ink blended panel with foam squares. I then die cut the new Be Mine Shadow die from pink cardstock a couple of time and glued together with thickness and added it under the hearts on the card.

I hope you enjoyed the projects I have made for this hop and got some inspiration. I have links below of all the projects I have used for your convenience as well. Thanks for hopping by!!

Supplies:

Be sure to leave a comment on each stop so you can have many chances to win one of three $30 gift certificates to 3 lucky comments - 1 winner each day! Last day to leave a comment to enter will be January 11th. Winners will be announced on the Pretty Pink Posh blog.

Hop on..

Thursday, January 4, 2024

Kissing Booth card

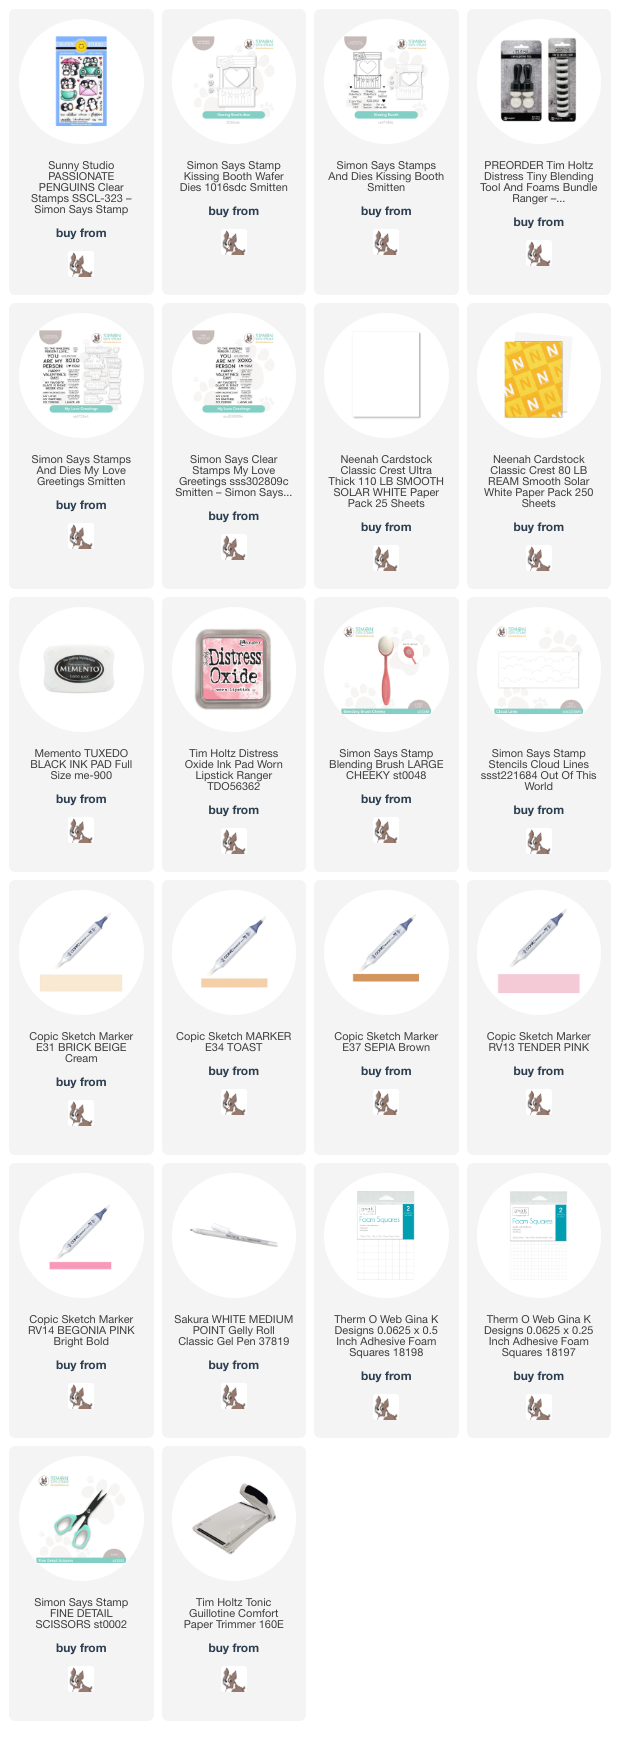
I have a cute project to share with you today! I have made a valentine card using the adorable Kissing Booth stamp set from the Simon Says Stamp Smitten release.
I created this card using an A2 size card base made from smooth white cardstock. I then ink blending another panel of white cardstock using a cloud stencil and pink distress ink. I used a blending brush to create it. I trimmed in down and added a snow bank from more white cardstock.
I then stamped the kissing booth from the stamp set and hearts using a black copic friendly ink and colored them in using copic markers. This set has coordinating dies but I chose to fussy cut them out. I'm just weird that way! I adhered the colored images on the cloud inked panel with a bit of foam tape for dimension.
Last, I stamped the little kissing critters from more black ink, colored and fussy cut them out. I sat them on the kissing booth. Aren't they cute! I then stamped the Happy Valentine's Day sentiment in black and called it a day! Cute and easy!!

I hope you enjoyed the project I made and got some inspiration.  I have provided affiliate links to everything I used below for your convenience. Have a great day and thank you for stopping by!

Supplies:


Wednesday, January 3, 2024

My Favorite Things Something New

Hi all and welcome to another week of the Simon Says Stamp Wednesday Challenge.

This week's challenge theme is Something New

We are featuring products from My Favorite Things. You don't have to use them to join in but if you have some we would love to see what you make! As always just for entering you will be eligible for the the drawing of a $25 voucher to the Simon store!


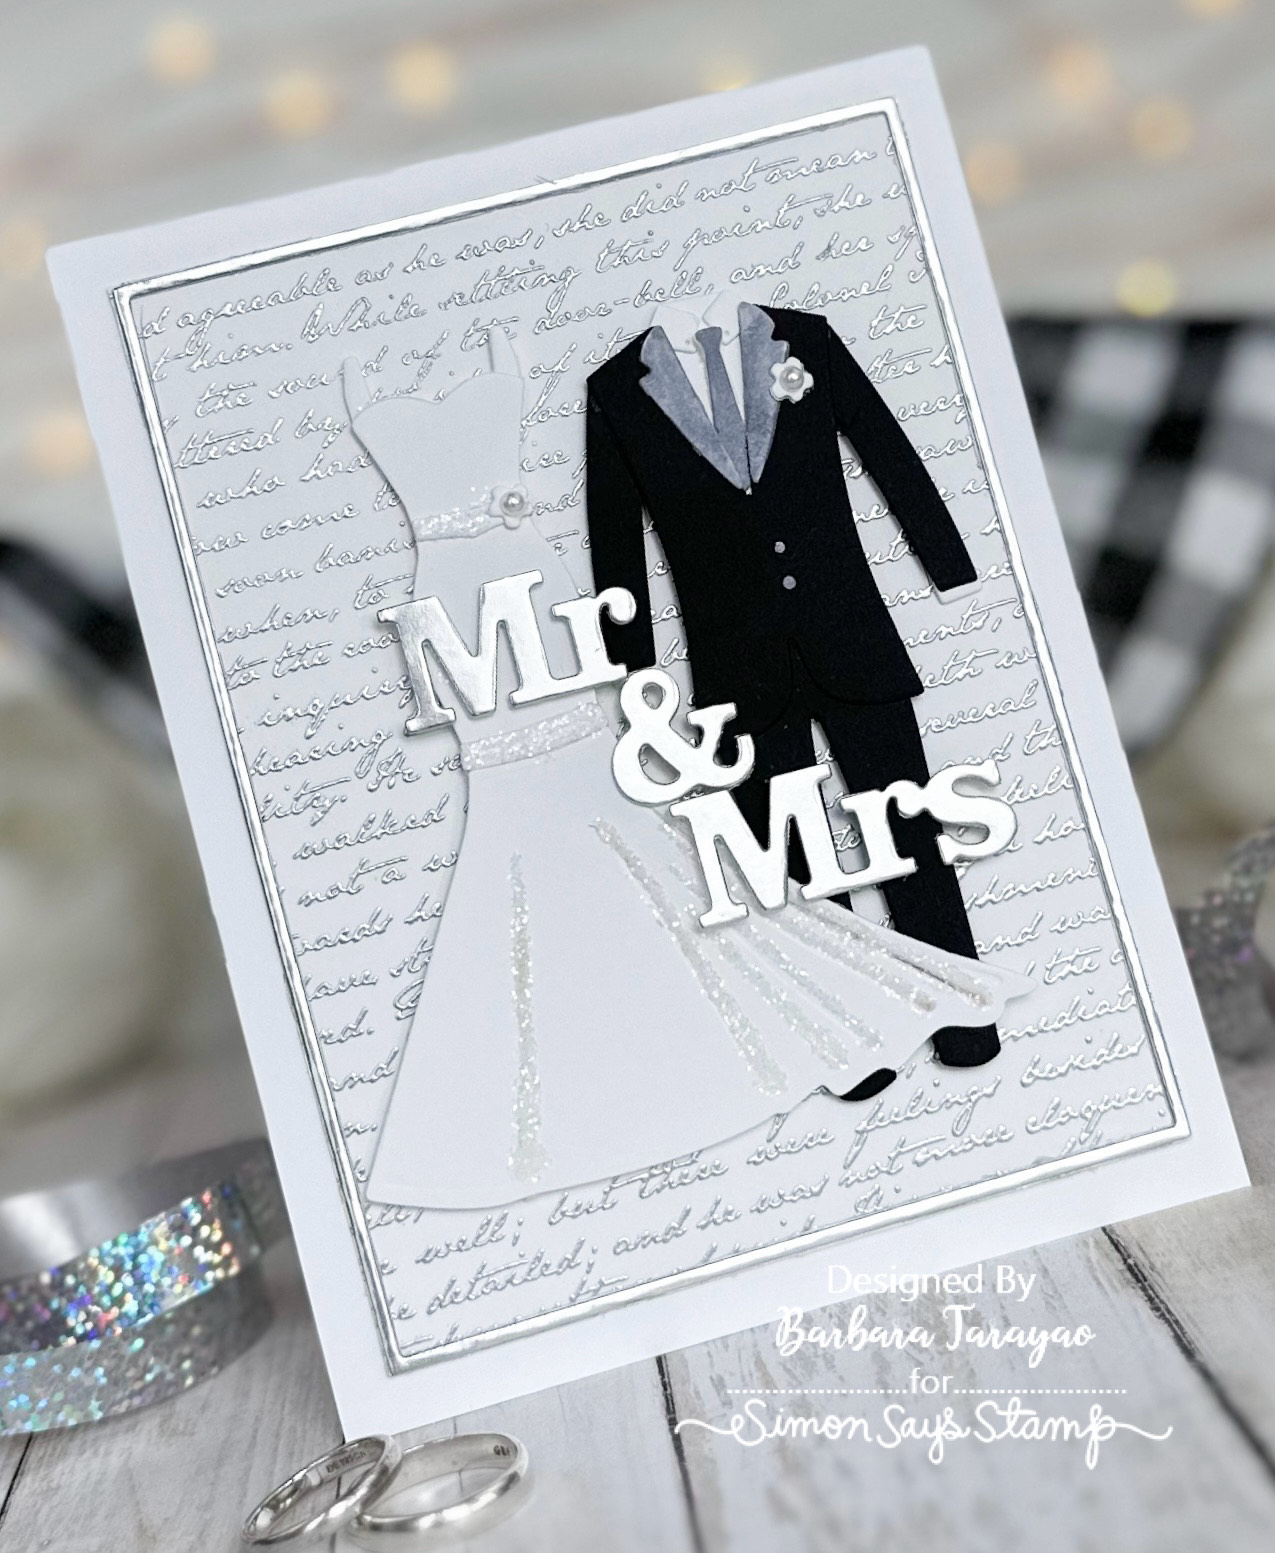
Something new, something borrowed and something blue! Is that how it goes? Anyway I thought I would make a wedding card for the first Wednesday Challenge in 2024! 
I began with an A2 size card base cut from smooth white cardstock. I then cut another panel of white cardstock a bit smaller to leave a border. I stamped that panel using the My Favorite Things Romantic Script background stamp in clear ink and heat embossing that with silver embossing powder.
I then die cut a thin frame to fit the embossed panel and adhered to the card base. I then die cut the wedding dress and tux from white and black cardstock and using liquid glue I assembled all the pieces and then adhered the dress and tux to the front of the card.
I die cut the Mr. & Mrs. from silver cardstock and adhered them on top of the dress and tux. I used a few pieces of 3d foam squares. I then added a couple of pearls to dress and tux and a bit of stickles to the dress.

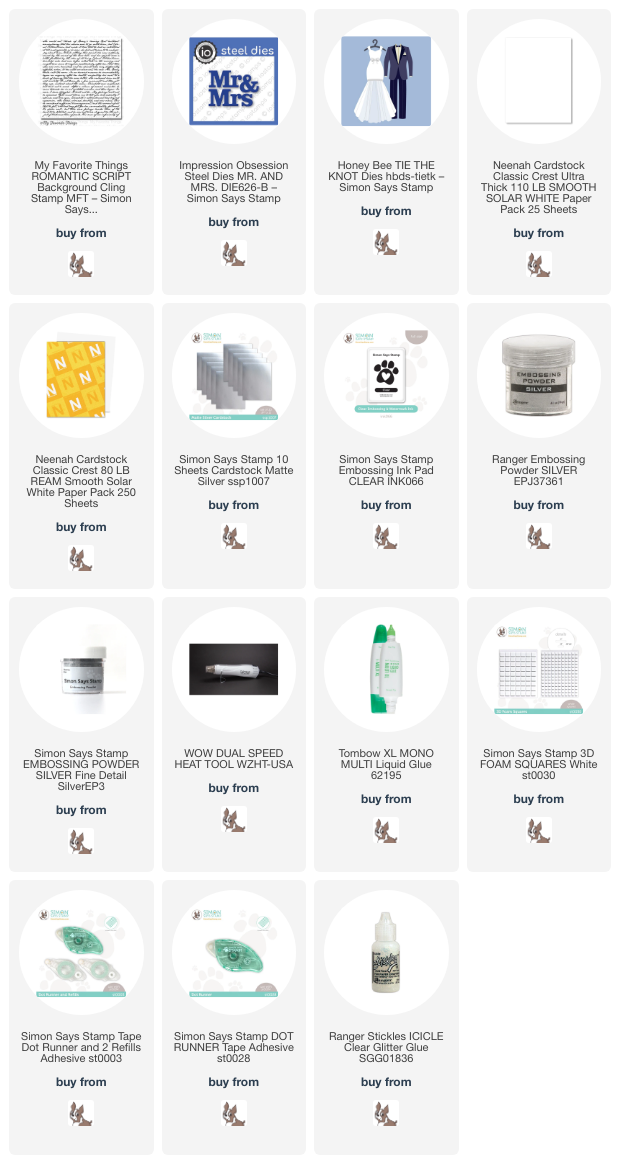
I hope you have enjoyed the project I shared. I have listed and linked all the products I used for your convenience. Thank you so much for stopping by!!

Supplies:
Now it's your turn! Happy crafting!

Do you use Instagram ?  If so please add  #ssswchallenge to your challenge entry uploads so we can see them on there too.


You have until Wed  8am Ohio time. 1pm UK time, 2 pm CET to join in

Thursday, December 28, 2023

Make Your Own Sparkle card

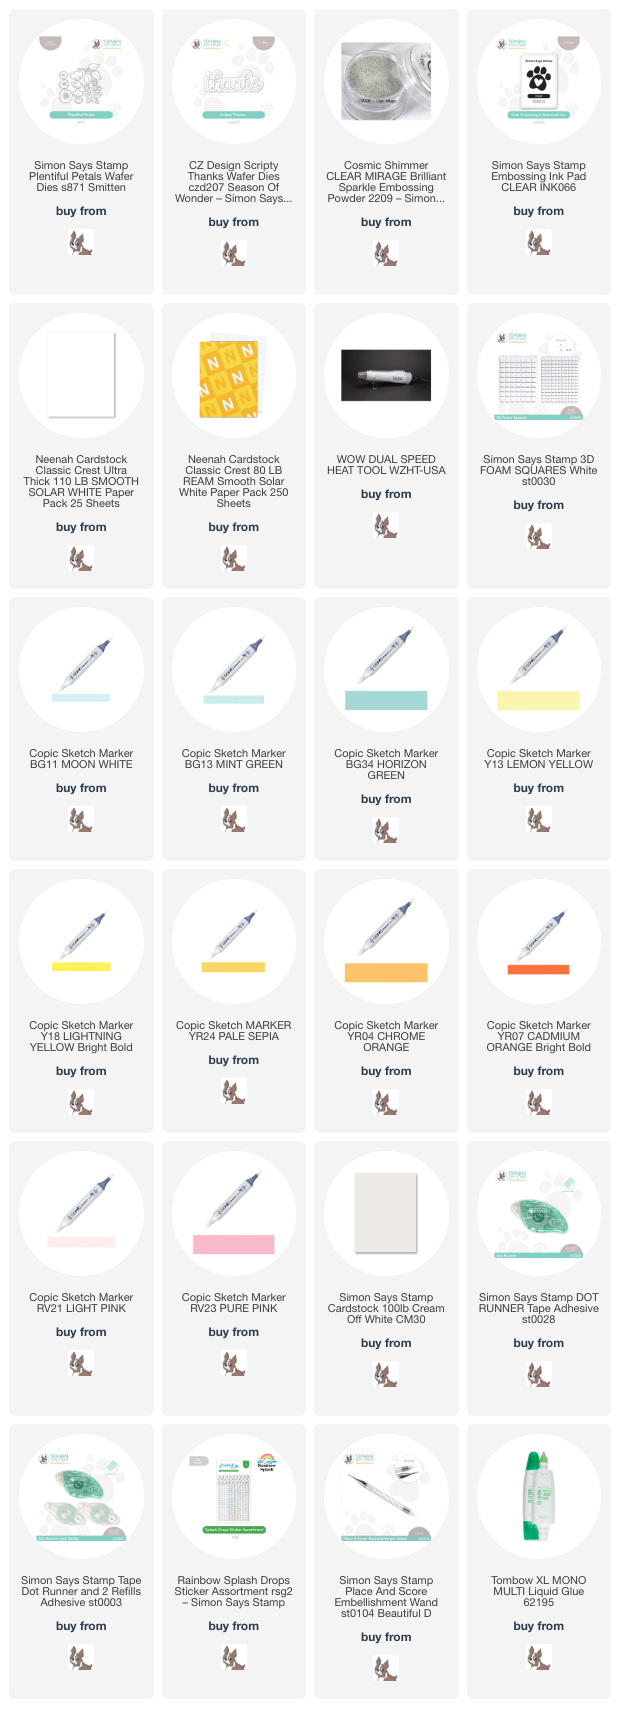
It's so fun playing with embossing powders. I have to admit over the years I have collected a whole drawer full! I wanted to share a technique of customizing your own glitter paper using sparkling embossing powder. So many types of embossing powders. Clear, colored, sparkly! The possibilities are endless! You can add them to white or colored cardstock depending on what your project is.
I made this card using an A2 size card base from smooth white cardstock. I then cut a panel of cream cardstock and adhered it to the card base. I then die cut flowers from white cardstock and colored them in with copic markers. 
I then added clear embossing ink directly to a square of white cardstock. I sprinkled on sparkly embossing powder and heat set it with a heat tool. I created a square of silvery sparkly cardstock. I die cut the word thanks from it. I then die cut the coordinating shadow die from white cardstock.
I arranged the flowers and the thanks sentiment on the cream cardstock. I used 3d foam squares to adhere them for a bit of dimension. I added some clear jewels to finish this fun card off.

I hope you enjoyed the card I made and got some inspiration. Next time you want to have that perfect glittery cardstock for your project, give this technique a try! I have provided affiliate links to everything I used to make this card below. Have a great day and thank you for stopping by!

Supplies:

Tuesday, December 26, 2023

Big Wish card

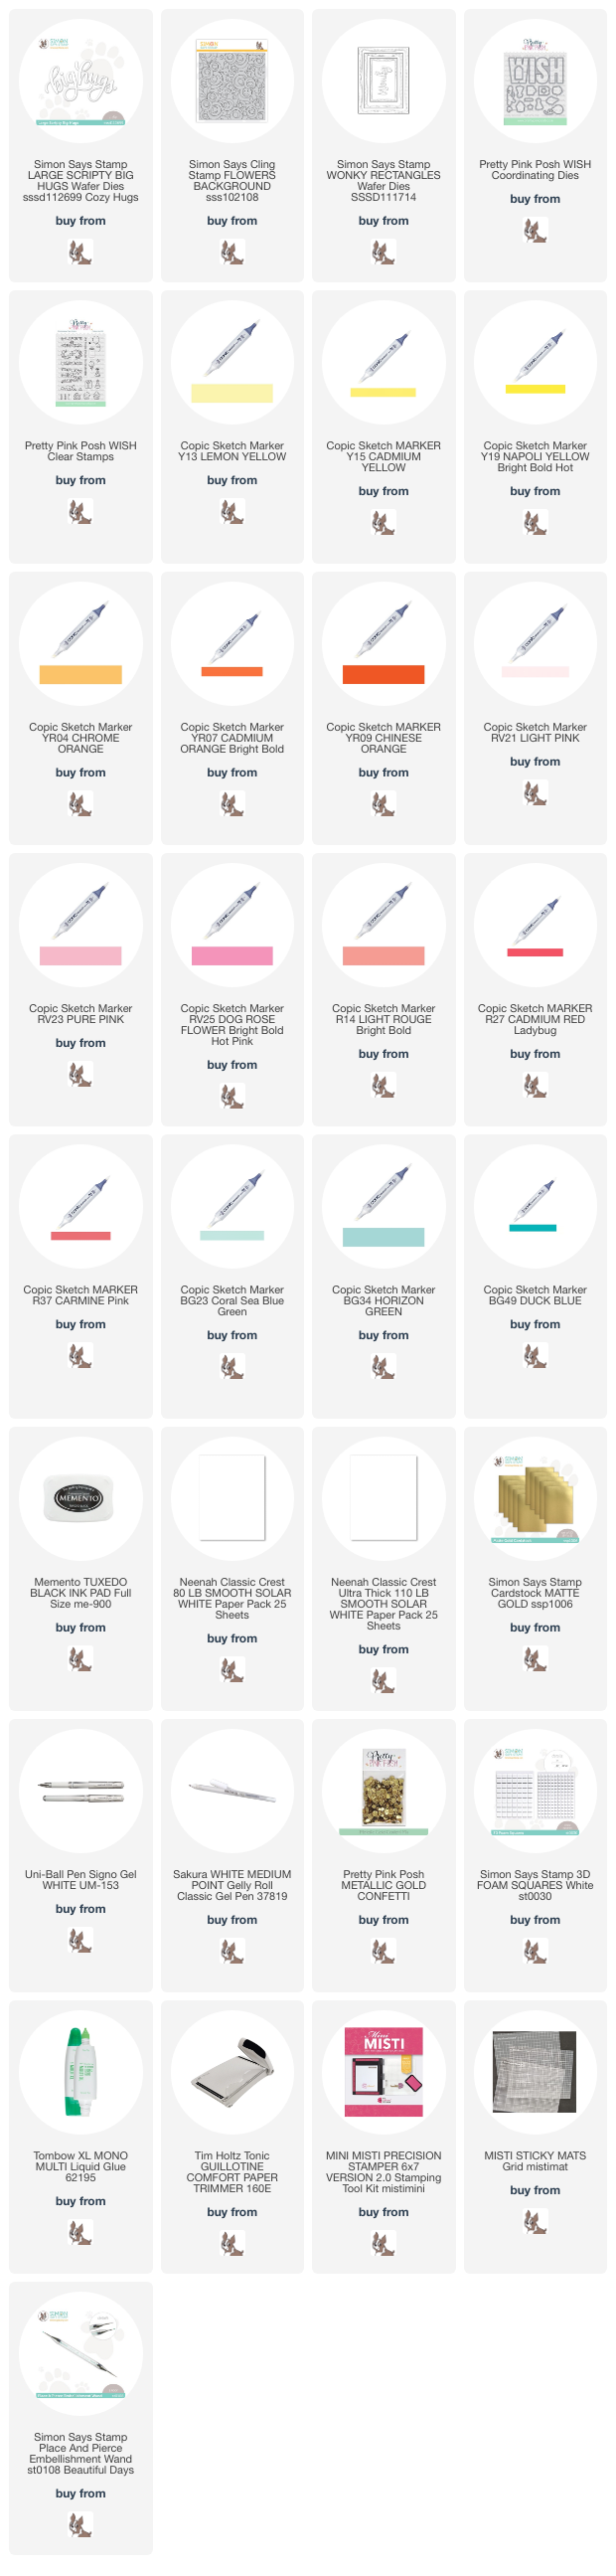
I've needed some much needed color therapy this week. Using the amazing Spring Flowers Cling background stamp I was able to satisfy that need!
This card would have made a great shaker card but I wanted the vibrant colors to be the star of this card. 
I love using these large dies that almost fill an A2 size card front. Allows me to use lots of white space too.
I made this card using smooth white cardstock for the card base. I then stamped the background on a piece of smooth 80lb cardstock in black copic friendly ink and colored it in using copic markers. I then trimmed it down to leave a white border and adhered it to the card base.
Using another piece of white cardstock I used the Wonky rectangle die to cut a panel to cover the colored portion of the card. I then die cut the Wish die from the the center of the panel and then I adhered it to the card with 3d foam squares to give it some dimension and then added the word "big" die cut from matte gold cardstock. I adhered that with a combination of liquid glue and more foam squares. I stamped the sub-sentiment and trimmed it down and added it to the top of the card. I added a few flat gold sequins to finish this card off.

I hope you enjoyed the card I made and got some inspiration. Next time you are having a bad day, sit down and color! If you are like me, it will not solve your problems, but it definitely helps take your mind off whatever it is and relaxes you. I have provided affiliate links to everything I used to make this card below. Have a great day and thank you for stopping by!

Supplies: