Thursday, December 21, 2023
Lined Love You cards
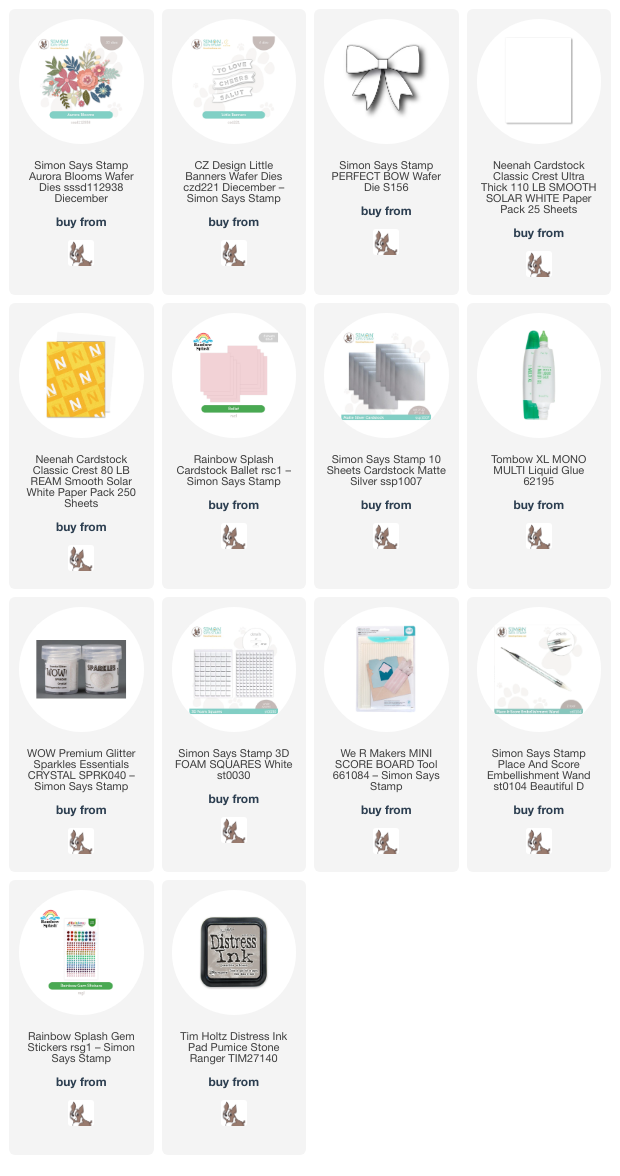
Sharing a couple of projects using the Simon Says Stamp Lined Love You die from the new Smitten release with you today!
Let's get two cards using one die cut! This technique uses the negative and positive cuts. I have made a fun glittery background for these Valentines.
To make the striped glittery paper for my Love You die cut I used a pink, red, silver and gold glitter cardstock trimmed to a square big enough to fit the large die. I then used a paper trimmer to cut strips out of each square. I then applied the strips to a piece of white paper that was covered with adhesive in a diagonal pattern.
I then added the Love You shadow die and cut it out of the striped glitter panel and saved both the positive and negative pieces. I then created a panel from gray cardstock using texture paste and a heart stencil. I added that to a white A2 size card base and the positive pieces of the Love You die. I stamped the sub-sentiment in red ink and used a sentiment die strip to cut it out. I popped that up with a 3d foam square.
I then used more gray cardstock to create the next A2 size card base and adhered the negative pieces of the Love You shadow. I used more 3d foam squares to pop that up and then added the Love You cut 3 times from white cardstock. I used the My Love Greeting stamp set for the XOXO's also stamped in red ink.
Out of white cardstock I die cut a few flowers from a die in my stash and added them to the card for a little interest. I have a brief video/reel on how I cut up the glitter cardstock over on my Instagram channel if you want to have a better idea of how I did that.
I hope you enjoyed the projects I made and you got some inspiration! I have provided affiliate links below to it supplies I used for your convenience.
Supplies:
Wednesday, December 20, 2023
Honey Bee Party Time
Hi all and welcome to another week of the Simon Says Stamp Wednesday Challenge.
This week's challenge theme is Party Time
We are featuring products from Honey Bee. You don't have to use them to join in but if you have some we would love to see what you make! As always just for entering you will be eligible for the the drawing of a $25 voucher to the Simon store!
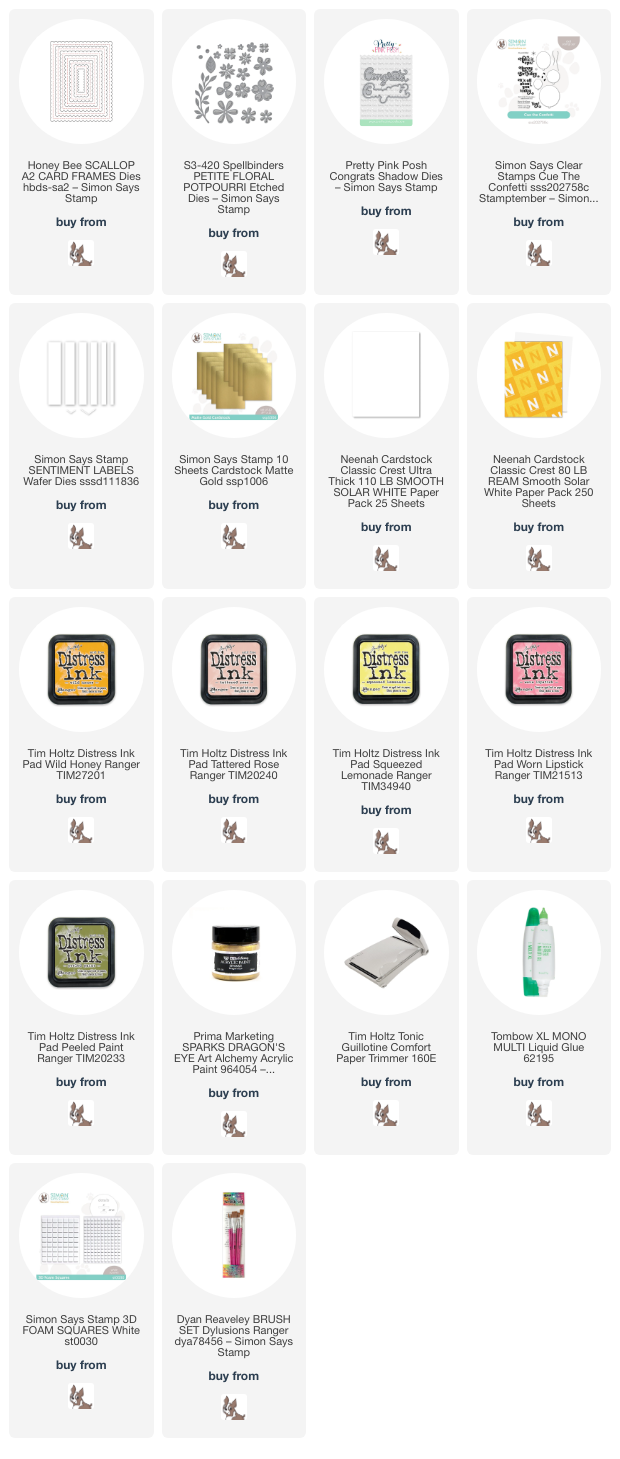
This post comes the day after my birthday so I wanted to make myself a birthday card. Sounds a little silly but I wanted to make a card with a little bit of spring. I know we are just getting into the winter so a few flowers can lift my spirits! I hope you enjoy it too!
I made this A2 size card base from smooth white cardstock. Using watercolor paper I made a plaid background with water and distress ink. It was very easy. I just used a paint brush and painted lines diagonally.
After the watercolored plaid background was dry, I trimmed down the panel to leave a bit of a border and adhered it to the card base. I then die cut the Honey Bee scalloped stitched rectangle die from white cardstock and adhered it to the center of the card base. I then die cut flowers, leaves and stems using colored cardstock and a flower die from my stash.
I popped up the flowers with 3d foam squares and glued the leaves and stamp to the scalloped panel. I die cut the Congrats from gold matte cardstock. The sub-sentiment was stamped on to a strip of cardstock and adhered above Congrats.
I hope you have enjoyed the project I shared and got some inspiration! I have listed and linked all the products I used for your convenience. Thank you so much for stopping by!!
Supplies:
Now it's your turn! Happy crafting!
Do you use Instagram ? If so please add #ssswchallenge to your challenge entry uploads so we can see them on there too.
You have until Wed 8am Ohio time. 1pm UK time, 2 pm CET to join in
Thursday, December 14, 2023
Simon Says Stamp Smitten Release Day
Happy Release Day!! I'm so happy to share a project I made using some of the goodies from the new Simon Says Stamp Smitten release! Click HERE to see the entire release.
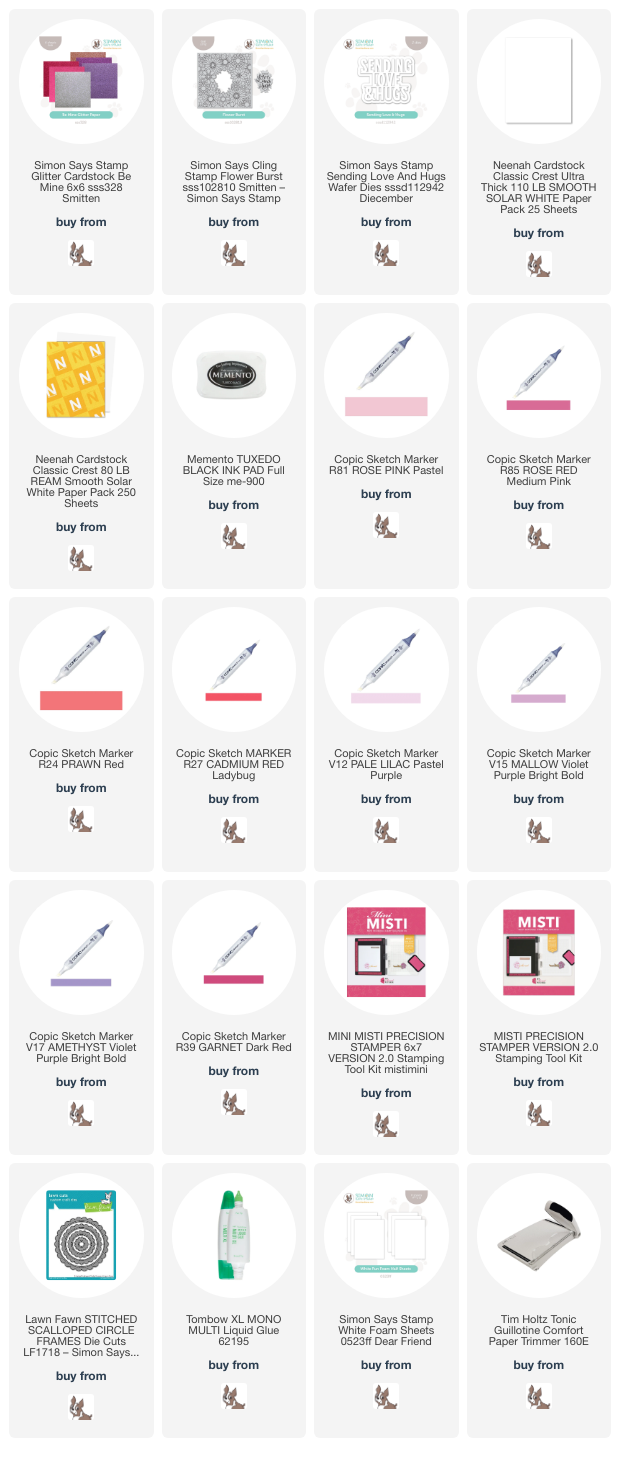
It's a nice change of pace to create a non-holiday project. Such a fun release! I have chosen to use the Flower Burst cling background stamp. I needed a bit of color therapy and this stamp was perfect to sit down and just color away!
I made this card using an A2 size card base from smooth white cardstock. On another panel of white cardstock I stamped the Flower Burst background stamp using copic friendly black ink.
I then chose copic colors in shades of red, pink and purple and colored each flower in. I also added some dot detail and white gel pen accents. I trimmed it to fit the card base to leave a bit of a white border.
Last, I die cut the sentiment from the new Be Mine glitter pack included in this new Smitten release. I also cut the sentiment from craft foam to pop it up in the center of the scalloped circle of the card.
I hope you enjoyed the new Smitten release and the project I made. For your convenience I have listed and linked all the supplies I used. Thank you for stopping by!! Happy release day!!
Supplies:
Wednesday, December 13, 2023
Lawn Fawn Christmas Critters
Hi all and welcome to another week of the Simon Says Stamp Wednesday Challenge.
This week's challenge theme is Christmas Critters
We are featuring products from Lawn Fawn. You don't have to use them to join in but if you have some we would love to see what you make! As always just for entering you will be eligible for the the drawing of a $25 voucher to the Simon store!
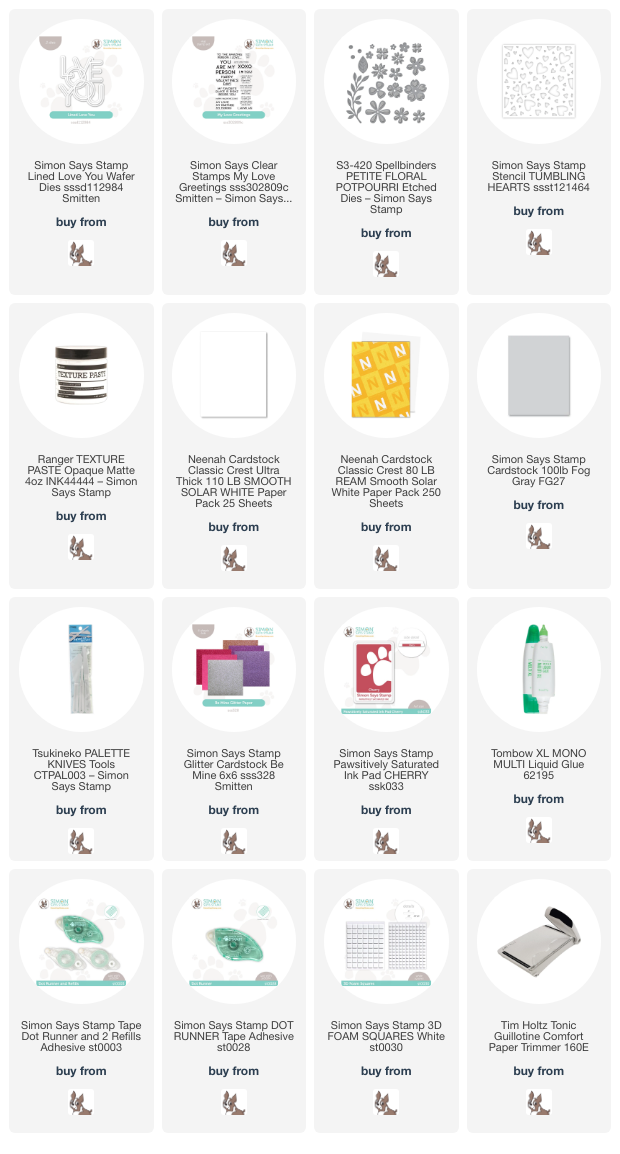
I know we need lots of tags when wrapping up those holiday gifts! I'm using the adorable Lawn Fawn Winter Owl stamp set to make a bunch of much needed holiday tags!
Using the Simon Says Stamp Large Rounded Tag die I cut 6 tags from craft cardstock. I also used the stitched circle hole reinforcer from the Simon Says Stamp Stitched Dress Up tags cut from white cardstock.
I the die cut two stars from the Simon Says Stamp nesting star dies from red cardstock and green pattern paper. I used a stylus and white acrylic paint to make white dots on the red stars. I stamped the Lawn Fawn Winter Owl 6 times using black alcohol friendly ink and colored the owls with copic markers. I fussy cut the owls out and adhered them to the center of the stars.
I die cut the sentiments from the CZ Holiday Typewriter Trio from white cardstock and added them to the top and bottom of each tag. To finish the tags I've added sheer red ribbon and a wooden button.
I hope you have enjoyed the project I shared. I have listed and linked all the products I used for your convenience. Thank you so much for stopping by!!
Supplies:
Now it's your turn! Happy crafting!
Do you use Instagram ? If so please add #ssswchallenge to your challenge entry uploads so we can see them on there too.
You have until Wed 8am Ohio time. 1pm UK time, 2 pm CET to join in
Thursday, December 7, 2023
Home for Christmas card and giveaway
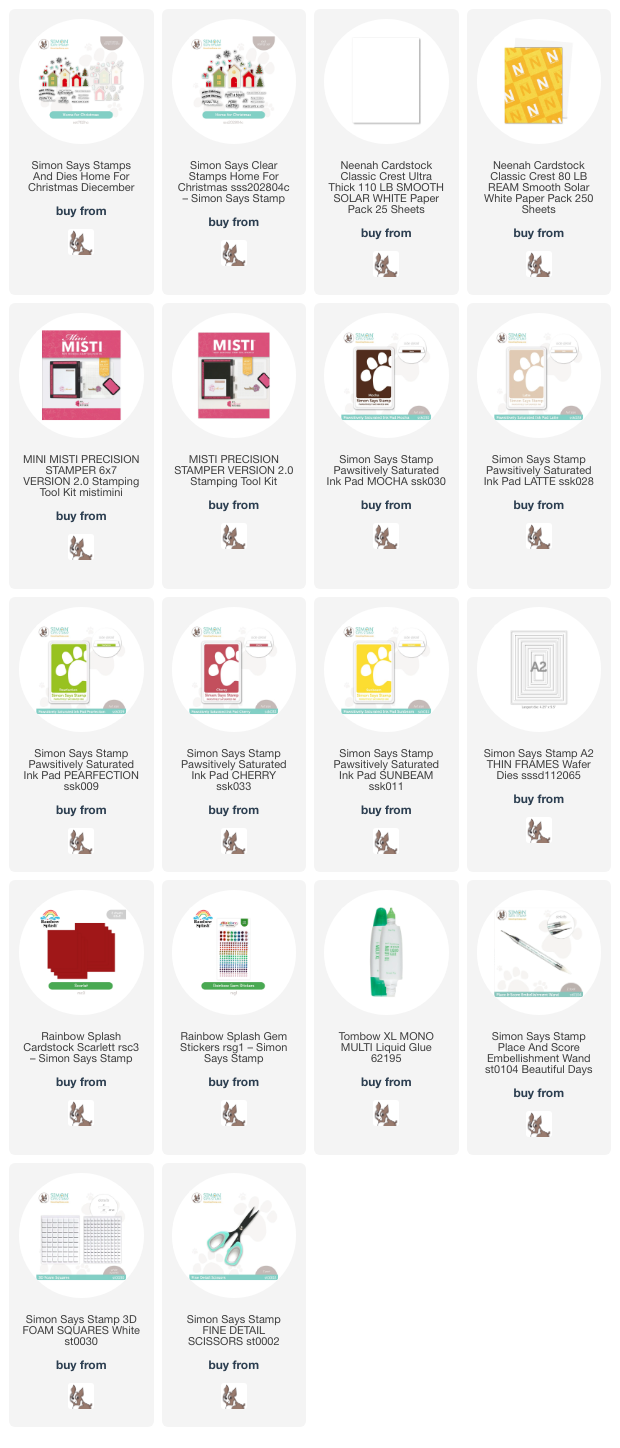
I want to share a card I made using my favorite stamp set from the DieCember release. It's the Home for Christmas stamp set. I love the layers that create these adorable little homes.
This card is made by using an A2 size card base from smooth white cardstock. Using the MISTI and some Pawsitively Saturated Inks from Simon Says Stamp I stamped out three houses, two trees and a wreath on to some heavy weight white cardstock and fussy cut them out and added foam squares to the back.
***You do not need to use a MISTI to be able to stamp the layered images in this stamp set.***
I arranged the stamped and cut images on the card base to map out where I wanted to stamp the greeting using more of the same ink. I then die cut a thin frame from red cardstock and glued it onto the card base. To finish it off, I added some red and gold gems for a bit of sparkle!
GIVEAWAY!!!
I am giving away a brand new unopened Home for Christmas stamp set and Trim a Tag stamp set. One winner will be chosen and contacted on Dec. 11th from the comments from this post. This is a private giveaway and not sponsored by any company or social media platform.
I hope you enjoyed the holiday card I made and you got some inspiration! I have provided affiliate links below to it supplies I used for your convenience.
Supplies:
Wednesday, December 6, 2023
Simon Says Stamp Use Craft Dies (DieCember)
Hi all and welcome to another week of the Simon Says Stamp Wednesday Challenge.
This week's challenge theme is Use Craft Dies (DieCember)
We are featuring exclusive products from Simon Says Stamp. You don't have to use them to join in but if you have some we would love to see what you make! As always just for entering you will be eligible for the the drawing of a $25 voucher to the Simon store!
It's my favorite time of the year! DieCember!! If I had to choose one medium to be my favorite I would definitely choose dies. Dies are so versatile and amazing for adding texture to projects. Just so many good things about dies! No one does dies like Simon Says Stamp! I made two projects today for this challenge.
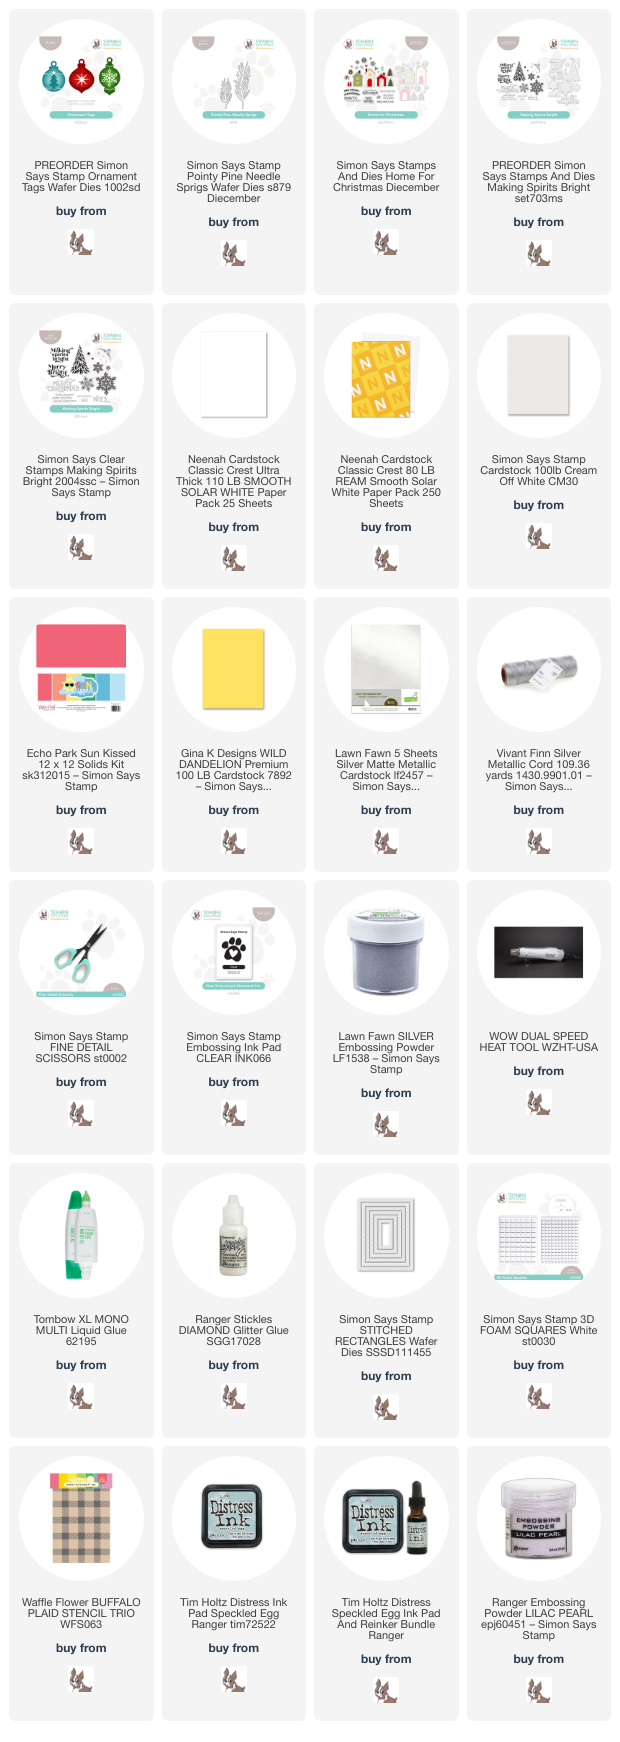
Both projects will showcases the Ornament Tags die set from the new DieCember release.
I made this card using an A2 size card base from smooth white cardstock. I then die cut a stitched rectangle from a piece of cream cardstock to leave a bit of a border.
I then cut the ornaments from the tag die set from light blue, red and yellow cardstock. Also, the shapes that will be placed in the middle of each ornament and glued them on. I arranged them on the cream panel but before I adhered them on I heat embossed the sentiment using silver embossing powder.
I die cut the ornaments one more time from silver cardstock and trimmed off just the tops and adhered them to the ornaments to give them some dimension.
Last, I added a bow made from silver twine to the tops of each ornament with a bit of liquid glue.
Next, I wanted to make a monochromatic card. I stenciled a buffalo check pattern onto a piece of white cardstock using distress ink.
I die cut the ornament from white cardstock and ink blended it using distress ink and adhered the snowflake to the center. I added a bit of stickles to the snowflake for sparkle.
I also used the Pointy Pine Needle Sprig die cut from white cardstock. I stamped a sentiment from the Making Spirits Bright stamp set and used the coordinating die to cut it out. I embossed it using blue ink and heat set it with pearl embossing powder and added a few sequins for extra shine and sparkle.
I hope you have enjoyed the projects I have made using some of the dies from the amazing new DieCember release. I have listed and linked all the products I used for your convenience. Thank you so much for stopping by!!
Supplies:
Now it's your turn! Happy crafting!
Do you use Instagram ? If so please add #ssswchallenge to your challenge entry uploads so we can see them on there too.
You have until Wed 8am Ohio time. 1pm UK time, 2 pm CET to join in
Saturday, December 2, 2023
Simon Says Stamp DieCember release Blog Hop Day 1
I'm so happy to be participating in Day 1 of the Simon Says Stamp DieCember release blog hop! If you would like to see the entire new release just click HERE!
Make sure you take advantage of the the special blog hop promotion code with any purchase when you shop today!! Also remember to leave a comment here and each blog you visit. Each comment you leave will earn you more chances to win a $25 shopping spree at the Simon store! So fun!!
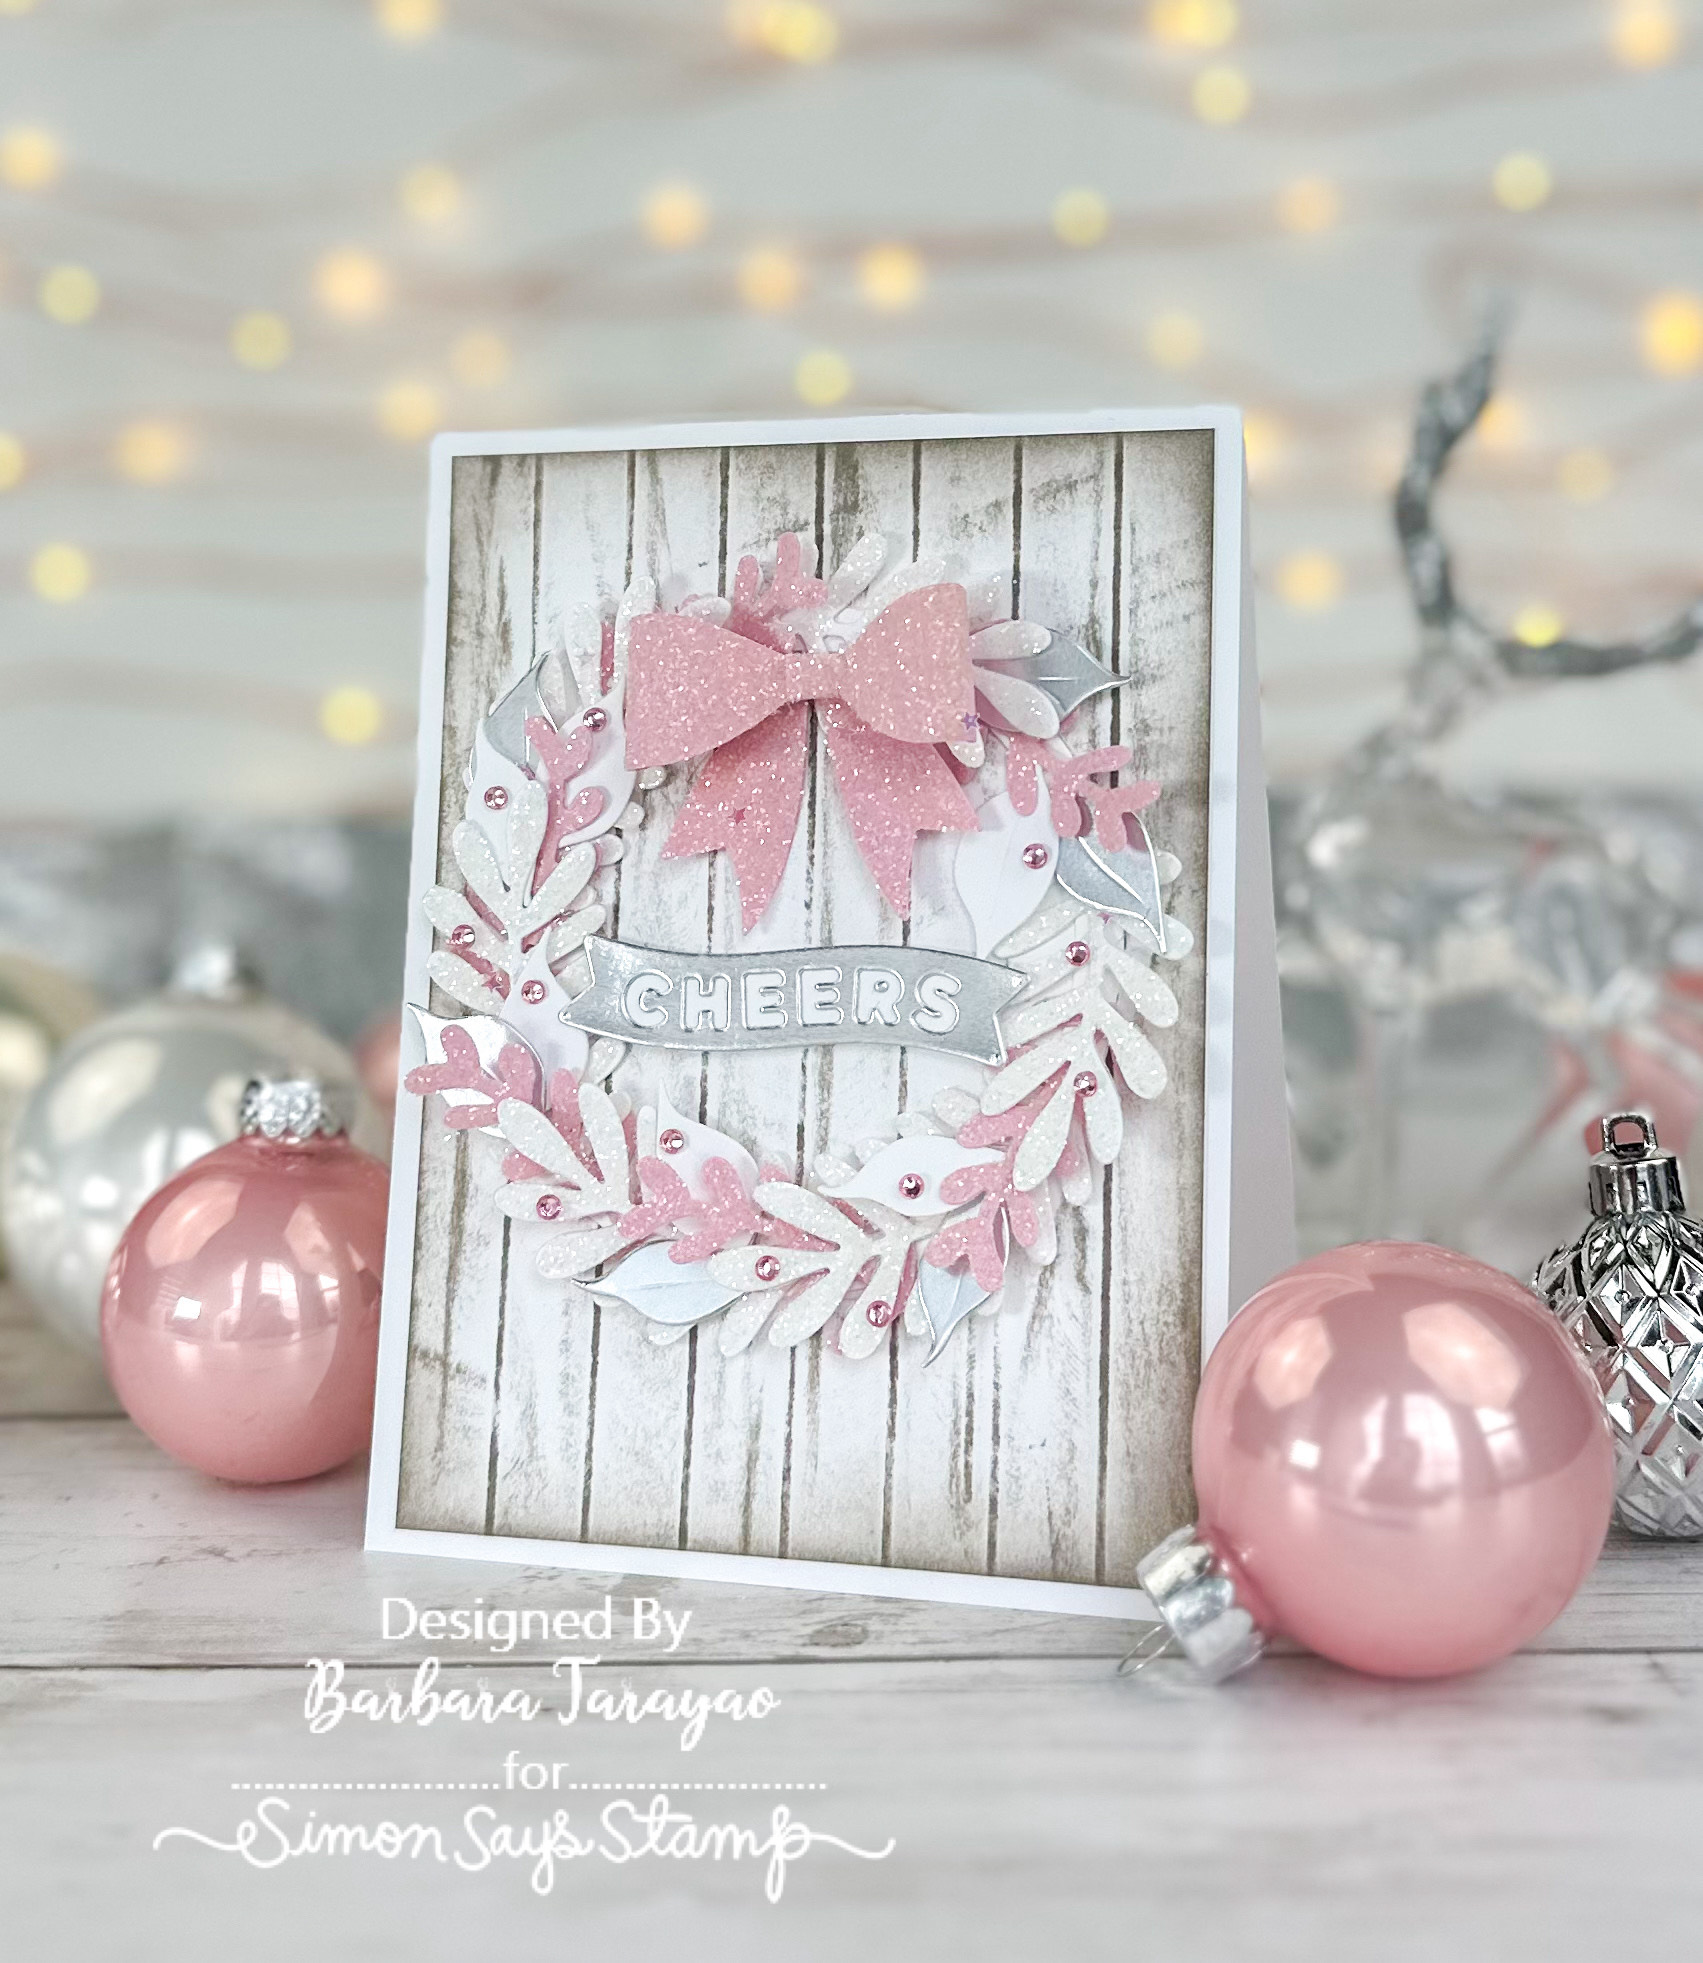
My project today uses the gorgeous dies from the Aurora Blooms die set. I die cut several of the leaves from the set to create a festive sparkly wreath.
I made this card using an A2 card base from smooth white cardstock. I then trimmed down another panel of white cardstock and scored it at every 1/2 inch. Using distress ink I dragged the ink pad over the scored panel to create the look of wood and adhered the panel to the card base.
I then die cut several of the leaves from the stamp set from white, pink, and silver cardstock. Before I arranged them in the shape of a wreath, I used liquid glue and clear glitter to add sparkle to some of the leaves for that festive sparkle. When the glittered leaves were dry I adhered them in a circle with liquid glue. I only added a dot of liquid glue to the base of each leaf so that the wreath would have a dimensional look.
I then die cut the Cheers from the new CZ Design Little Banners wafer dies out of silver cardstock and added a little bit of white cardstock behind it. I popped it up in the middle of the wreath with a 3d foam square. I then die cut the bow from pink cardstock and added glitter to it just like the leaves and adhered it to the top of the wreath. To finish this card off, I added a few pink jewels.
Make sure you check out Day 2 of the DieCember blog hop to see what some of your favorite makers have created! There is even more inspiration if you visit the DieCember gallery!
Subscribe to:
Posts (Atom)
.jpeg)
.jpeg)
.jpeg)
.jpeg)
.jpeg)
.jpeg)
.jpeg)


.jpeg)
.jpeg)


.jpeg)
.jpeg)


.jpeg)


.jpeg)
.jpeg)
.jpeg)
.jpeg)

.jpeg)


.jpeg)
.jpeg)