Friday, January 6, 2023

Colorful Toucan card Hugs release

Still having so much fun playing with the Simon Says Stamp Hugs release. I have also been playing a lot with alcohol inks and thought it would be fun make a very colorful card for Valentines.
I just fell in love with the Milo Toucan die and thought it would be perfect to pair with the Wild About You die and the alcohol background I made for it.
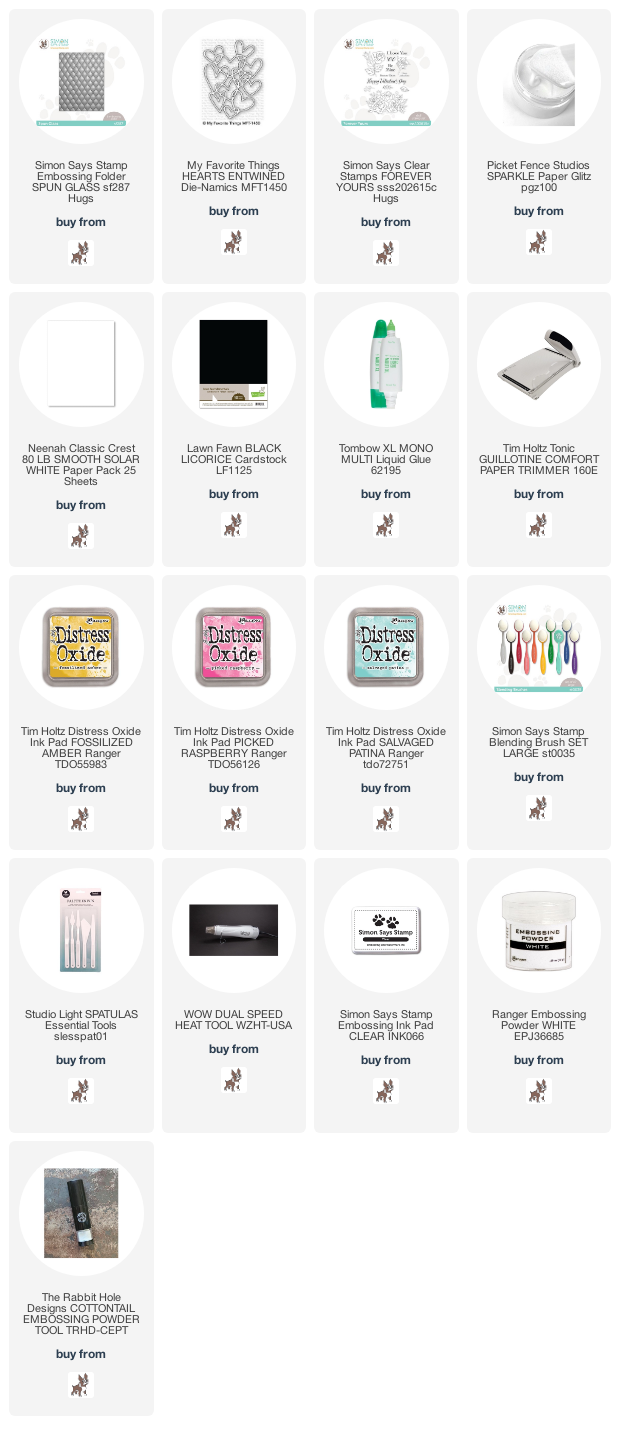
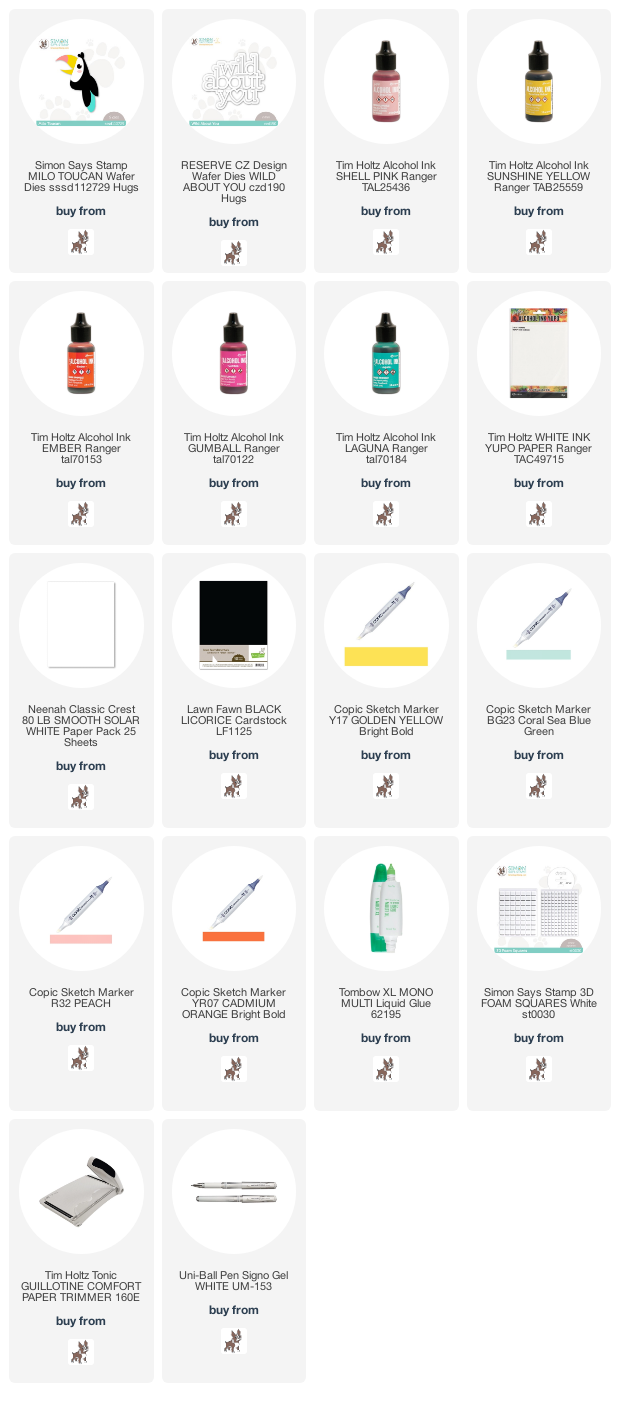
I began with an A2 size card base using white cardstock. I took a piece of Yupo paper and a few bright colors of alcohol ink. I created a very vibrant and colorful background. I trimmed that down and adhered it to my cardbase. I then die cut all the pieces of the toucan out, mostly from white and black cardstock. 
I used Copic markers to add the colorful parts of the bird. I put the bird together using liquid glue.
I then die cut the sentiment from white cardstock three times and adhered together with some glue for thickness. I added the sentiment to the lower left side of the panel and then added the toucan on top of the sentiment with 3d foam squares. I also added some detail to the toucan with a white gel pen.
I hope you enjoyed my colorful valentine. This one is going to my grandson! I have affiliate links below with all the supplies I used to make this card listed for your convenience. Hope you got some inspiration. Thank you for stopping by!!


Supply list:


Tuesday, January 3, 2023

Studio Light Something New

Hi all and welcome to another week of the Simon Says Stamp Wednesday Challenge.

This week's challenge theme is Something New

We are showcasing products exclusive to Studio Light. You don't have to use them to join in but if you have some we would love to see what you make! As always just for entering you will be eligible for the the drawing of a $25 voucher to the Simon store!
This week's challenge theme is so perfect. Everything is new being a new year! I have made an elegant wedding card. Perfect for the something new, something borrowed and something blue!
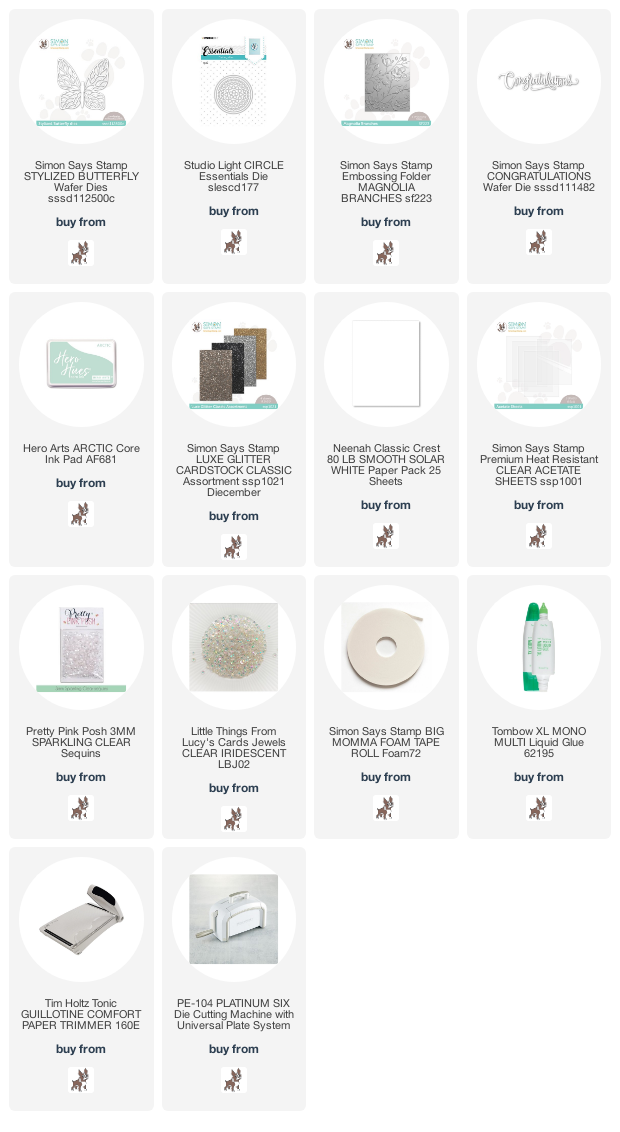
I made this card using an A2 size card base from smooth white cardstock. I then used another piece of white cardstock for the background. To prepare the background I trimmed it down to leave a bit of white border and then cut a circle from the upper middle of the panel using the Studio Light Circle Essentials die set. Using the Simon Says Stamp Magnolia Branches embossing folder I took the panel with the circle cut out and ran it through the embossing folder after inking up the smooth side of the folder with Hero Arts Arctic Core dye ink. Inking only the one side of the embossing folder will leave the raised parts of the embossing folder still white.
I then added a piece of acetate to the back of the circle using some liquid glue. I die cut a frame for the shaker window using the circle dies from the set and then glued that on as well. I then die cut the Simon Says Stamp Stylized Butterfly die from white cardstock and the center of the butterfly from Simon Says Stamp Luxe glitter cardstock for some sparkle.
I used the same glitter cardstock to die cut the Congrats sentiments. I adhered the sentiment with foam adhesive. I then filled the center of the circle with clear small sequins and added the panel with foam adhesive to leave space for the sequins to shake around. Using a stylus I added some iridescent jewels to the center of the raised flowers. I added the butterfly last with some liquid glue and popped up the wings of the butterfly for dimension.

I hope you have enjoyed the card I made today and got some inspiration! For your convenience I provided affiliate links to all of the products I have used for this card. 

Supplies:
Now it's you turn! Happy crafting!

Do you use Instagram ?  If so please add  #ssswchallenge to your challenge entry uploads so we can see them on there too.


You have until Wed  8am Ohio time. 1pm UK time, 2 pm CET to join in


Thursday, December 29, 2022

Stained Glass Valentine Hugs release

Sharing some more paper love! Have you checked out the Simon Says Stamp Hugs release? Click HERE if you want a peek. 
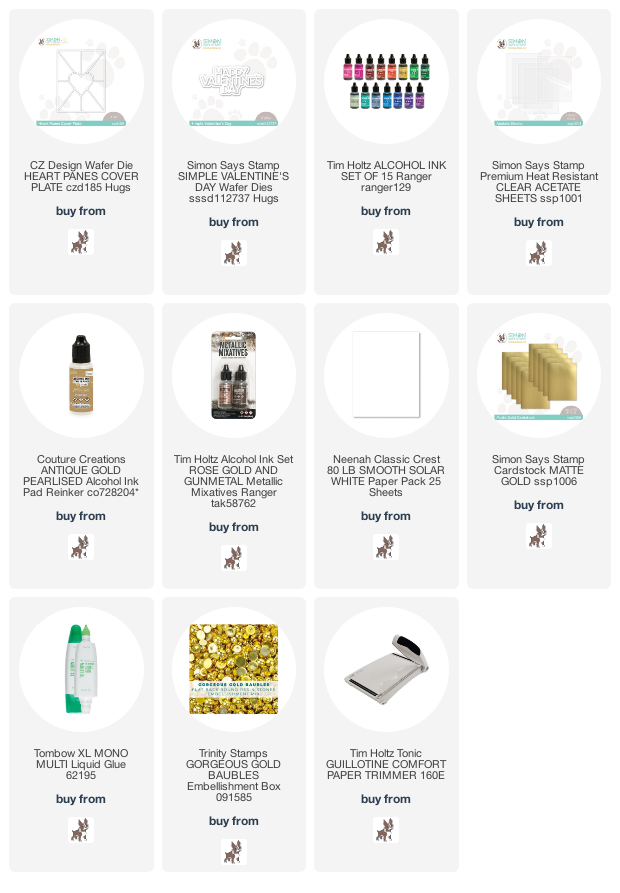
I think stained glass is so beautiful. I absolutely fell in love with the Heart Panes Cover Plate die. I wanted to try something fun and use alcohol inks on acetate to look like stained glass. So here is what I came up with!
I made this card using an A2 size card base out of smooth white cardstock. I chose several shades of red and pink alcohol inks that I used on panel of acetate. I added a bit of gold alcohol ink for shine. 
I die cut the cover plate frame out of white cardstock 3 times for thickness and glued together. I then added it to the acetate piece and then adhered it to the card base. The sentiment is the new Happy Valentine's Day die from the Hugs release. I cut it out of gold cardstock and added it to the center of the cover plate. I added a few gold flat pearls for a bit of interest.
Valentine's Day is just around the corner and I hope you got some inspiration. Also, if you are interested in how I created the beautiful stained glass look with alcohol inks, I watched several videos that Jennifer McGuire made on Youtube demonstrating this amazing technique. Tim Holtz is another great source for using alcohol inks. Hope that helps!! Thanks for stopping by!

I have provided affiliate links to all the products and supplies I used to make this card below.

Supplies:


Monday, December 26, 2022

Hey Girl card Hugs Release

Sharing some paper love with this fun friendship card! Have you checked out the Simon Says Stamp Hugs release? Click HERE if you want a peek.
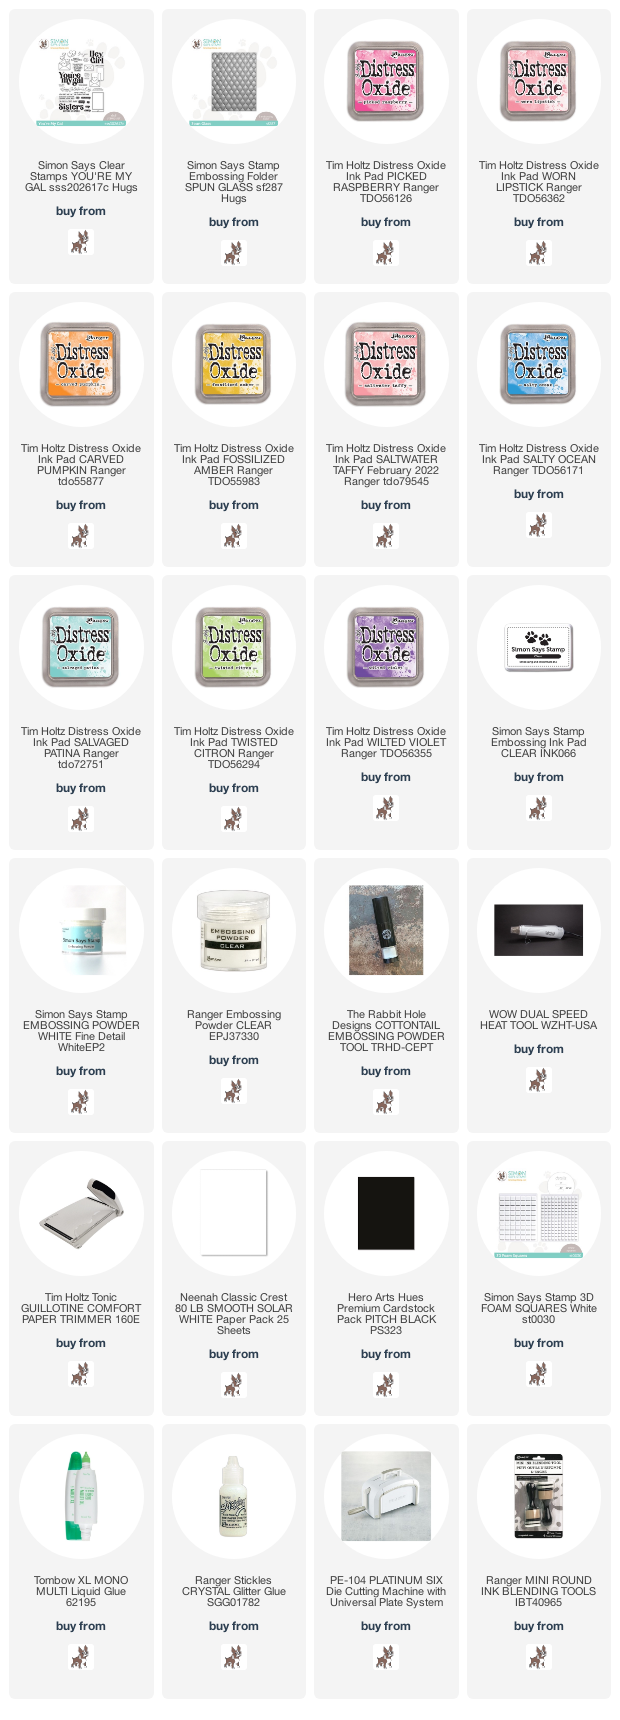
I made this card using an A2 card base made from smooth white cardstock. I trimmed down a panel of white cardstock to leave a white border and ran it through the Spun Glass embossing folder for a nice soft textured background.
I then stamped on another piece of white cardstock the the envelope image from the You're My Gal stamp set. I stamped the images using a clear embossing ink and then I heat set them with white embossing powder. 
After embossing the envelopes I used distress oxides and a blender tool to add color. I then used the coordinating dies to cut out several envelopes and arrange them around the main sentiment that I heat embossed using a distress oxide and clear embossing powder.  I adhered them with some 3d foam squares and trimmed off the excess before gluing the whole panel to the card base. The sub-sentiment is also from the same stamp set and I used more white embossing powder on a strip of black cardstock. I added a bit of sparkle to each heart on the envelopes with some stickles.

This card was so much fun and easy to make. Combining a few of my favorite techniques. Ink blending, embossing and die cutting! Hope this inspires you to share some paper love with a friend who might need to hear from you!!!

If you are interested in any of the products I have used to make this card, I have listed and linked them below. Thanks for stopping by!💕

Supplies:


Thursday, December 22, 2022

Entwined Hearts card

I didn't think it was possible to have a favorite embossing folder! Simon Says Stamp has so many gorgeous folders. But I do!! The Spun Glass embossing folder from the new Hugs release is so special and unique! I have made a fun card using this folder and a technique using 3 distress oxide inks to create 5 colors.
I began with an A2 size card base made from smooth white cardstock. I like to use Neenah Solar White smooth cardstock when ink blending with distress inks. I feel like it takes the color so well and is so easy to blend on. 
You could probably use any type of ink to create these colors but I like to use distress oxides in yellow, pink and blue. I start with a 4 1/4" X 5 1/2" size panel that I can trim down to leave a white border. I ink in thirds. First I blend the yellow and then the pink overlapping the yellow which will create orange. The last third I add blue overlapping the pink which will create purple. It's a great way to stretch your ink supplies! I then added a shimmery glaze over the whole panel. I set it aside to dry completely before I ran it through the embossing folder.
I then die cut the entwining hearts 3 times and layered them together with liquid adhesive for thickness. I stamped the sentiment using a sticky clear ink and embossed it on black cardstock using white embossing powder and trimmed it to a strip.

I made a short tutorial to show you how I made this shimmery background.
I hope you got inspired to create your own amazing background for almost any kind of card. I have provided a list and links to all the products I used to make this card. Thank you so much for stopping by!

Supplies:


Tuesday, December 20, 2022

Simon Says Stamp Party!

Hi all and welcome to another week of the Simon Says Stamp Wednesday Challenge.

This week's challenge theme is Party!

We are showcasing products exclusive to Simon Says Stamp. You don't have to use them to join in but if you have some we would love to see what you make! As always just for entering you will be eligible for the the drawing of a $25 voucher to the Simon store!
Tis' the season to party!! As for me, I used to be a party all night girl but these days my favorite treat, a good movie and in bed by 10pm is more my speed! 😆
I still know how to make a party in a card though! I call this card "Party with the Stars!"
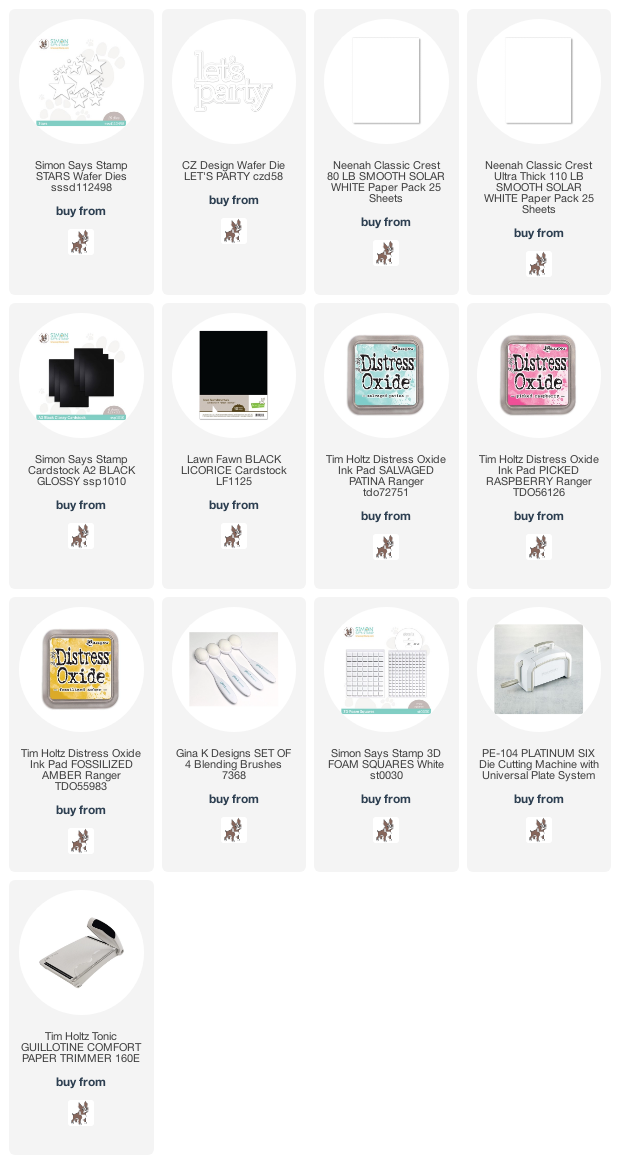
I made this card using an A2 card base from smooth white cardstock. I then trimmed down another piece of white cardstock to leave a bit of a white border. Then, using just three distress inks, I was able to create a five color ink blend. I have a tutorial coming soon showing how I did that. I also splattered water drops and ink to add to the festive look of this background. 
I then die cut out lots of stars in all sizes from heavy weight white cardstock and arranged them in a cascading formation across the card with 3d foam adhesive. Last, I die cut the Let's Party sentiment out of white cardstock and used a black cardstock for the outline. I popped up the sentiment using 3d foam adhesive.
I wanted to show a little behind the scenes of how I photographed this card using just some natural light
and a few ribbon curls for props. I had so much fun making this card. You can make this card for a  birthday or new year's card. Pretty much anything you want to celebrate!

I hope you got some inspiration. If you liked any of the products I used to make this card, I have listed and linked them below. Thank you for stopping by!

Supplies:
Now it's you turn! Happy crafting!

Do you use Instagram ?  If so please add  #ssswchallenge to your challenge entry uploads so we can see them on there too.


You have until Wed  8am Ohio time. 1pm UK time, 2 pm CET to join in


Saturday, December 17, 2022

Simon Says Stamp Hugs release Shaker card

Shaking things up a bit with a fun shaker card using some products from the new Simon Says Stamp Hugs release.
It's been a nice change of pace to switch from Christmas to Valentines Day. Makes me so excited for Spring even though it still a bit of a wait. As I type this I see more snow falling out my window!
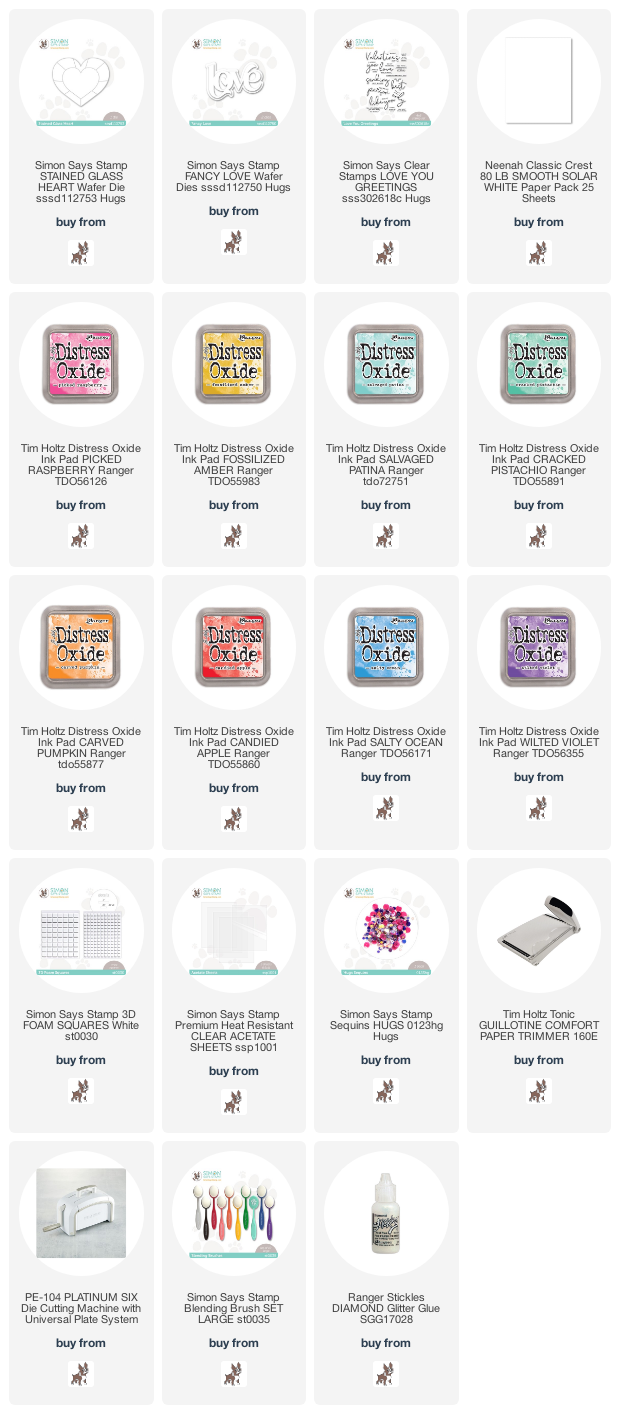
I made this card using an A2 size card base made from smooth white cardstock. I then cut another piece of white cardstock a bit smaller to create a panel to leave a white border. I chose some bright fun distress oxides to ink blend a cheerful background. Using a paintbrush and some white paint for splatters along with more distress ink and water. I then die cut the heart shape using the Stained Glass Heart die. I thought it would be perfect for a shaker card. I added some acetate to the back and replaced the center heart that i had cut out of the panel.
I then die cut the Fancy Love die out of white cardstock and ink blended it. I added a bit of sparkle to the heart on the love sentiment. I added a sub-sentiment from the Love You Greeting stamp set and cut it down to a strip. Please leave a comment if you have any more questions about how I put this card together. 
This is such a fun release and if you want to see the entire release just click HERE!

I have listed and linked all of the products I have used to make this fun shaker card. Thank you for stopping by!!

Supplies: