Wednesday, November 22, 2023

Colorado Crafts Make it Sparkle

Hi all and welcome to another week of the Simon Says Stamp Wednesday Challenge.

This week's challenge theme is Make it Sparkle

We are featuring products from Colorado Craft Co. You don't have to use them to join in but if you have some we would love to see what you make! As always just for entering you will be eligible for the the drawing of a $25 voucher to the Simon store!
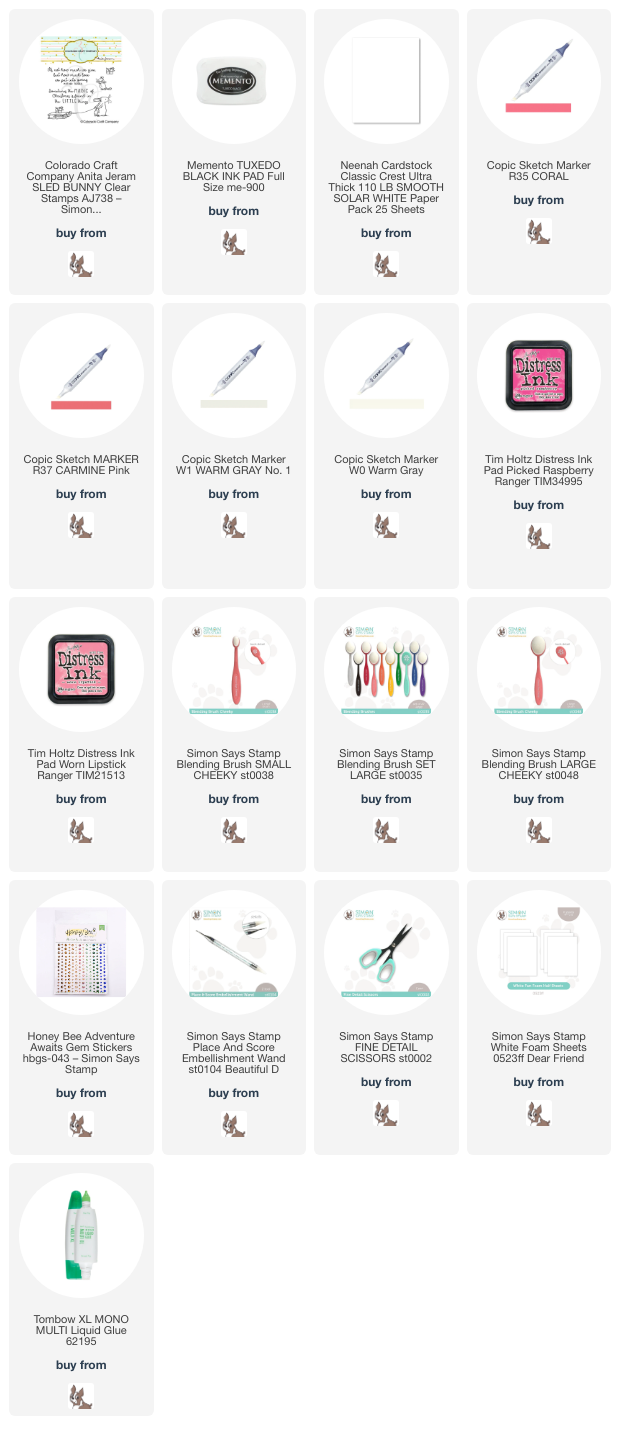
I just fell in love with this adorable little snow bunny! This is from Colorado Craft Co. Anita Jeram Sled Bunny stamp set. I just had to make a sweet little card using this stamp set.
I made this card using an A2 size card base cut from smooth white cardstock. I then ink blended another piece of white cardstock using distress ink. I masked it off and ink splattered it with water and white acrylic paint to look like a pink snowy sky.
I then stamped the images from the stamp set and colored them in using copic markers. I stamped the present several times and fussy cut them out and stacked them on the sled.
I then stamped the greeting underneath and added some sparkly gems to the pink sky. Very simple and sweet card this week.

I hope you have enjoyed the project I have made and got some inspiration. I have listed and linked all the products I used for your convenience. Thank you so much for stopping by!!

Supplies:
Now it's your turn! Happy crafting!

Do you use Instagram ?  If so please add  #ssswchallenge to your challenge entry uploads so we can see them on there too.


You have until Wed  8am Ohio time. 1pm UK time, 2 pm CET to join in


Monday, November 20, 2023

Christmas Seals All the Joy release

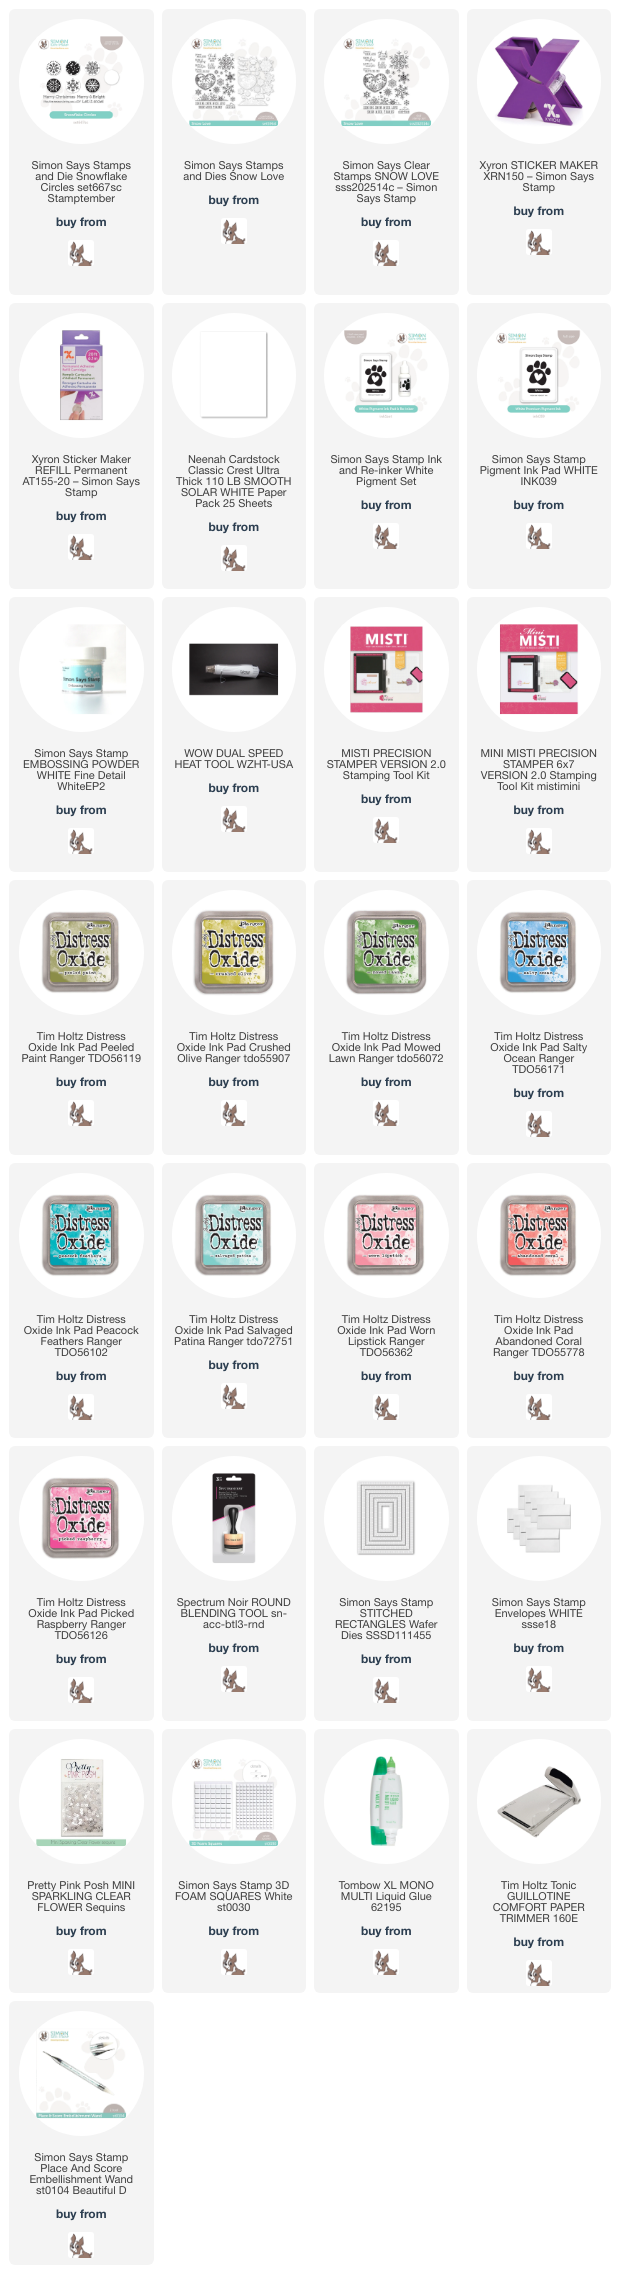
I hope you have been enjoying the new Simon Says Stamp All the Joy release. I have another fun project to share from this release with you. I will be using the new Snowflake Circles to make fun Christmas seals for you holiday cards! 
First I made a set of Christmas cards using the emboss resists method. If you are not familiar with this technique I will try to explain. First I stamped the snowflakes using white pigment ink. Then I sprinkled white embossing powder over the stamped image and then tapped off the powder that did not stick to the pigment ink and poured it back into the container. 
Using a heat tool, I heat set the powder that stuck to the pigment ink until it becomes solid and shiny. It will cool in seconds and then you can add distress ink over the top using a blending tool. The embossed areas with resist the ink. I like to take a dry paper towel and run it over the top of the embossed images to wipe away any ink sitting on top. I hope that helps explain it a bit!
Making the Christmas seals was super easy! I just stamped one of the snowflake images from the Snowflake Circles stamp set and stamped it using white pigment ink and then added white embossing powder. I used a heat tool to set the powder. I then used the circle die that coordinates with this stamp set to die cut it out. I did this several times out of different colored cardstock. I then ran the circles through a Xyron Sticker maker which adds adhesive to the backs of the circles turning them into a sticker! I have a video over on my Instagram page showing step by step how I made these.

I hope you have enjoyed the project I created and got some holiday inspiration. I have listed all the supplies that I have used for your convenience. Thank you so much for stopping by! Happy crafting!!

Supplies:


Wednesday, November 15, 2023

Whimsy Stamps Thanks/Thanksgiving

Hi all and welcome to another week of the Simon Says Stamp Wednesday Challenge.

This week's challenge theme is Thanks/Thanksgiving

We are featuring products from Whimsy Stamps. You don't have to use them to join in but if you have some we would love to see what you make! As always just for entering you will be eligible for the the drawing of a $25 voucher to the Simon store!
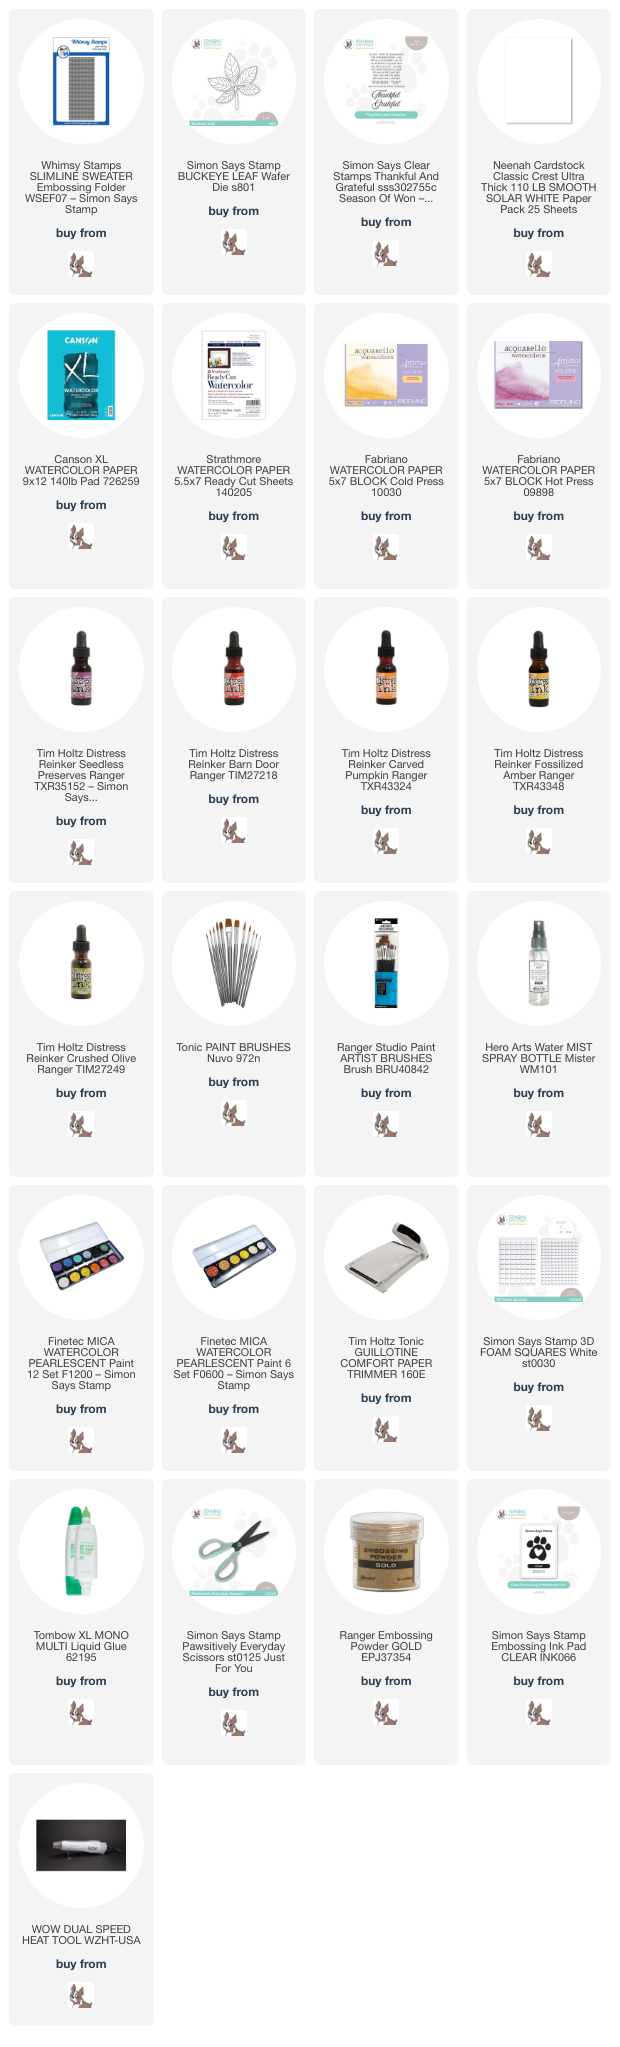
How about a nice fall themed card. Let's take a little break from holiday card making to appreciate the gorgeous colors of fall! It's definitely feeling like fall weather here where I live. We even had a bit of snow so I thought it would be fun to use the Whimsy Stamps Sweater embossing folder. Perfect, right!
I saw an add on Pinterest and got inspiration for the color palette for my leaves.
I made this card using an A2 size card base cut from smooth white cardstock. I then took the Sweater embossing folder and ran it through the embossing machine using more white cardstock.
I die cut the Buckeye Leaf die out three times from watercolor paper. I used a drop of distress ink from the reinkers into a pallet plate. Using a spray bottle or dropper I added a bit of water to each color. I then sprayed each leaf die to make it easier for the colors to blend. I then added each ink color to the leaf in a line type pattern. I have a video on Instagram showing this coloring process.
After the leaves were dry, I splattered them with some metallic watercolors in fall colors. Gold, red, and bronze. After the leaves were completely dry I adhered them with 3d foam squares to the embossed panel leaving room in the bottom left hand corner for the sentiment. I stamped the sentiment using the Thankful and Grateful stamp set onto white cardstock. 
I then heat embossed the sentiment using gold embossing powder. I used the coordinating die to cut and used more foam squares to pop the sentiment and the sub-sentiment up.
I hope you have enjoyed the project I have made and got some inspiration. I have listed and linked all the products I used for your convenience. Thank you so much for stopping by!!

Supplies:
Now it's your turn! Happy crafting!

Do you use Instagram ?  If so please add  #ssswchallenge to your challenge entry uploads so we can see them on there too.


You have until Wed  8am Ohio time. 1pm UK time, 2 pm CET to join in


Monday, November 13, 2023

Tiny Snow Globe Shaker card

I hope you have been enjoying the new Simon Says Stamp All the Joy release. I have another fun project to share from this release with you. I will be using the new Reliquary Snow Globe die that I have turned into a shaker element. If you haven't seen the new release you can click HERE to get a good look. 
I made this card using an A2 size card base using smooth white cardstock. I used Speckled Egg distress ink to blend the edges of the base base. I then made the background panel using the new Pincushion Cover Plate die. I used a yellow copic marker to color the area that would show through the holes.
I made the shaker element using the Snow Globe die and the Neighborhood die cut from white cardstock. I die cut two little houses and two little trees. I added a piece of paper colored with a yellow copic marker behind the windows of the houses. I then added a snow bank and the images inside of the snow globe. I added some iridescent glitter to the shaker and placed an ink blended back to it. I took the shaker element and adhered it to the center of the background panel.
I then stamped the sentiment from the new Graceful Holiday Greetings stamp set in the same ink I used to ink blend the edges of card base. I used the coordinating die to cut it out and added underneath the snow globe. I finished this card off with a stitched frame cut from more white cardstock.

I hope you have enjoyed the project I have made and got some inspiration! I have affiliate links below to all the supplies I used at no additional costs to you. Thank you for stopping by and happy crafting!!

Supplies:

Wednesday, November 8, 2023

Birch Press/Memory Box Thinking of You

Hi all and welcome to another week of the Simon Says Stamp Wednesday Challenge.

This week's challenge theme is Thinking of You!

We are featuring products from Birch Press or Memory Box,You don't have to use them to join in but if you have some we would love to see what you make! As always just for entering you will be eligible for the the drawing of a $25 voucher to the Simon store!
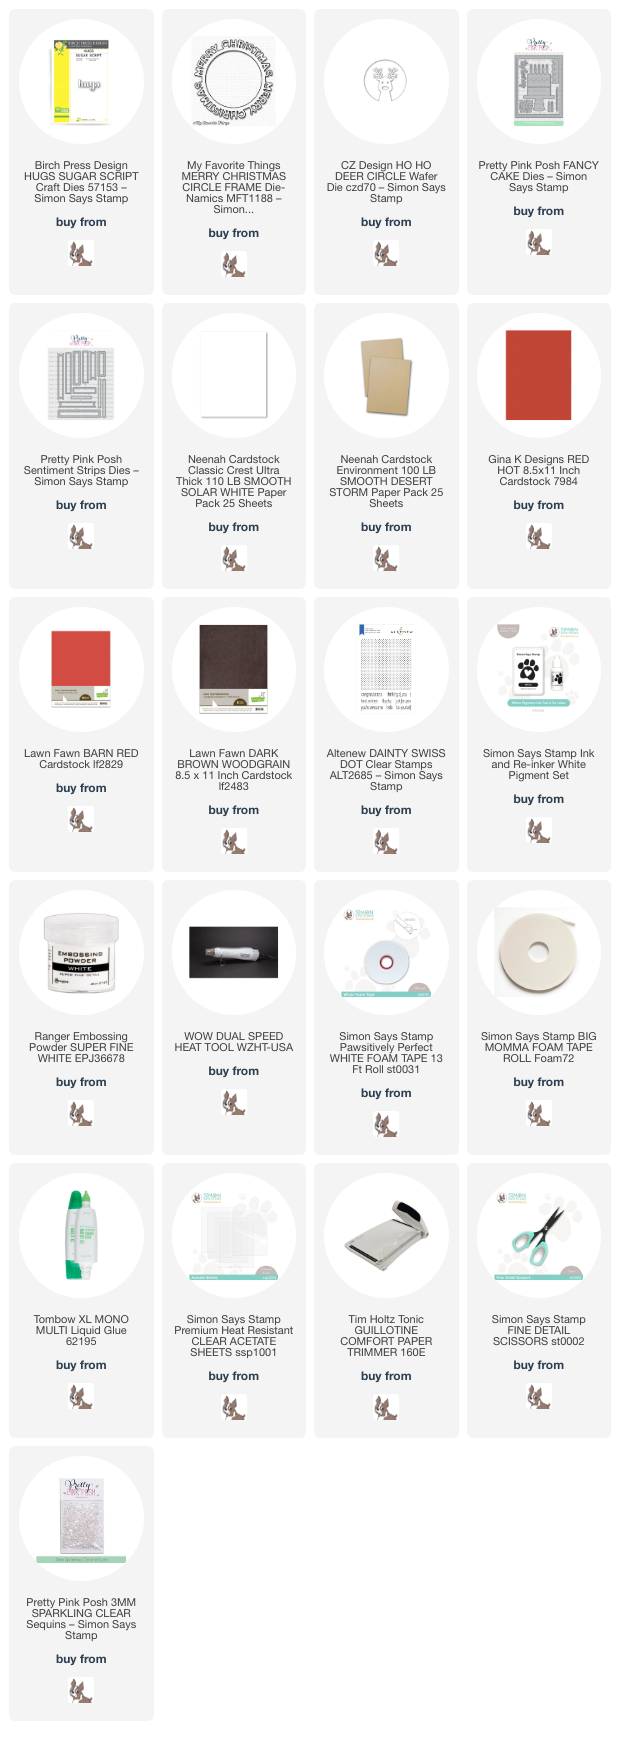
I know it might be strange to make a Christmas card for a challenge with a Thinking of You theme but I wanted to use the Birch Press Hugs die and I thought to myself that someone might want to know you are thinking of them by sending them a hugs card during the holidays. Studies show that a significant amount of people get depressed during the holidays. Sooo, I'm standing by my Merry Christmas Hugs shaker card!
I made this card by starting with an A2 size cardbase using smooth white cardstock. I then wanted to create the shaker element for the card. Here are the steps:
1. Die cut the Ho Ho Deer Circle die out of craft, red and dark brown cardstock. Paper piece the antlers, eyes and nose on to the face of the deer.
2. Trim a piece of red cardstock to fit the card front. Stamp white polka dots using white pigment ink and white embossing powder.
3. Using a circle die that is a bit bigger than the Deer die cut the center of panel out.
4. Take the red panel and line it up with the Deer circle having it show from behind and adhere together.
5. Add acetate to the back.
6. Add foam adhesive to around the circle and back of panel to leave room for shaker bits.
I then added the shaker panel to the card base and die cut the My Favorite Things Merry Christmas circle die out white cardstock and added it around the shaker window. I then used the same craft cardstock to cut out the Birch Press Hugs die 3 times for thickness and added it underneath the shaker circle on a sentiment strip die cut from white cardstock. Last, I wanted to frame the whole card so I cut a frame from the Pretty Pink Posh Fancy Cake die set out of brown cardstock.
I hope you have enjoyed the project I have made and got some inspiration. I have listed and linked all the products I used for your convenience. Thank you so much for stopping by!!

Supplies:
Now it's your turn! Happy crafting!

Do you use Instagram ?  If so please add  #ssswchallenge to your challenge entry uploads so we can see them on there too.


You have until Wed  8am Ohio time. 1pm UK time, 2 pm CET to join in


Monday, November 6, 2023

Peppermint stripes card

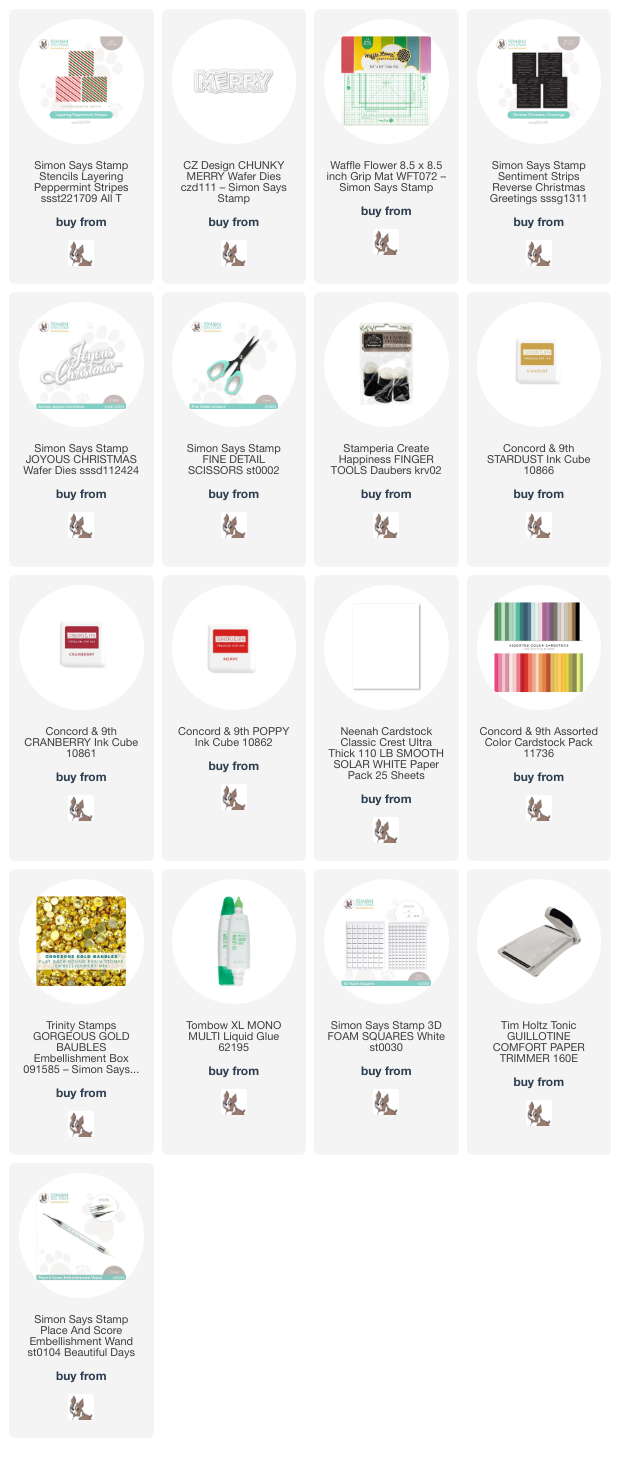
I hope you have been enjoying the new Simon Says Stamp All the Joy release. I wanted to share a fun item from this release with you. The Layering Peppermint stencil set. I created a fun striped background using this stencil set using some traditional holiday colors. If you haven't seen the new release you can click HERE to get a good look.
I made this card using an A2 card base made from smooth white cardstock. I then took another piece of white cardstock and layed it over the Waffle Flower grip mat which works lovely holding paper and stencils in place while you ink blend. I used each layer of the stencil set to make the lovely candy looking striped background.
I then trimmed down the stenciled and ink blended panel to leave a bit of a white border. I then die cut the sentiment MERRY using the CZ Chunky Merry die out of white, green and red cardstock. I adhered the sentiment with 3d foam squares and added to the center of the card. I then die cut the beautiful Joyous Christmas die from white cardstock and trimmed off the word joyous and glued it under the MERRY. I then trimmed out a phrase from the Christmas Greeting reverse sentiment strips and added on top of the MERRY. To finish I added a few flat gold pearls for a little shine.
I hope you have enjoyed the project I have made and got some inspiration! I have affiliate links below to all the supplies I used at no additional costs to you. Thank you for stopping by and happy crafting!!

Supplies:


Thursday, November 2, 2023

Simon Says Stamp All the Joy release blog hop Day 1

I'm so happy to be participating Simon Says Stamp All the Joy release blog hop Day 1🎄
If you would like to see the entire new release just click HERE!
Make sure you take advantage of the the special blog hop promotion code with any purchase when you shop today!! Also remember to leave a comment here and each blog you visit. Each comment you leave will earn you more chances to win a $25 shopping spree at the Simon store! So fun!!
My project today is a Christmas card and two coordinating tags to share for this hop using some products from the new All the Joy release! 
I wanted to make some holiday cheer using some traditional colors! I forget how gorgeous red, white and green with a bit of sparkle can be!
First up, I created this festive card starting with an A2 card base made from smooth white cardstock. I stamped the card base using a swiss dot background and light green dye ink. I then stamped on to another piece of white cardstock the CZ Winter Wishes stamps and coordinating dies. I then cut a piece of red cardstock ink blended the edges with distress inks and added a sentiment from the stamp set embossed in gold and cut out with a coordinating die. I used a white gel pen to add stitched detail.
Now for the tags, I used the Simon Says Stamp Large Rounded tag die and die cut it out of more white cardstock that I had stamped with that same swiss dots background stamp and ink. I then stamped more flowers and leaves using the same inks and coordinating dies and arranged them at the top of the tag. I also used the same red cardstock to stamp and embossed my sentiments on to and then trimmed out to add to each tag. I also used distress ink to match the card. The sentiments are from the new Grateful Holiday Greetings stamp set. 
I just absolutely loved making this set. I think it would be a great little gift for someone who loves handmade cards! Make sure you check out Day 2 of the All the Joy blog hop to see what some of your favorite makers have created! 
I hope you are enjoying your time hopping with us today and getting lots of inspiration! There is even more if you visit the All the Joy gallery! If you are interested I have provided affiliate links to all the supplies I used to make this trio for your convenience. Thank you so much for stopping by! Happy hopping!

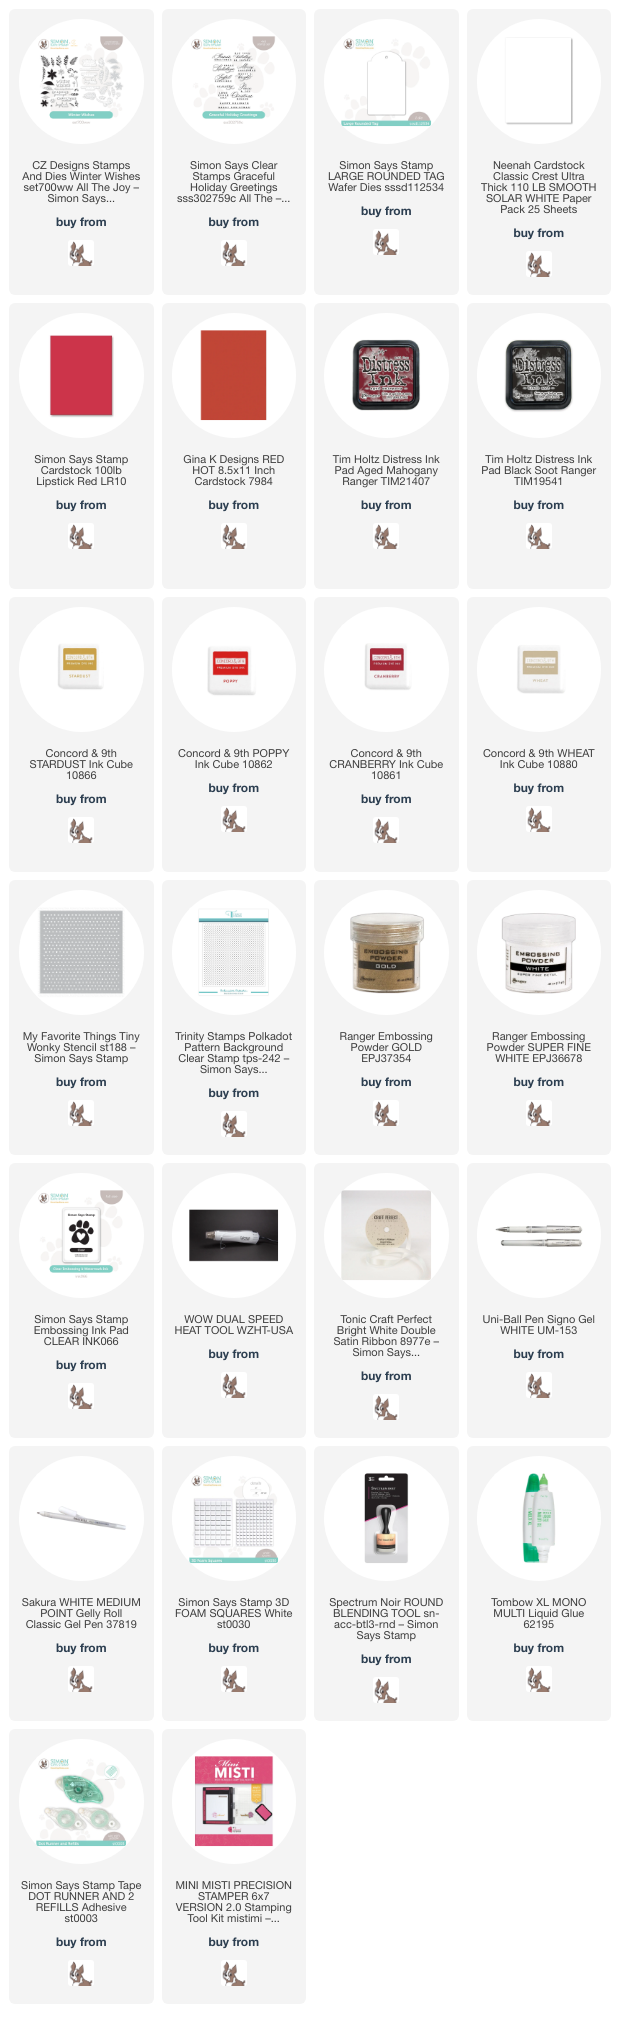
Supplies: 

HOP ORDER:


Simon Says Stamp Blog
   

Caly Person

Jennifer McGuire

Cathy Zielske

Barbara Tarayao ðŸ‘ˆ you are here

Amy Rysavy

Debby Hughes

Emily Midgett

Keisha Charles

Bibi Cameron

Emma Wiliams

Heather Hoffman

Heather Ruwe

Alberto Gava

Daniel West