Hi all and welcome to another week of the Simon Says Stamp Wednesday Challenge.
.JPG)
This week's challenge theme is Vacation!
We are featuring products from My Favorite Things. You don't have to use them to join in but if you have some we would love to see what you make! As always just for entering you will be eligible for the the drawing of a $25 voucher to the Simon store!
.JPG)
When I think of being on vacation I think of Summer and when I think of summer I think of fresh fruit and popsicles on warm days! So I chose to combine those elements when making this fun card!

I made this card using an A2 size card base from smooth white cardstock. I then used a stitched rectangle die to create an inked panel. I lightly applied red and green distress oxide to each opposing corners of the panel.

I then die cut several popsicles images from the My Favorite Things Pair of Popsicles die set from white cardstock and colored them with copic markers. I then die cut the word fun using the My Favorite Things Modern Serif Alpha dies out of black cardstock and added them to the card with some foam adhesive to pop them up.
.jpeg)
Last, I arranged the watermelon popsicles around the sentiment on the panel and then trimmed off the excess and adhered it to the card base. I added a sub-sentiment and a few clear drops to finish this card up.
I made a little tutorial to show you a bit of the process of how I made this card.
I hope you enjoyed the project I have made for this week's challenge and got some inspiration! I have provided affiliate links to all the supplies I used below. Thank you so much for stopping by and I hope you enjoy this challenge!
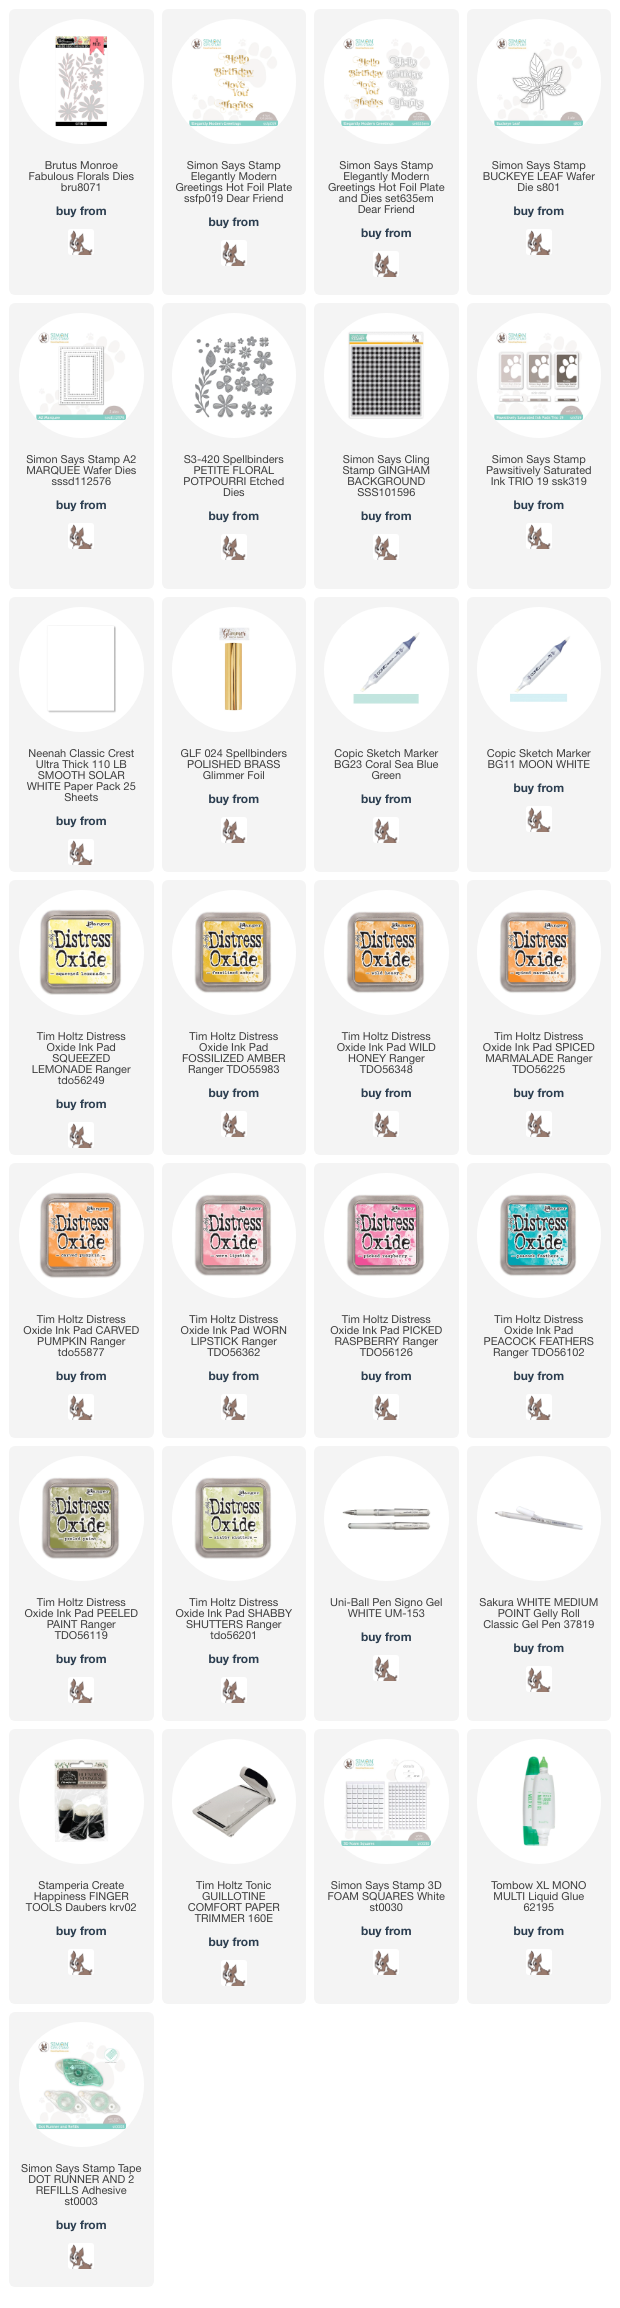
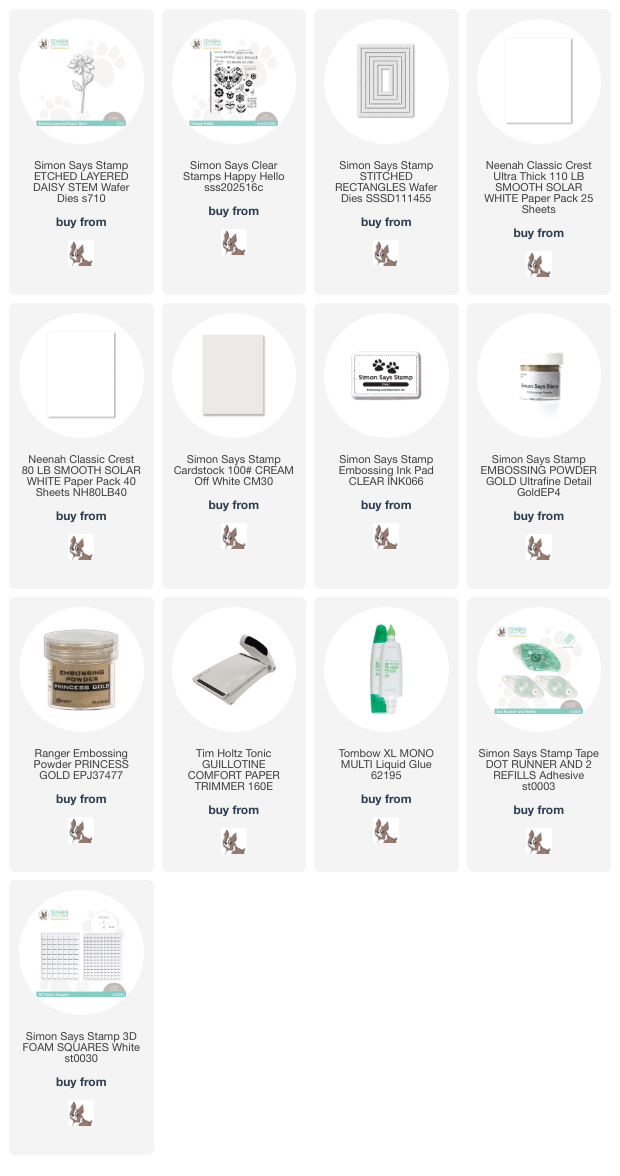
Supplies:
Now it's your turn! Happy crafting!
Do you use Instagram ? If so please add #ssswchallenge to your challenge entry uploads so we can see them on there too.


You have until Wed 8am Ohio time. 1pm UK time, 2 pm CET to join in


.jpeg)
.jpeg)
.jpeg)

.jpeg)
.jpeg)
.jpeg)
.jpeg)
.jpeg)


.jpeg)
.jpeg)
.jpeg)
.jpeg)
.jpeg)
.jpeg)