Friday, December 9, 2022

Simon Says Stamp DieCember Instagram Hop

Today I am participating in the Simon Says Stamp DieCember Release Instagram Hop! Thank you for stopping by! 
I have taken a small break from making holiday cards to make a birthday card. I have lots of birthdays in December including mine! 
I used several fun techniques to make this card! Created a stencil from a die, ink blending, ink splattering and die cut inlay for a low profile card. So fun!!
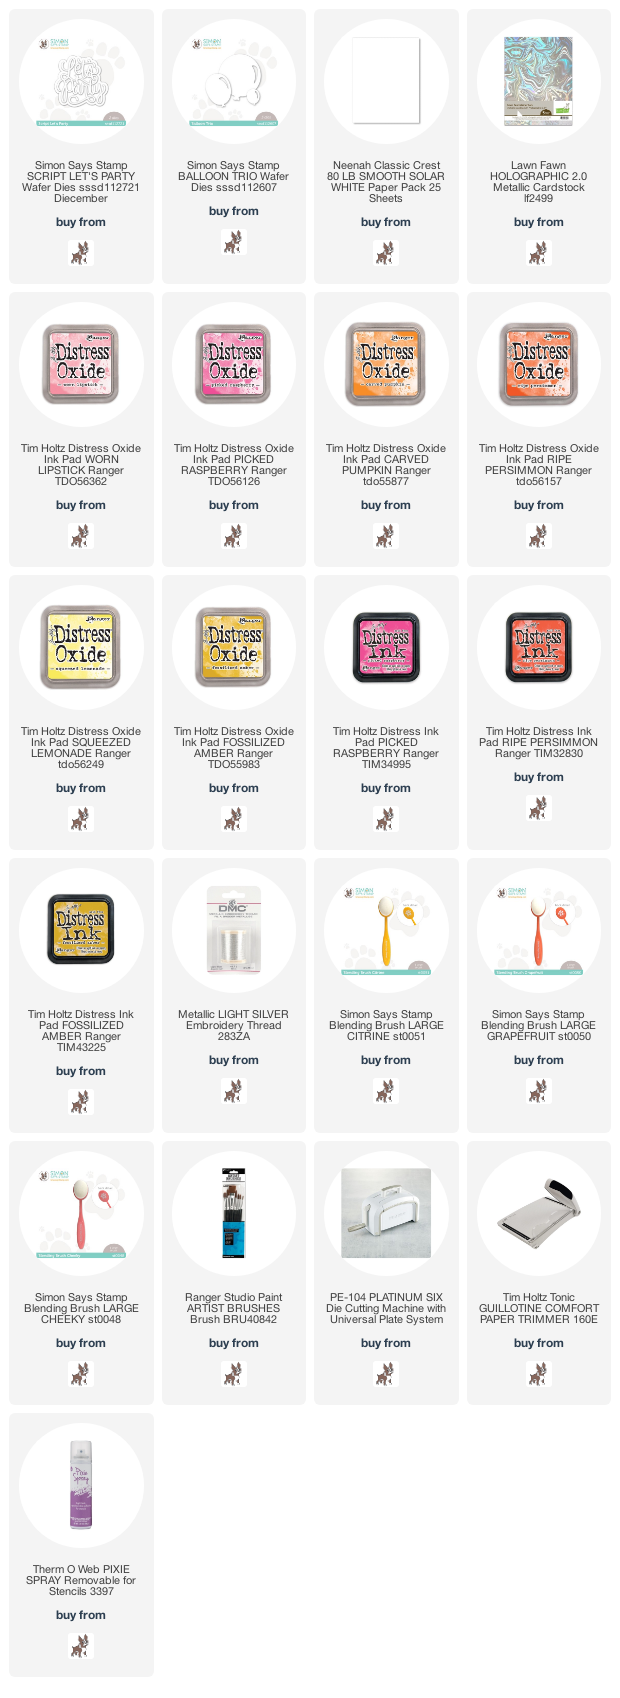
Well, let's dive into how I created this fun birthday card. I began with a panel cut from smooth white cardstock to fit an A2 size card base and leave a bit of a border. Using the large balloon from the Simon Says Stamp Balloon Trio die set, I die cut the balloon in the center of three pieces of vellum trimmed to be the same size as the panel. I then used the shape of the ballon cut into the vellum as my stencil. I then ink blended each balloon to look transparent just by overlapping the stencils each time I ink blended them using distress oxides.
Using some coordinating distress inks to create my ink splatter. I then die cut the Let's Party sentiment from holographic paper for a shiny festive look. I then took the stencils and ink blended panel and placed the Let's Party die in the center balloon and ran that through my die cut machine. I made sure to keep all the bits because I wanted to do some die cut inlay with the sentiment. So I just pieced it all together like a puzzle for that low profile look. I then just added some silver twine for the string to my balloons for a little extra shine.

Head over to my Instagram channel to get more inspiration from all the great designers participating in this fun Hop. Make sure you leave a comment on each for more chances to win a $25 shopping spree to the Simon store!
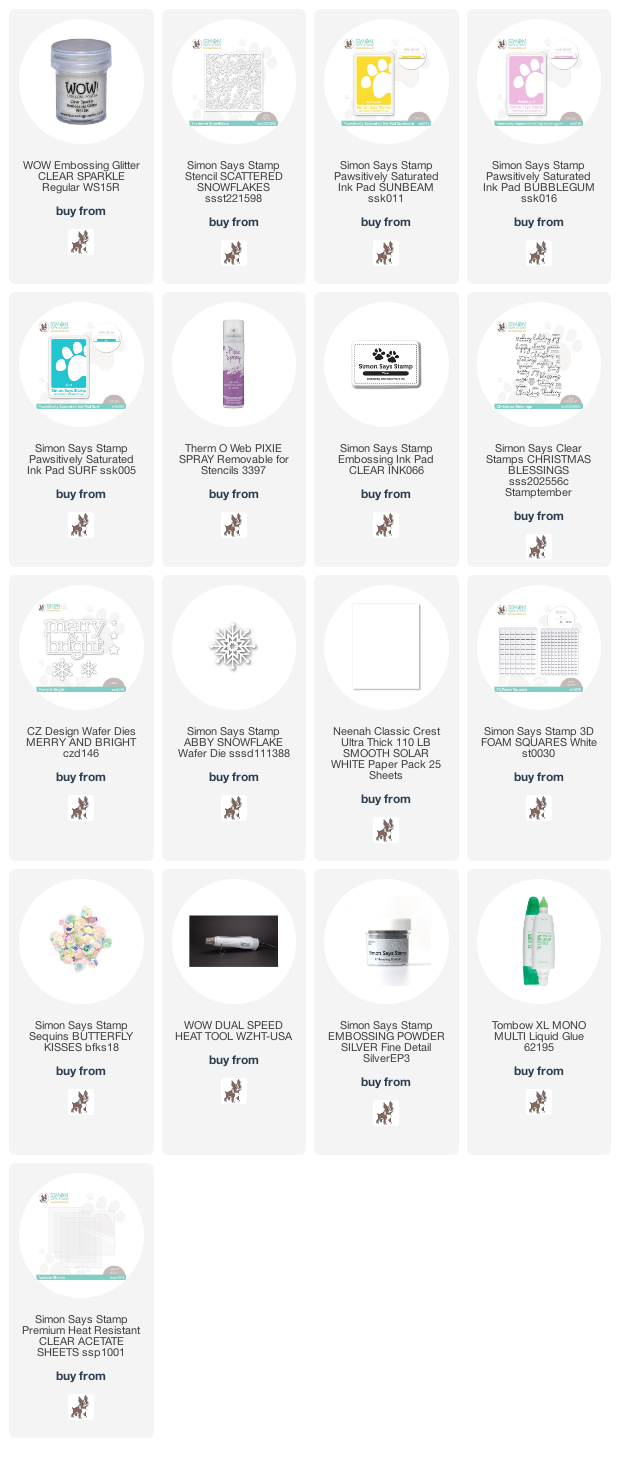
Hope enjoyed this project and got some inspiration. If you are interested in any of the products I have used for this card, I have listed and linked them for your convenience! Thanks for stopping by!

Supplies:


Tuesday, December 6, 2022

Add Some Sparkle WOW

Hi all and welcome to another week of the Simon Says Stamp Wednesday Challenge.

This week's challenge theme is to Add Some Sparkle!

We are showcasing WOW products. You don't have to use them to join in but if you have some we would love to see what you make! As always just for entering you will be eligible for the the drawing of a $25 voucher to the Simon store!
Tis' the season to add some sparkle! Whatever your project is, adding some sparkle with make it special! Nothing says sparkle like a shaker card. I have made a larger square card today. I made the background using a stencil, dye ink and embossing powder with some sparkle. I loved it so much that I just couldn't cut it down to fit a regular A2 size card base. So I chose to make a 5 1/2" x 5 1/2" card. I cut the background down to 5"x5" to fit on the card base.
I made the card base from smooth white cardstock. Using a heavy weight cardstock I placed the Scattered Snowflake stencil over the paper using some Pixie spray to keep this delicate stencil in place. I then used the SurfSunbeam and Bubblegum Pawsitively Saturated ink to blend over the stencil. I then wiped the excess ink off the stencil and then placed it back over the background and added a sticky watermark ink over the whole area. I pulled up the stencil and sprinkled on the WOW clear embossing glitter and heat set that. The results were glorious!
I then die cut the Merry and Bright sentiment out of white cardstock 3 times to glue together for thickness. I used the outline die that comes with this sentiment to make my shaker window. I trimmed down the background and then adhered a piece of acetate to the back of the window. I also added foam adhesive to pop it up so I could add the shaker bits. I stamped the sub-sentiment from the Christmas Blessings stamp set and heat set that using some silver embossing powder and trimmed it down to a strip. 

I just love this week's theme. I hope you have enjoyed the project I made and got some inspiration. I have listed and linked all the supplies I used for your convenience. Thank you for stopping by and happy holidays!!

Supplies:


Now it's you turn! Happy crafting!

Do you use Instagram ?  If so please add  #ssswchallenge to your challenge entry uploads so we can see them on there too.


You have until Wed  8am Ohio time. 1pm UK time, 2 pm CET to join in


Holiday Sparkle release Reindeer Tags

Just a bit more inspiration for the Simon Says Stamp Holiday Sparkle release. Can you ever have enough tags for the holidays? I love making a cute tag and this Reindeer Die and Stencil Parts was just perfect for some adorable tags. Who doesn't love Rudolph the red nosed reindeer! I also love how simple easy it was to put together.
I used the new Pawsitively Velvet Luxe cardstock to die cut out the parts of the reindeer. I then die cut them again out of some heavy weight white cardstock and glued the velvet parts together with the cardstock for some structure. I then arranged the reindeer parts on a tag, stamped a striped border onto some craft cardstock and then added the sentiments and some sequins for a bit of sparkle.
I just love the soft texture of this velvet cardstock. These will definitely be a crowd pleaser!

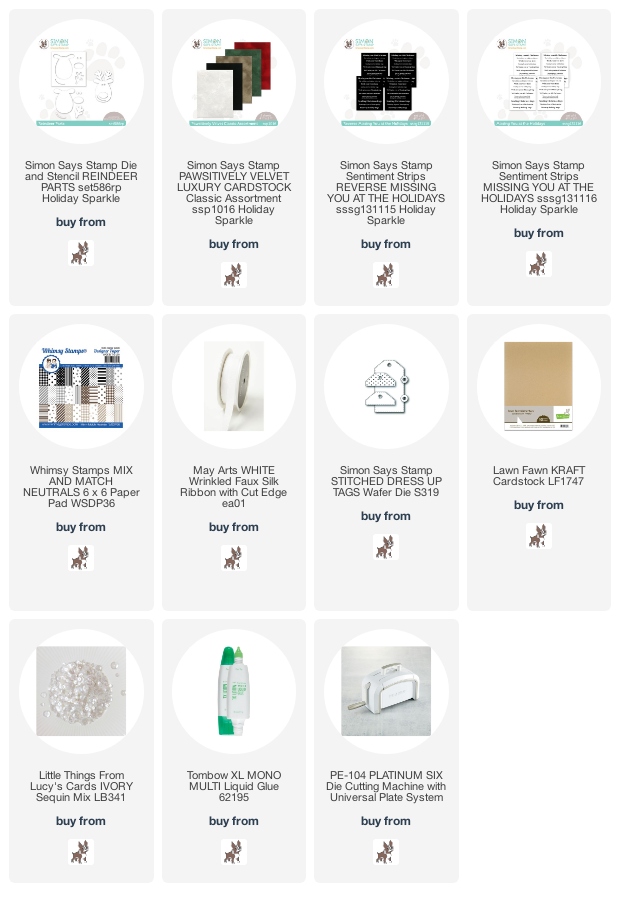
I hope you enjoyed this post today! I have listed and linked all the supplied I have used for these tags. Thank you so much for stopping by!

Supplies:


Friday, December 2, 2022

Simon Says Stamp DieCember Release Blog Hop Day 1

Simon Says Stamp DieCember is here! I am so happy to be part of day 1 of the DieCember Release Hop! 

So much to see! So much inspiration! So much fun! Sorry, I'm a little excited! Make sure you use the code MERRY go receive an amazing die with your purchase of $25 or more!!
Cheers to you! I'm excited for a new year and just fell in love with this wine glass die to make a New Year's card.
This card came together very quickly! It is the quintessential DieCember card being that it is all die cuts! Super easy!
I began with an A2 size card base made from heavy weight smooth white cardstock. I trimmed down a panel of the Luxe black glitter cardstock to leave about a 1/4" white border. I then die cut the wine glass twice out of silver glitter cardstock. I then die cut the liquid image from gold glitter cardstock twice. 
👉Tip- flip over your cardstock before you die cut if you want the image to be flipped like a mirror image. I then die cut the Cheers sentiment 3 times from white cardstock and adhered together with liquid glue for thickness. I then die cut the Cheers sentiment border out of red glitter cardstock. I used a small hole punch to make the champagne bubbles cut from the same gold cardstock. 
👉Tip - when adhering paper to glitter cardstock, I have found that liquid glue works best. It also gives you a little wiggle room to make sure your die cuts are in the right place! 

Simon is giving away a $25 shopping spree for each stop on the hop. So make sure you leave a comment as you hop along! Winners will be picked from the comments left on each blog post and announced on Dec 7 on the Simon Blog. Good luck!!  Also, if you would love more inspiration head over to the DieCember gallery!


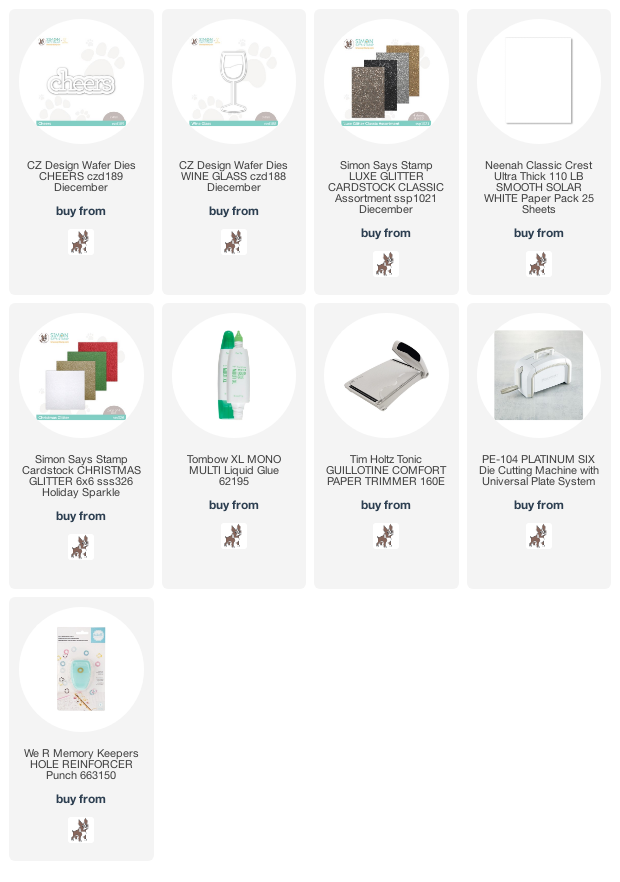
Thank you for stopping by and I hope you got some inspiration. I have listed and linked all the supplies I have used for your convenience. Happy DieCember!!

Supplies:


Wednesday, November 30, 2022

Simon Says Stamp DieCember release

Using some traditional colors I made this festive background to showcase this gorgeous Flourished Merry Christmas die cut from gold paper. 
I just started playing with alcohol inks and I love it! I wanted to use traditional Christmas colors so I used red, green and gold alcohol inks. I die cut the circle frame using the new Thin Frames die set. I finished the card off with one of the poinsettias images from the Holiday Florals builder stamps.
I stamped the poinsettia using die inks. I love this building stamp set. You can create some beautiful dimension by using different shades when you stamp the layers. Lots of possibilities with this stamp set.
I finished the card off with some gold flat pearls.
I hope you got inspired and get a chance to check out the entire wonderful release!

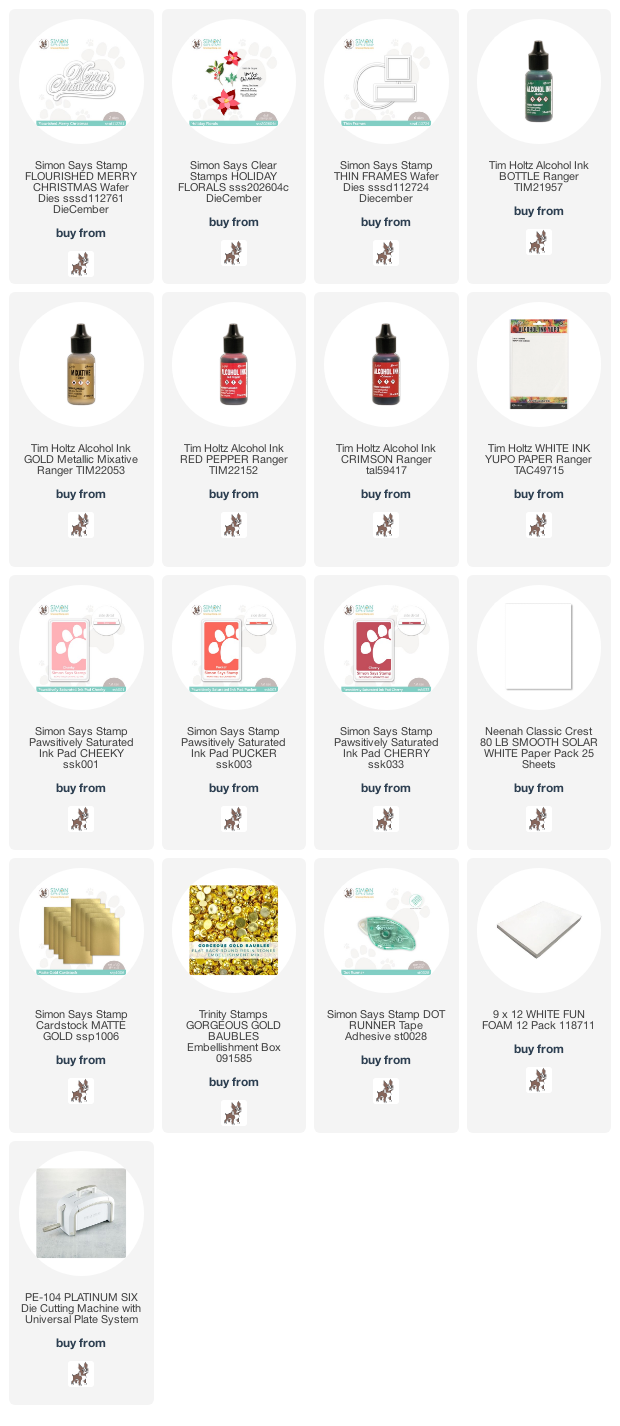
For your convenience I have listed and linked all the supplies I have used to make this card. Thanks for stopping by! Happy DieCember!!

Supplies:


Honey Bee Anything Goes

Hi all and welcome to another week of the Simon Says Stamp Wednesday Challenge.

This week's challenge theme is Anything Goes!

We are showcasing Honey Bee products. You don't have to use them to join in but if you have some we would love to see what you make! As always just for entering you will be eligible for the the drawing of a $25 voucher to the Simon store!
Thought it would be nice to take a little break from making holiday cards. I am grabbing this week's theme to do so.
I fell in love with this Layering Magnolia die from Honey Bee. I wanted to make a card with lots of dimension but also a card that has a soft look to it.
I made this card with an A2 size card base made from smooth white cardstock. I then trimmed down a panel from more white cardstock and stenciled some soft dots to create a neutral background. I then went to work on the the gorgeous magnolia flowers. Several dies come in this kit to create the layered look of this flower. I die cut each twice because I wanted to make two flowers. I cut them from white cardstock and using distress ink I added some shadow. Each layer was adhered on top of each other with 3d foam squares. I used copic markers for the center parts for each flower. I also used distress ink on the leaves that I cut from light green cardstock. I then die cut the Miss You sentiment from gold cardstock and popped it up using some foam adhesive.

I hope you join the challenge and got some inspiration today! I have listed and linked all the products I have used for your convenience. Thank you for stopping by!!

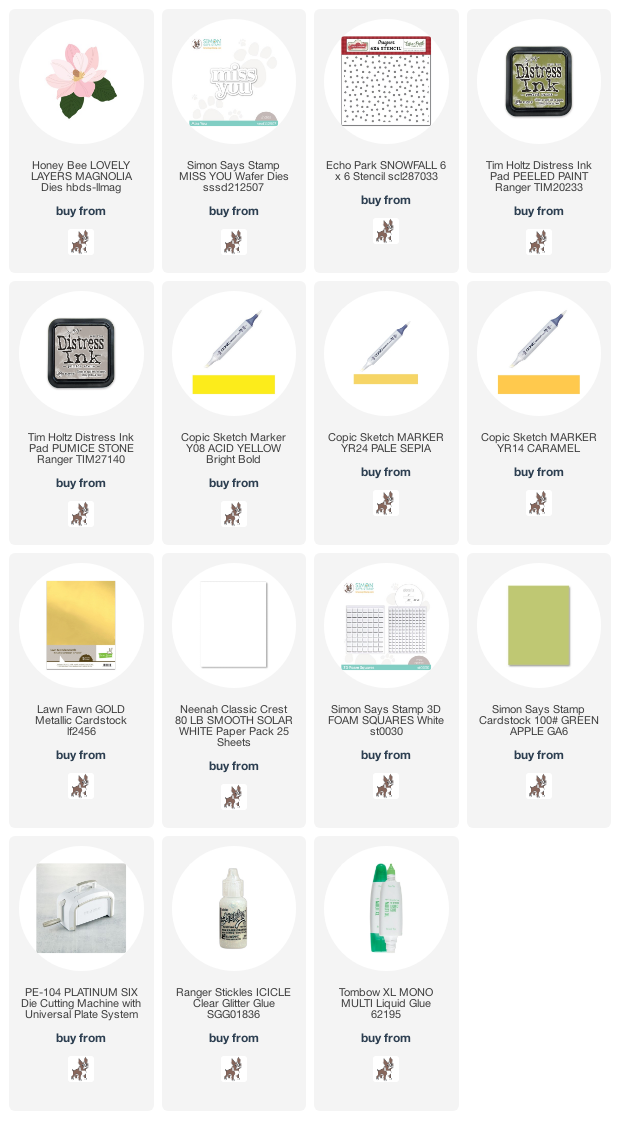
Supplies:
Now it's you turn! Happy crafting!

Do you use Instagram ?  If so please add  #ssswchallenge to your challenge entry uploads so we can see them on there too.


You have until Wed  8am Ohio time. 1pm UK time, 2 pm CET to join in


Saturday, November 26, 2022

Simon Says Stamp Limited Edition Tag kit

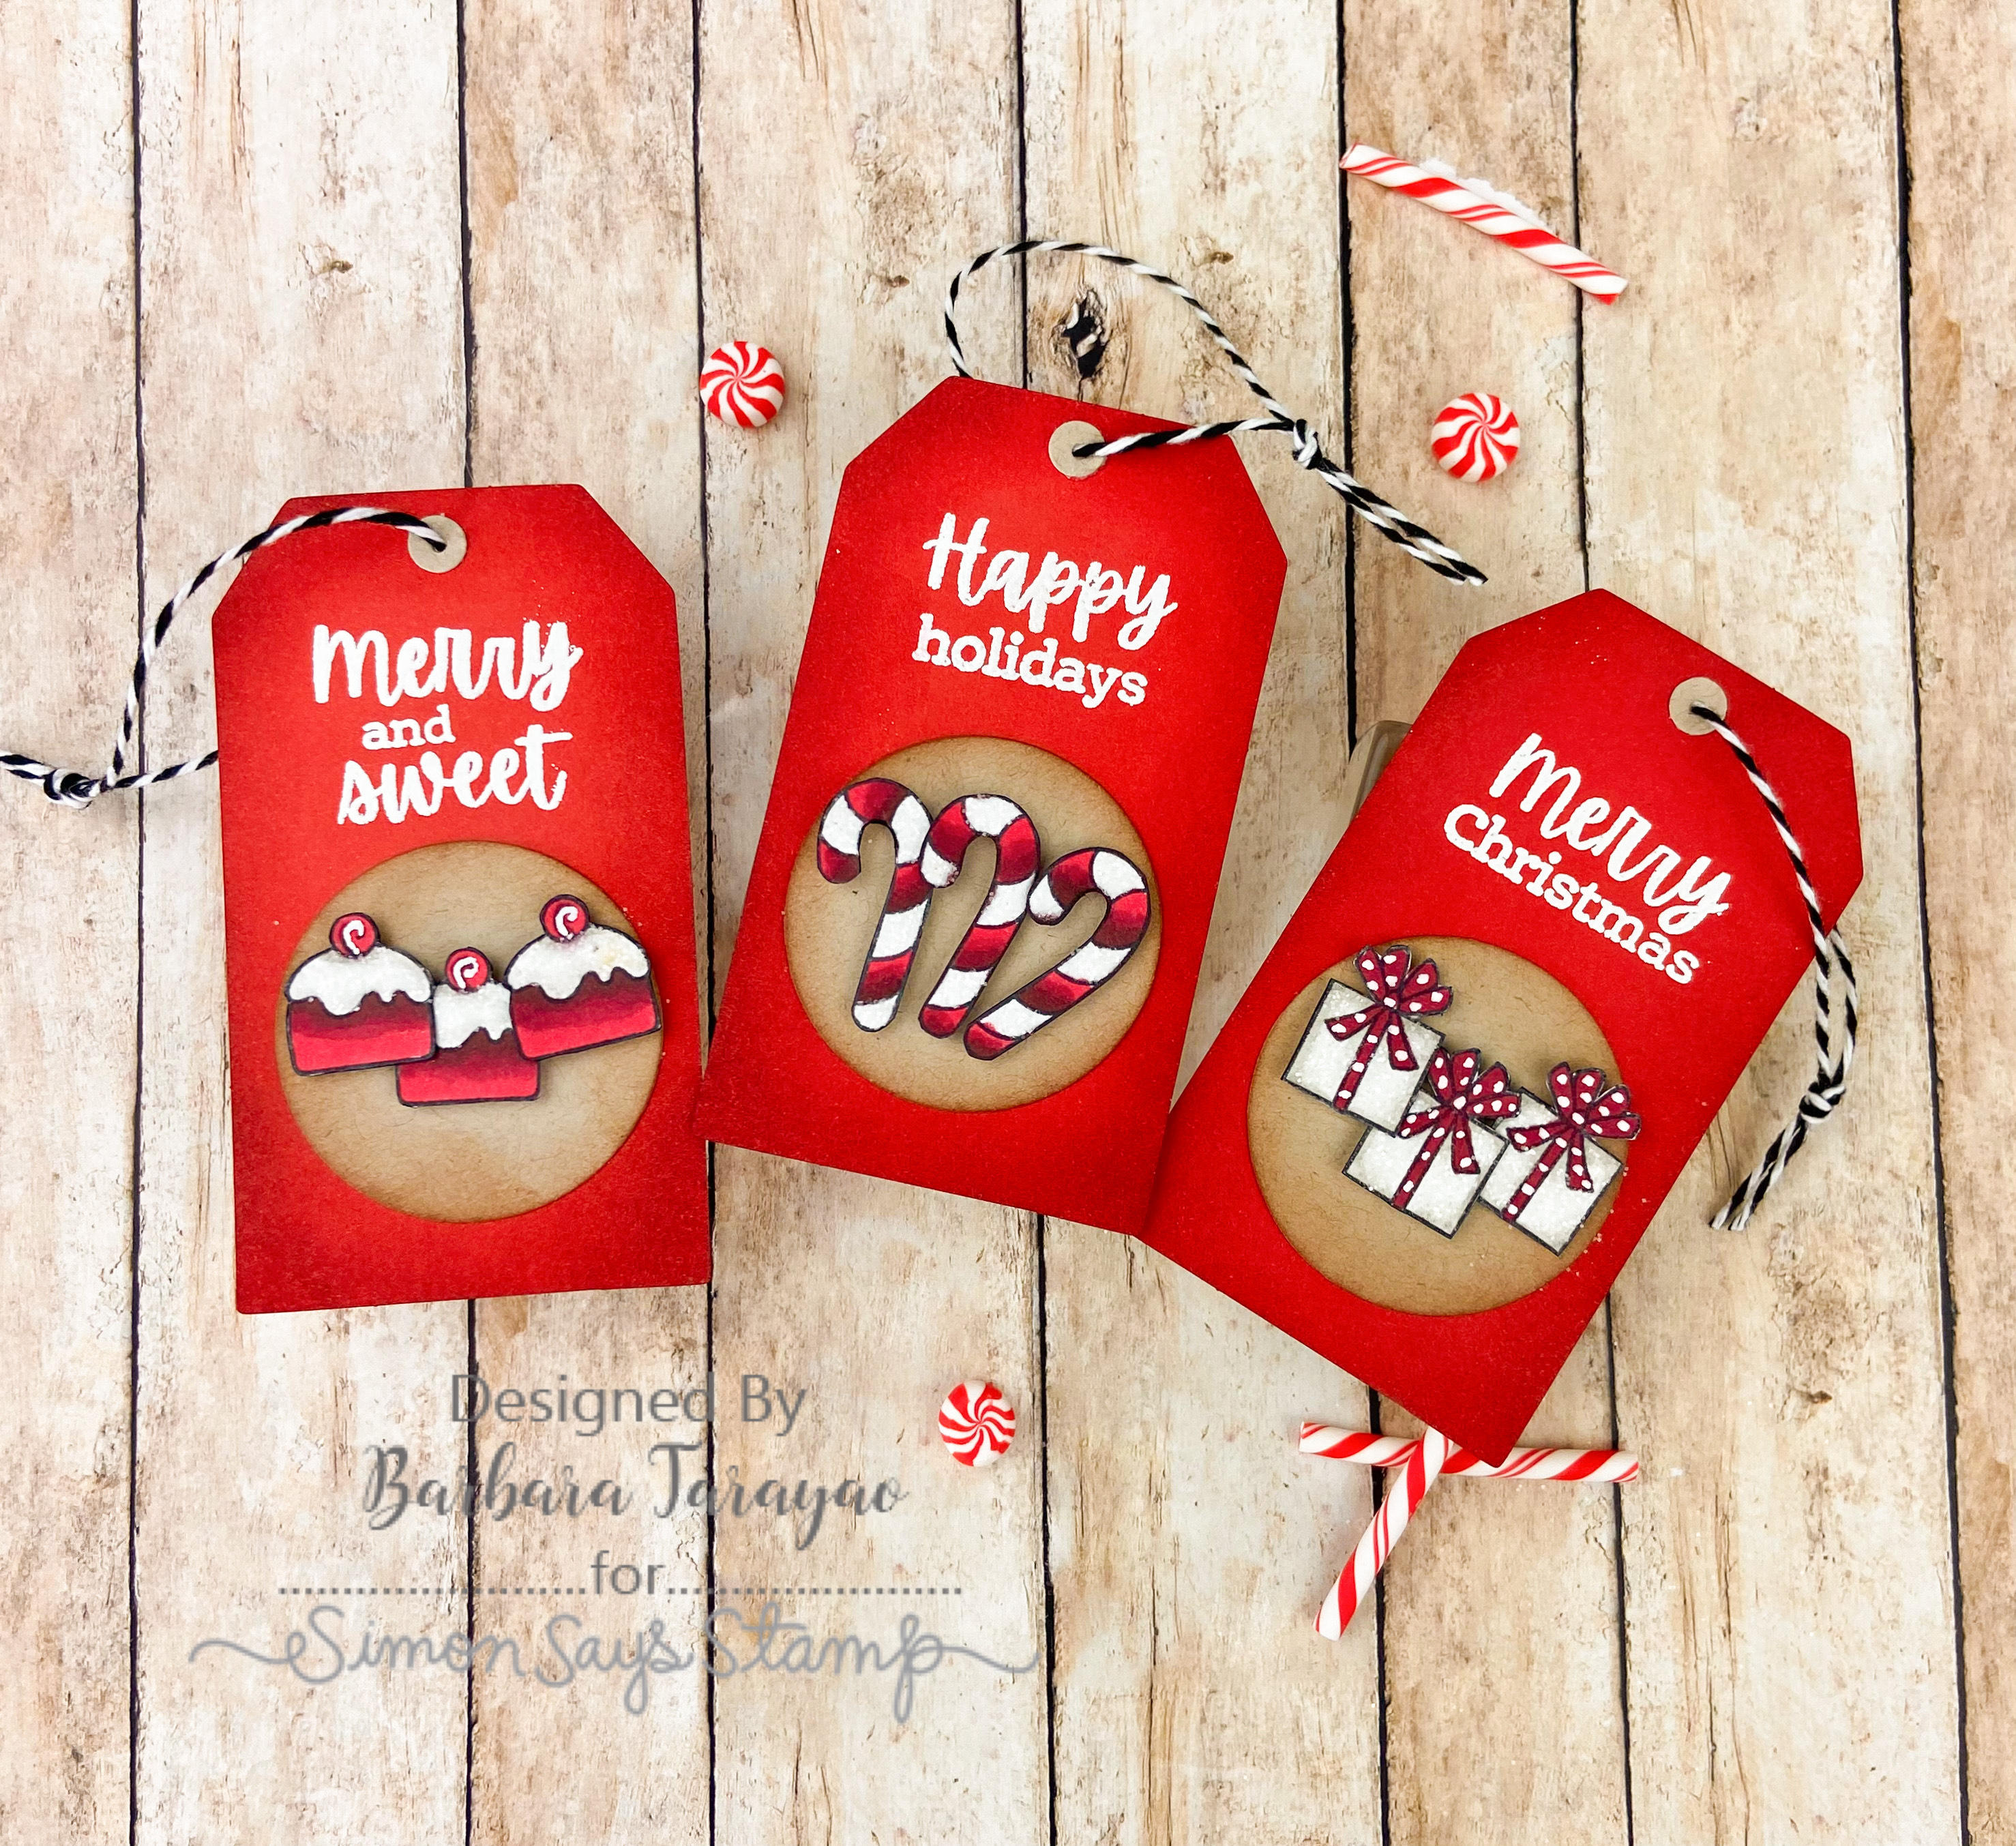
Need to make some tags for all those gifts you'll be giving this holiday season? This is the kit for you! I had so much fun making some tags from this kit. 
Everything you can think of to make easy gorgeous tags is included in this kit. I just love the Merry & Sweet stamp set that was included. The sentiments were perfect for tags.
I stamped the images from the stamp set in black and colored them using Spectrum Noir markers. I stamped the sentiments and embossed then using white embossing powder.
This tags set was made with the Candy Christmas chipboard ephemera stickers. This was so easy and quick to make oodles of tags! I added some bows for some charm.

If you want to see the entire Limited Edition Tag kit just click HERE


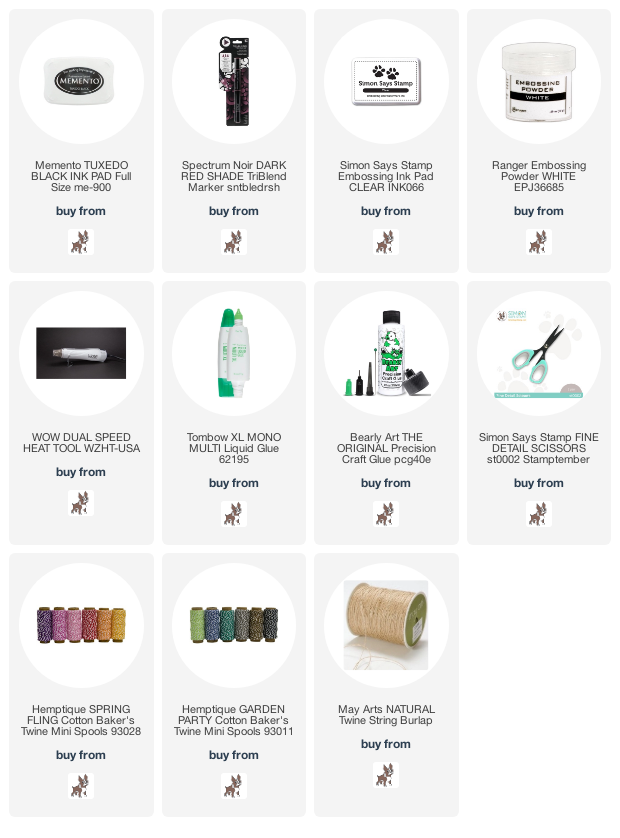
 I have the kit and all the products I used listed and linked below. Thank you for stopping by! Happy crafting!!

Supplies: