Wednesday, October 11, 2023

Kitchen Sink Stamps Christmas

Hi all and welcome to another week of the Simon Says Stamp Wednesday Challenge.

This week's challenge theme is Christmas!

We are featuring fabulous new products from Kitchen Sink Stamps.  You don't have to use them to join in but if you have some we would love to see what you make! As always just for entering you will be eligible for the the drawing of a $25 voucher to the Simon store!
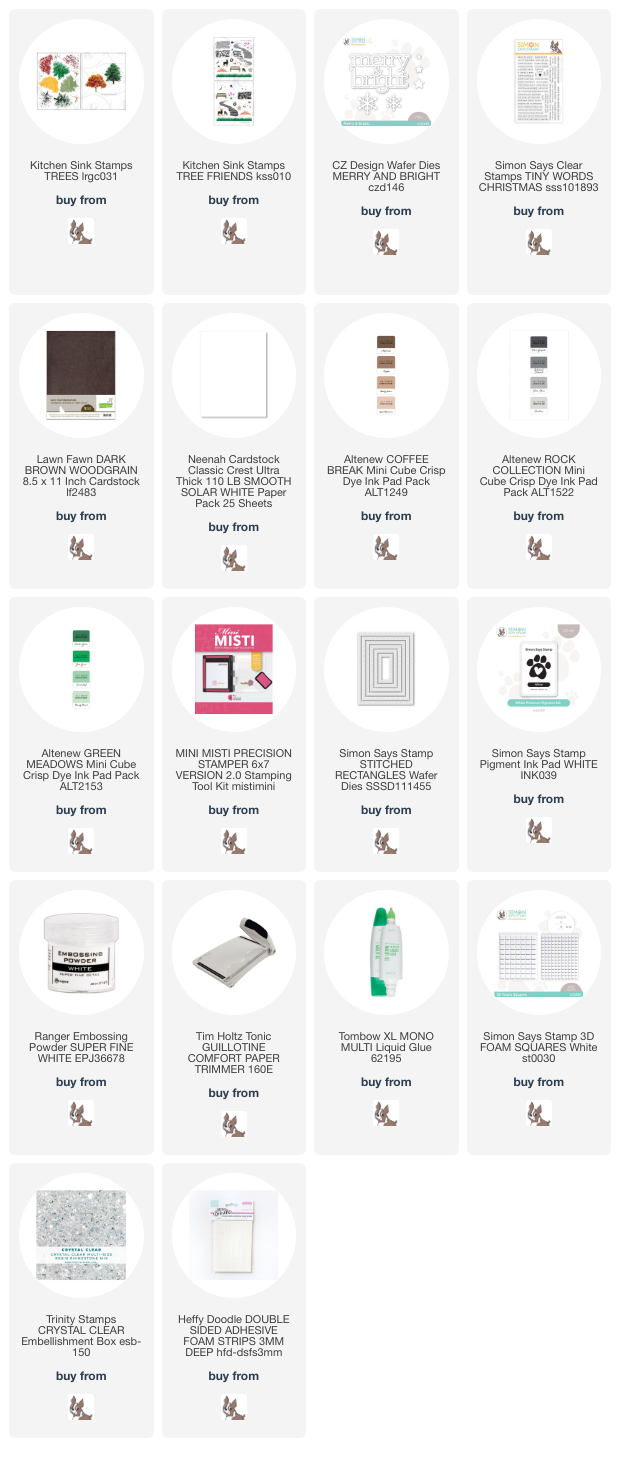
If you haven't used a Kitchen Sink layering stamp yet, you are missing out! They have the most life like images I have ever seen! I have quite a few of these sets and one of them is the Layering Trees which happens to be my favorite along with the Tree Friends coordinating stamp set. I have made a project for this challenge using those stamp sets.
I began with an A2 size card base made from dark brown cardstock. I then trimmed down a panel from white cardstock to stamp my images on. I used my MISTI stamping tool to get a great stamped image and to help with the layering process. You don't need a MISTI to use these stamps. I stamped two trees, the ascending brick steps and the deer. 
I then die cut using stitched rectangle dies a frame to make the shaker element of my card out of white cardstock. I used foam strips and acetate to pop up and enclose my shaker bits. I adhered the stamped panel to the card base, then the shaker bits and last the frame with the acetate and foam strips on top.
I then die cut the Merry & Bright sentiment from white and dark brown cardstock. I trimmed out the ampersand and glued it on top of the white one. I then adhered the sentiment directly onto the acetate along with the heat embossed sub-sentiment stamps on to more dark brown cardstock.

I hope you have enjoyed the project I have made and got some inspiration. I have listed and linked all the products I used for your convenience. Thank you so much for stopping by!!

Supplies:
Now it's your turn! Happy crafting!

Do you use Instagram ?  If so please add  #ssswchallenge to your challenge entry uploads so we can see them on there too.


You have until Wed  8am Ohio time. 1pm UK time, 2 pm CET to join in


Monday, October 9, 2023

Merry Christmas Season of Wonder card

I will be sharing a card I made using some of the amazing products from the Simon Says Stamp Season of Wonder release.
It's that time of year again when its all about Holiday cards. I hope you don't get to sick of them but for good measure I'll throw a couple of non-holiday projects in the mix. 
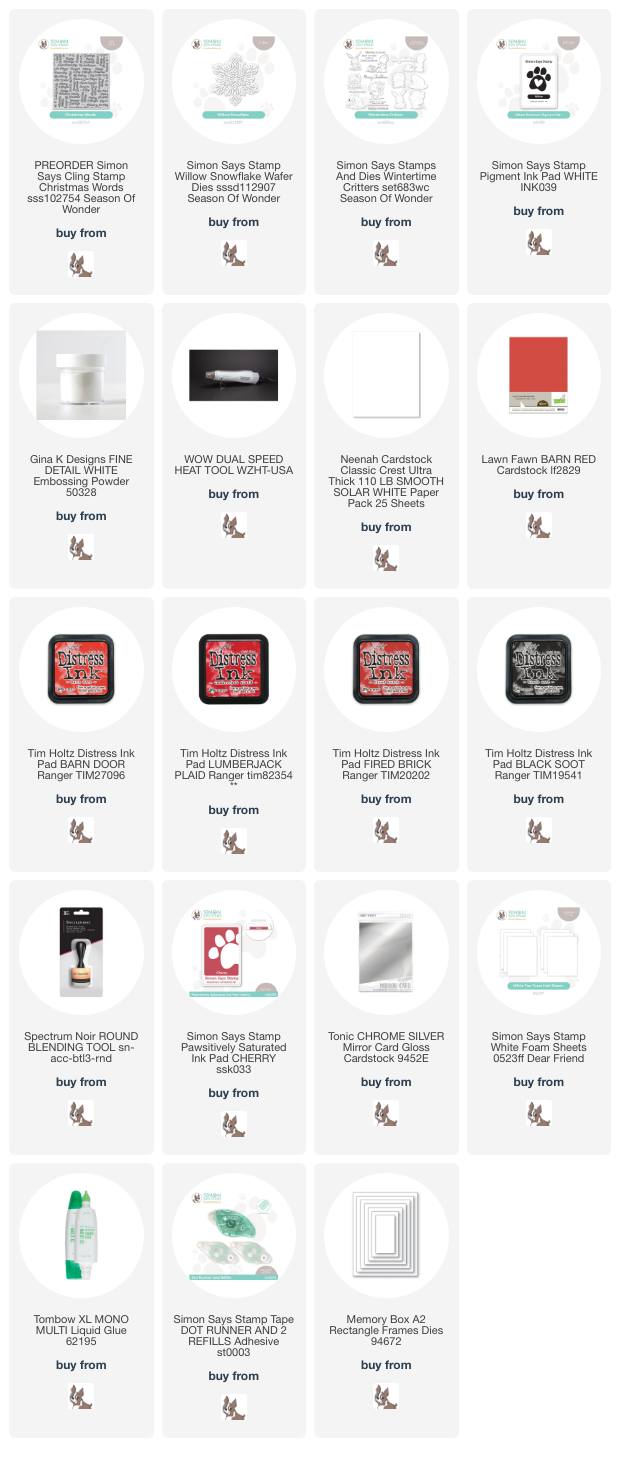
I began with an A2 size card base made from smooth white cardstock. I then used a piece of red cardstock that I stamped the Christmas Words background onto with white pigment ink. I then used white embossing powder for extra brightness and heat set that using a heat tool. 
After letting it cool a bit I used a rectangle die to cut out a panel that would leave a bit of a white border. I then used a few darker shades of red distress ink to blend around the edges of the panel. With a paper towel I wiped away the ink sitting on top of the embossed letters to brighten them back to white.
I used the Willow Snowflake die also from the Season of Wonder release. I die cut it from shiny silver cardstock and foam to give the snowflake lots of dimension against the busy inked background. 
Last I stamped the Merry Christmas sentiment from the Wintertime Critters stamp set and used the coordinating die to cut it out. I stamped that using the Cherry Pawsitivily Saturated ink. I then adhered it under the snowflake with liquid glue and some left over pieces of foam.

I hope you have enjoyed the project I made and got some inspiration! If you are interested, I have affiliate links below to all the supplies I used to make this card for your convenience. Thank you so much for stopping by! Happy crafting!!

Supplies:

Saturday, October 7, 2023

Simon Says Stamp Season of Wonder blog hop - Day 2

I'm so happy to be participating in 2nd day of the Season of Wonder blog hop. If you would like to see the entire new release just click HERE
Make sure you take advantage of the the special blog hop promotion code with a purchase of $25 or more when you shop today!! Also remember to leave a comment here and each blog you visit. Each comment you leave will earn you more chances to win a $25 shopping spree at the Simon store! So fun!!
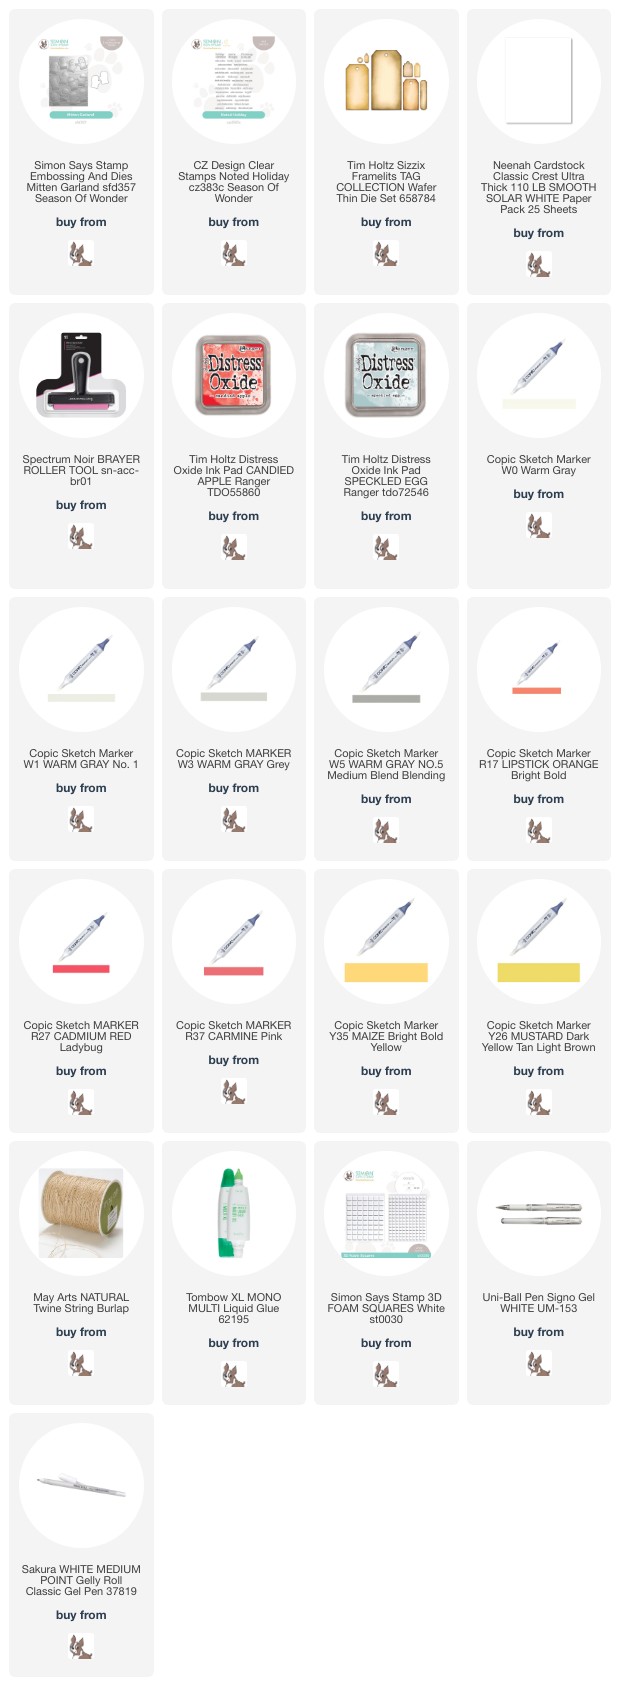
I have made a fun card using the wonderful Mitten Garland embossing folder from this release. I think that embossing folders are so versatile. So many ways to play with them! I have used the mitten dies that come with the folder to make a fun and festive card. 
I began with an A2 size card base made from smooth with card stock. I then used another piece of white cardstock and ran it through the Mitten Garland embossing folder and used the coordinating mitten dies to cut out each mitten from the panel. I then colored the mittens in using copic markers and a white detail gel pen to add extra highlights.
I then took the embossing folder and inked up the flat inside with distress oxide. I added the ink directly to the folder with the ink pad and also used a brayer to smooth it out. I add another piece of white cardstock and ran it through the die cut machine. I added the copic colored die cut mittens to the front of the inked panel.
I wrapped some natural twine around the inked panel a few times and tied on a tiny tag that I had stamped my sentiment onto and adhered the whole panel to the card base.

I hope you are enjoying your time hopping with us today and getting lots of inspiration! There is even more if you visit the Season of Wonder gallery. If you are interested I have provided affiliate links to all the supplies I used to make this project for your convenience. Thank you so much for stopping by! Happy hopping!

Supplies:
Blog Hop Order:

Wednesday, October 4, 2023

Simon Says Stamp Season of Wonder Release day

I'm so happy to share a project I made using some of the goodies from the new Simon Says Stamp Season of Wonder release! Click HERE to see the entire release.  
This is my favorite time of the year so I am especially excited for this release. It's filled with amazing new products to celebrate this amazing time!
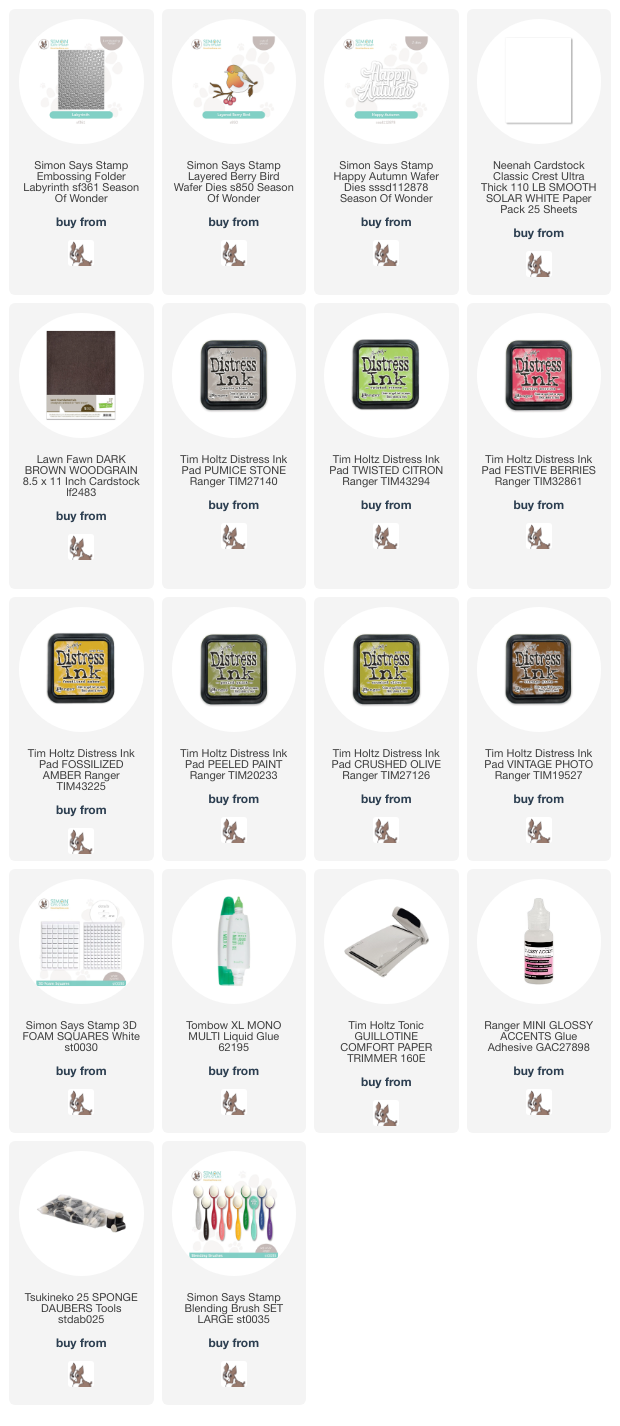
I made this card using an A2 size card base from white cardstock. I then trimmed down another piece of white cardstock. I used distress ink to blend the edges of the panel before running it through the Labyrinth embossing folder and die cut machine. I then took a piece of low grit sandpaper and rubbed off the top layer of the raised areas of the panel.
I die cut the layered Berry Bird die from white cardstock. I ink blended the pieces of the bird and branch before gluing them together. I also die cut the Happy Autumn from brown cardstock and white cardstock 2 times for thickness and used liquid glue to adhere it to the top of the card and tucked under the top of the bird's head.
I finished off the card adding a red gem to the bird's eye and some glossy accents to the berries for some shine.

I hope you enjoyed the new Season of Wonder release and the project I made. For your convenience I have listed and linked all the supplies I used to make this card. Thank you for stopping by!! 
Happy release day!!

Supplies:

Pink Fresh Studios Stencil Fun

Hi all and welcome to another week of the Simon Says Stamp Wednesday Challenge.

This week's challenge theme is Stencil Fun!

We are featuring fabulous new products from Pink Fresh Studios. You don't have to use them to join in but if you have some we would love to see what you make! As always just for entering you will be eligible for the the drawing of a $25 voucher to the Simon store!
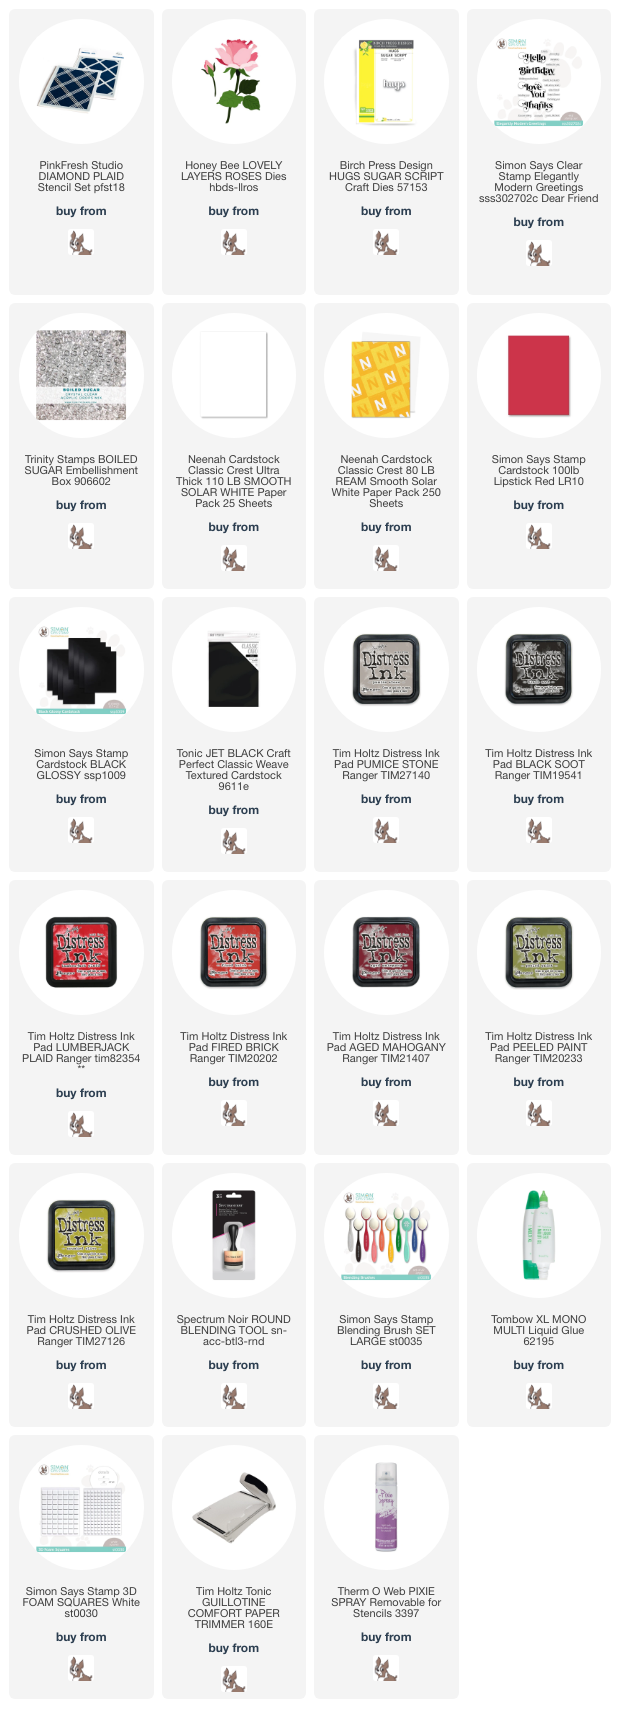
Have you tried stenciling on a project yet? Senciling has been around forever but today there are so many new ways to use this fun technique! I just love a great plaid background so I fell in love with the Pink Fresh Studios Diamond Plaid stencil. 
I have a friend that is in the process of healing from a pretty traumatic surgery. I wanted to make a special get well/thinking of you card.
I began with an A2 size top folding card base made from smooth white cardstock. I then trimmed down another piece of white cardstock to stencil the plaid image onto leaving a bit of a border of white. I used distress ink and a blender brush to achieve this soft neutral look. I then ink splattered some white and distress ink using a paint brush and water. I set that aside to dry.
I then used a layered rose die cut to make the focus of my card. I die cut the petals of the rose from red cardstock and ink blended the edges of each layer. I then die cut the stem and leaves out of white cardstock and used more distress ink to color them green with some shading.
I then used a hugs die from my stash and die cut it 3 times out of white cardstock and adhered together with liquid glue. I added to the top leaf and heat embossed the sub sentiment using white embossing powder onto black cardstock and I trimmed down to be placed on top of the hugs. I last added a few crystal clear drops to look like dew drops.

I hope you have enjoyed the project I have made and got some inspiration. I have listed and linked all the products I used for your convenience. Thank you so much for stopping by!!

Supplies:
Now it's your turn! Happy crafting!

Do you use Instagram ?  If so please add  #ssswchallenge to your challenge entry uploads so we can see them on there too.


You have until Wed  8am Ohio time. 1pm UK time, 2 pm CET to join in


Wednesday, September 27, 2023

Hero Arts Anything Goes

 Hi all and welcome to another week of the Simon Says Stamp Wednesday Challenge.

This week's challenge theme is Anything Goes!

We are featuring fabulous new products from Hero Arts. You don't have to use them to join in but if you have some we would love to see what you make! As always just for entering you will be eligible for the the drawing of a $25 voucher to the Simon store!
Hero Arts has so many amazing products. I fell in love with the their Luggage Tag alpha dies. I this it's fun to create your own sentiments for your projects. They are particularly amazing if you are a scrapbooker!
I love to start early on my holiday card making so I have chosen to make a Christmas card for this challenge. I die cut the letters once from white cardstock and then once from fun foam for a bit of dimension. I wanted them to really pop so I created a bright red background using distress inks.
I first trimmed down a piece of white cardstock to leave a bit of a white border and then starting with the lightest red I began to ink blend from the center out. I just kept using darker shades of red distress ink as I radiated out and then ultimately I used black distress ink for the corners.
I then used some water and white craft paint to splatter the ink blended background. I die cut a few snowflakes from white cardstock and glued them to the background trimming off the excess. I then adhered the Merry and Bright words on the cardbase which is now affixt to an A2 size card base made from white cardstock. I stamped the word "and" using white pigment ink and heat set it with white embossing powder on a strip of black cardstock and added in between the Merry and the Bright.

I hope you have enjoyed the project I have made and got some inspiration. I have listed and linked all the products I used for your convenience. Thank you so much for stopping by!!

Supplies:

Now it's your turn! Happy crafting!

Do you use Instagram ?  If so please add  #ssswchallenge to your challenge entry uploads so we can see them on there too.


You have until Wed  8am Ohio time. 1pm UK time, 2 pm CET to join in


Monday, September 25, 2023

STAMPtember Exclusive Newton's Nook

Welcome back for another STAMPtember exclusive collaboration! Todays reveal is Newton's Nook Santa Paws! I have to admit I didn't think these exclusive stamps could get any cuter!!
I have chosen to create a set of holiday gift tags. I wanted to usea each of the adorable critters from the Santa Paws stamps set.
I began by die cutting three tags out of craft cardstock. I then distress the edges with some Vintage Photo distress ink. I then embossed a brick background using white paper and an embossing folder. I then stamped the sentiment from the stamp set using white pigment ink and heat set it with white embossing powder.
Last I stamped out the adorable images using a copic friendly black ink pad and colored them in with copic markers. I added some white detail and fussy cut them out and popped them up on each tag using foam squares. I tied some ribbon and twine that I had in my stash to the tops of the tags.

I hope you grab this adorable limited edition stamp set before it sells out. Remember once its gone it's gone for good! I have listed and linked the supplies below for your convenience! Thank you for stopping by and Happy STAMPtember!!!!

Supplies: