Wednesday, June 7, 2023

Simon Says Stamp Flowers

Hi all and welcome to another week of the Simon Says Stamp Wednesday Challenge.

This week's challenge theme is Flowers!

We are showcasing exclusive products from Simon Says Stamp. You don't have to use them to join in but if you have some we would love to see what you make! As always just for entering you will be eligible for the the drawing of a $25 voucher to the Simon store!
What a perfect theme for this week's challenge! It's almost summer and flowers are in full bloom here. I wanted to make a card for that challenge that reflected that! 
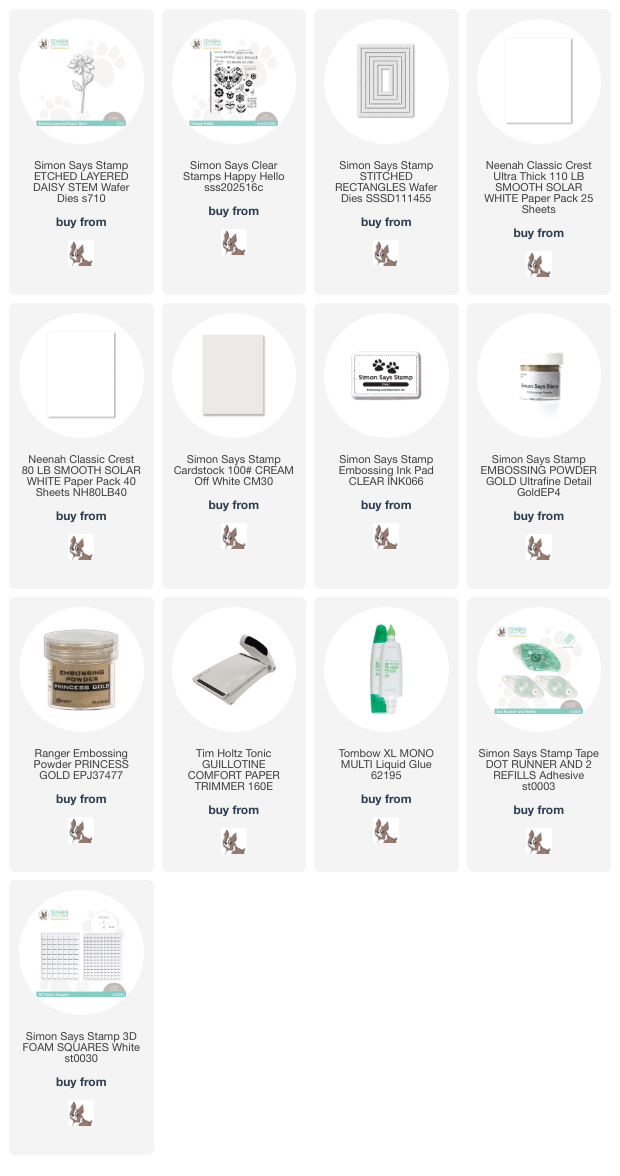
I made this card using an A2 size card base made from cream cardstock. I then used the Simon Says Stamp Etched Layered Daisy Stem die to cut out five flowers. I used my colored cardstock to cut the flowers and and stems from. I die cut out a stitched rectangle panel from white cardstock to leave a bit of a border from the card base. I arranged the flowers on this panel and adhered them down using liquid glue and 3d foam squares.
For the sentiment, I used the happy birthday from the Happy Hellos stamp set. I stamped it using embossing ink and embossed it with gold embossing powder for a bit of shine. A very simple but beautiful birthday card!
I hope you enjoyed the project I have made for this week's challenge and got some inspiration! I have provided affiliate links to all the supplies I used below. Thank you so much for stopping by and I hope you enjoy this challenge!

Supplies:
Now it's your turn! Happy crafting!

Do you use Instagram ?  If so please add  #ssswchallenge to your challenge entry uploads so we can see them on there too.


You have until Wed  8am Ohio time. 1pm UK time, 2 pm CET to join in


Monday, June 5, 2023

Dream Big Birthday Card

I'm finally feeling a little better to have some fun in my craft room! I wanted to recreate a card I made a few years ago. It's so important to dig through your stash and show some love to those older stamps or dies that have been just sitting there waiting to be played with! Oh my, that sounded like a line out of the movie Toy Story!!🤣
The card I have made today features the adorable Simon Says Stamp Heart Garden stamp set. I also wanted to use the Dream big sentiment die because never have! It's just been sitting there waiting..
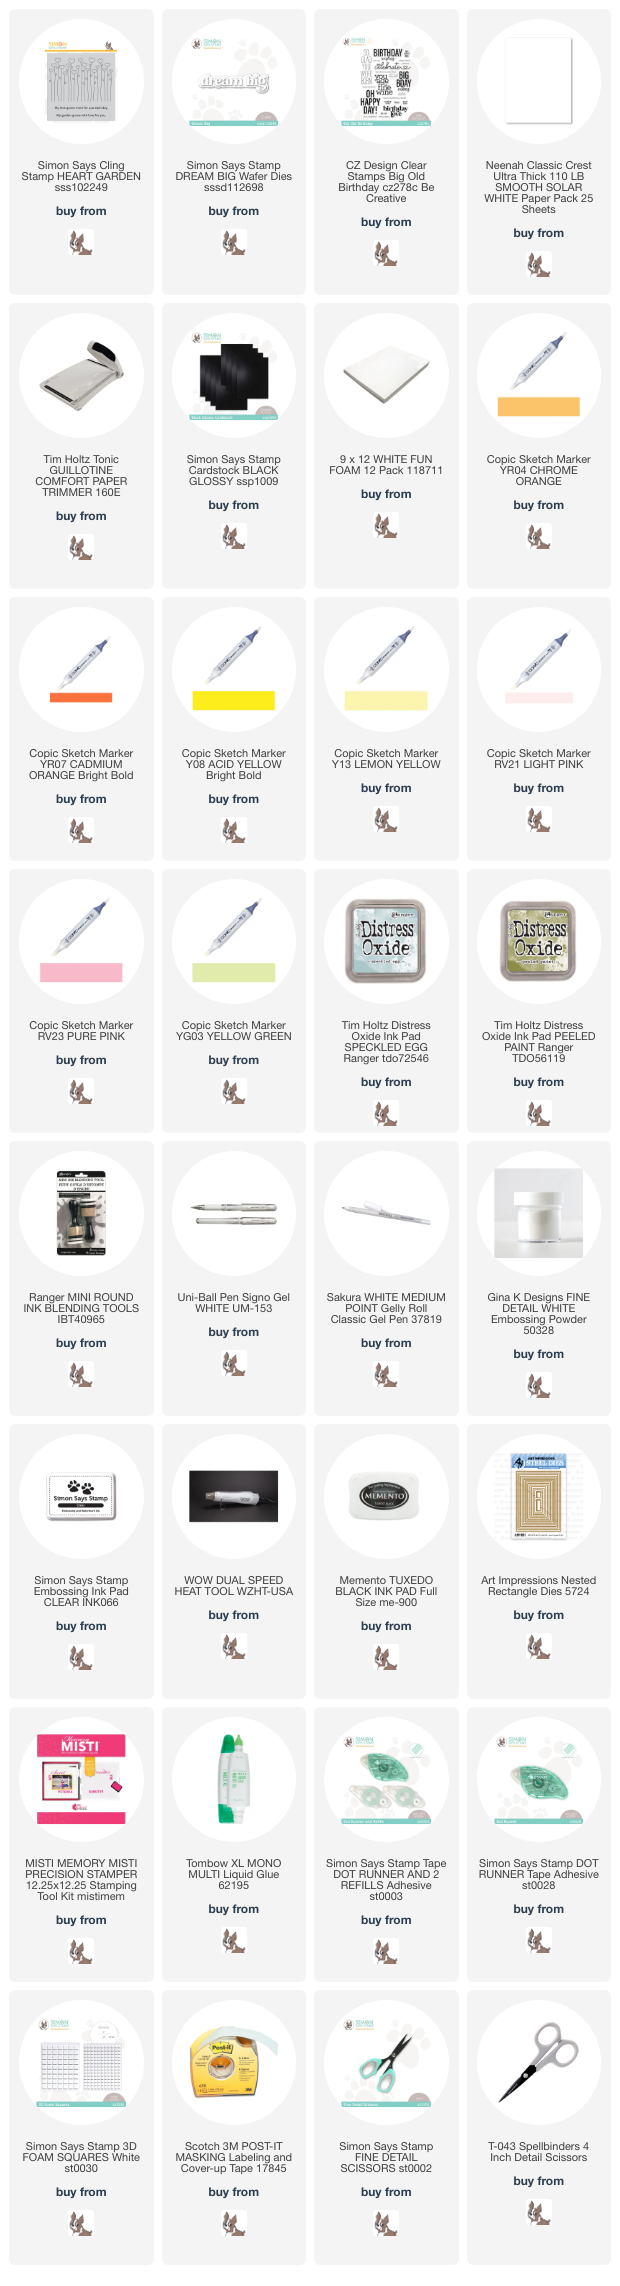
I made this card using an A2 size card base folded landscape style out of smooth white cardstock. I then trimmed down another piece of white cardstock to leave a bit of a border. Using a rectangle nested die to help mask off a rectangle to be shaded in using distress oxides. I peeled back the tape to reveal a perfectly ink blended and ink splattered rectangle shape. I then retaped all the sides of the rectangle and placed into the MISTI and stamped the Heart Garden stamp using a copic friendly black ink.
I then stamped it again onto another piece of white cardstock. I colored in the hearts with copic markers and fussy cut out the hearts. I adhered the hears to the inked and stamped panel with 3d foam squares to pop them up a bit. I then die cut the Dream Big sentiment out of white cardstock and fun foam for dimension. For the sub-sentiment, I stamped it using a clear embossing ink and then heat set it using a white embossing powder. I used white gel pen to add some highlights to the hearts to finish it off.

Thank you for stopping by today! I have provided affiliate links below to all the supplies I used to make this card if you are interested at no extra cost to you!

Supplies:

Wednesday, May 31, 2023

Couture Creations Anything Goes

Hi all and welcome to another week of the Simon Says Stamp Wednesday Challenge.

This week's challenge theme is Anything Goes!

We are showcasing products from Couture Creations. You don't have to use them to join in but if you have some we would love to see what you make! As always just for entering you will be eligible for the the drawing of a $25 voucher to the Simon store!
I'm new to the products of Couture Creations and when I saw that they had a line of alcohol inks I just had to try them! The card I have made for this week's challenge has a background featuring some of their alcohol inks. I had lots of fun playing with them.
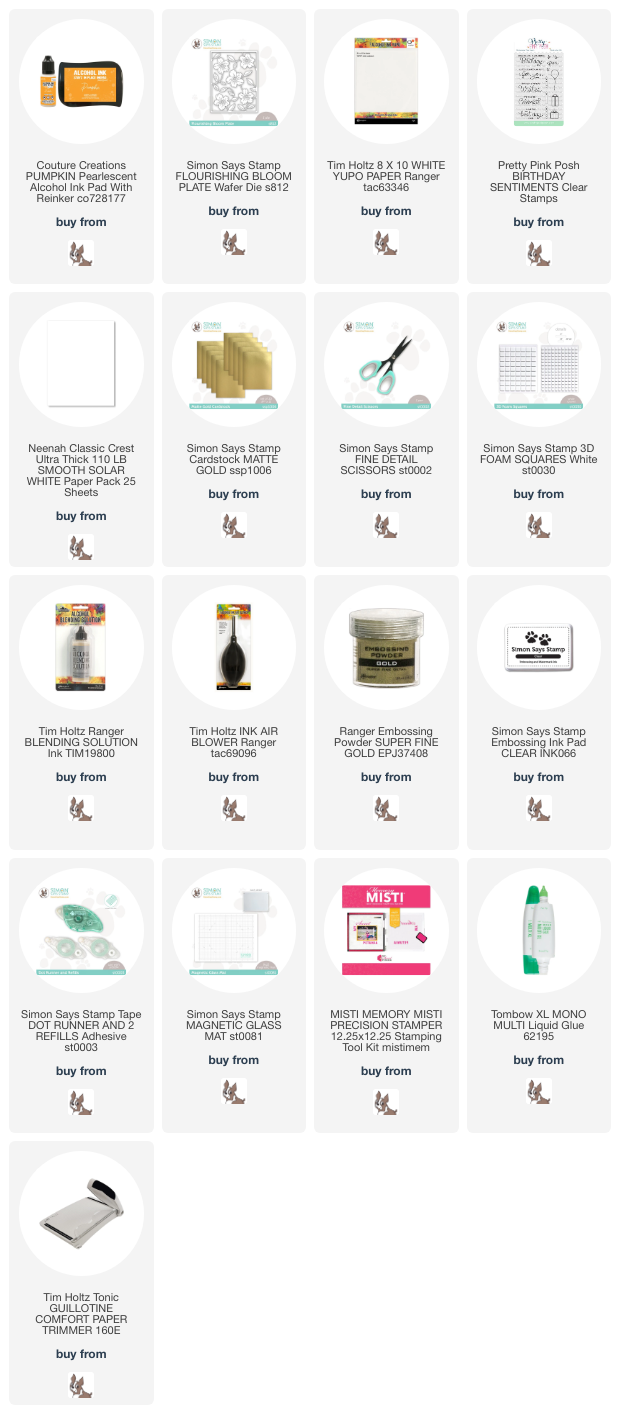
I made this card using an A2 size card base cut from smooth white cardstock. I then trimmed down a panel of Yupo paper to leave a bit of a border. I then dropped several of the alcohol inks onto the Yupo paper and moved the ink around with a blender solution and a air pusher. 

While the background was drying, I die cut the Flourishing Bloom Plate out of white and gold cardstock. I trimmed out a few of the flowers I wanted and some the leaved in gold and arranged them across the background. 
I then heat embossed the sentiment using gold embossing powder onto white cardstock and trimmed it out and popped it up under the flowers on the right hand side. 

I hope you enjoyed the project I have for this week's challenge and you got some inspiration! I have provided affiliate links to all the supplies I used below. Thank you so much for stopping by and I hope you enjoy this challenge!

Supplies:
Now it's your turn! Happy crafting!

Do you use Instagram ?  If so please add  #ssswchallenge to your challenge entry uploads so we can see them on there too.


You have until Wed  8am Ohio time. 1pm UK time, 2 pm CET to join in


Monday, May 29, 2023

Etched Greetings Simon Says Stamp June card kit

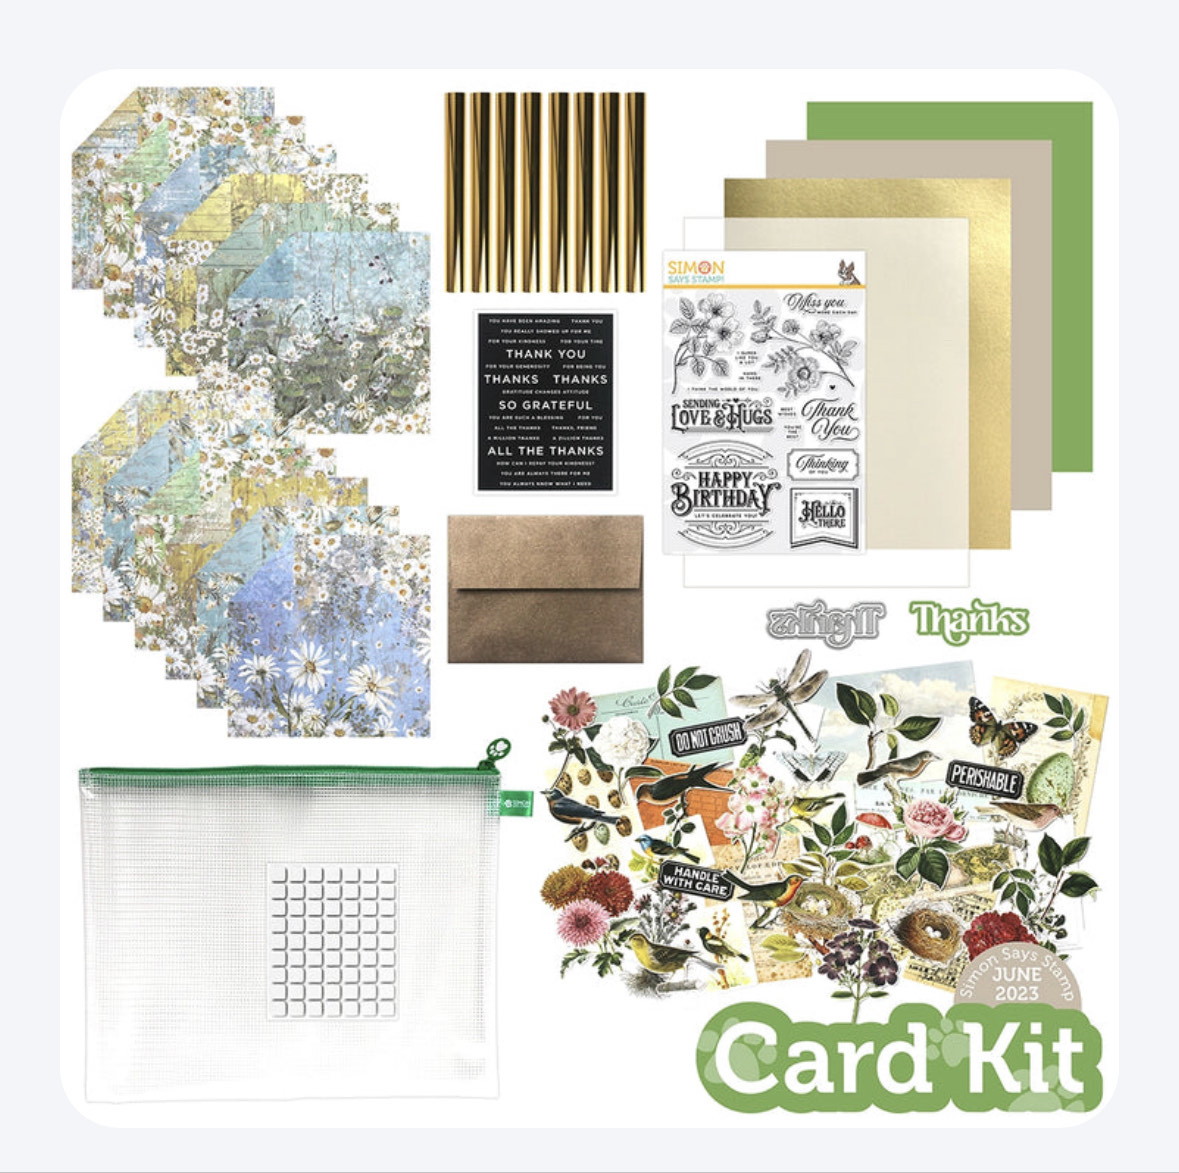
I finally had a chance to sit down and play with the new Simon Says Stamp Etched Greeting June card kit and I'm so glad I did! Once again Simon hit it out of the park with the patterned paper in this kit. Just gorgeousness!
If you haven't had a chance to see the it you can click HERE to see the entire kit. It is packed full of goodies and a mesh zip bag to keep it all together while you are creating.
I just had to use the gorgeous paper from the kit to make three cards. The patterned paper is so beautiful and there is a lot to choose from.
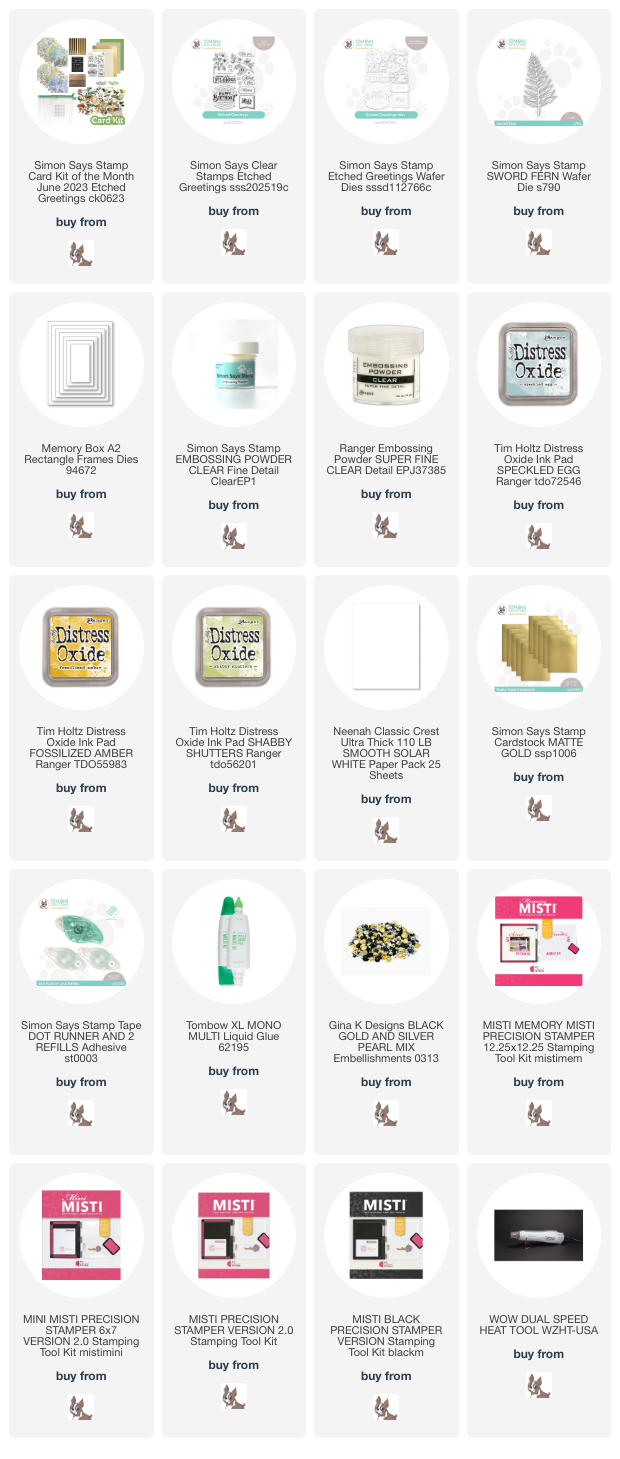
I made each card using an A2 size card base made from smooth white cardstock. I then chose three sheets of the 6x6 patterned paper and trimmed them down to leave a bit of a white border. I don't really like to give measurements because some people prefer to have a thinner thicker white border. 
I then stamped the sentiment from the Etched Greetings stamp set that is included in the set but you can also buy it separately if you like. I embossed three times. I used yellow, green and blue distress oxide inks and embossed them using clear embossing powder for a bit of shine. You might have figured out that I have trimmed down the original sentiment. The pattern and the paper was too pretty to cover up!
I then die cut the Sword Fern out of matte gold cardstock and placed it behind each sentiment. I thought the gold went so well with the colors of each pattern. I used some flat gold pearls to finish each card off. Super easy!

This set of birthday cards would make a wonder gift. They were so easy to make and I always need birthday cards to I love to mass produce when I can. I hope you enjoyed the project I made using the new card kit! I have affiliate links below to all the supplies I used for your convenience. Thanks so much for stopping by!!

Supplies:


Wednesday, May 24, 2023

CZ Design Add a Sentiment

Hi all and welcome to another week of the Simon Says Stamp Wednesday Challenge.

This week's challenge theme is to make an Add a Sentiment!

We are showcasing products from CZ Designs. You don't have to use them to join in but if you have some we would love to see what you make! As always just for entering you will be eligible for the the drawing of a $25 voucher to the Simon store!
I am such a big fan of Cathy Zielske and I just love her designs. I think I might have them all! So I was excited to see that this week's challenge was going to feature CZ Designs. So of course I couldn't just make one card!
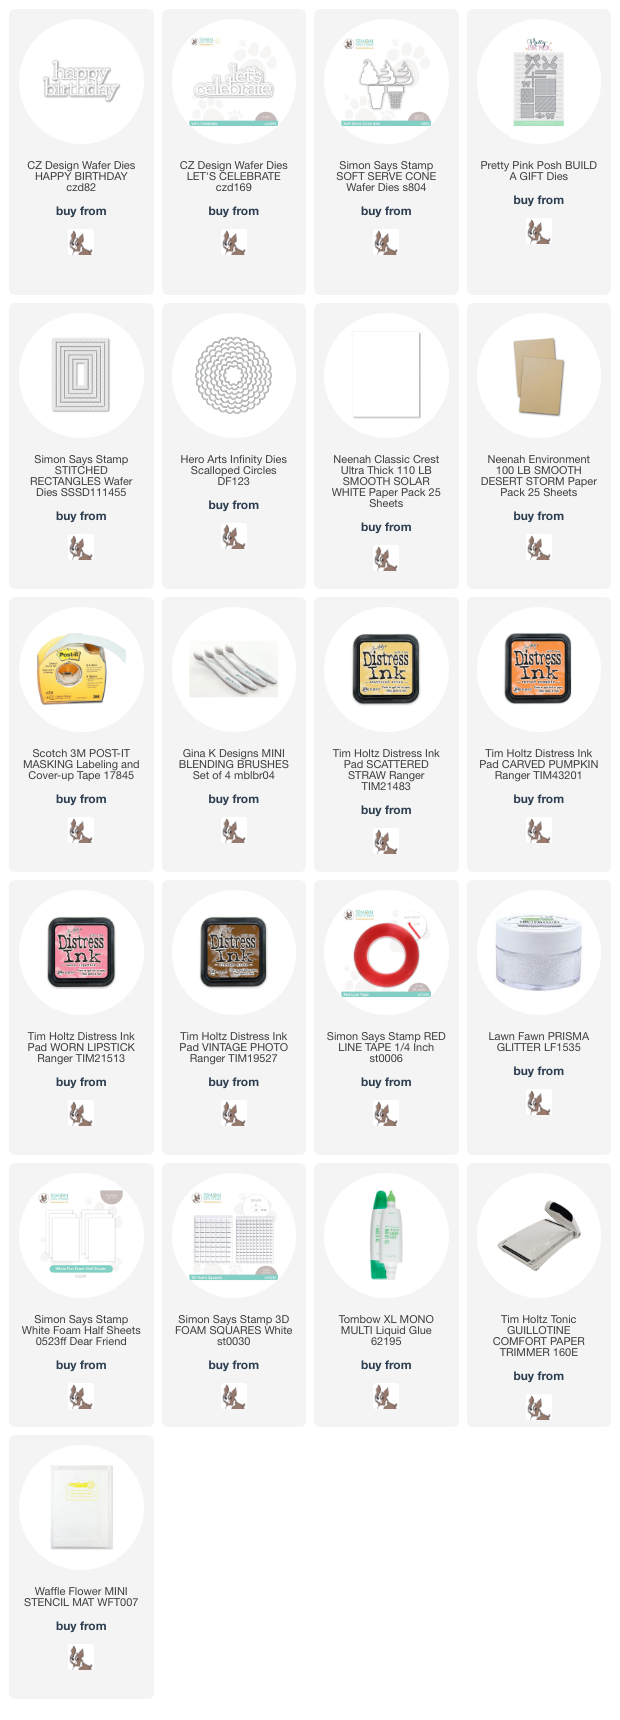
This first card features one of my favorite CZ Design sentiment dies Let's Celebrate. I made the card using smooth white cardstock cut to be the size of an A2 card base. I wanted to make a birthday card that was bright and cheerful and perfect for a summer birthday! I created a plaid background in my favorite distress colors using post-it tape. I trimmed it down to leave a white border and die cut a scalloped window from the middle. I then die cut the Soft Serve Cone 3 times out of scraps of colored cardstock and adhered them together with liquid glue.
I then die cut the CZ Designs Let's Celebrate sentiment twice. Once from white cardstock and once from craft cardstock.  I offset the dies and adhered them together to look like a shadow. The sparkle on the plaid background is using red line double sided tape and clear glitter to add a bit of sparkle.
The next card I made came from not wanted to toss the center of the scalloped piece of I cut from the plaid paper I made for the first card. So I die cut some gifts and again used the colors I choose for the plaid background. For this card I chose the Happy Birthday from CZ Designs. I ink blended that using distress ink.
I used a rectangle stitched die to mat the A2 size card base to leave a bit of a border. I took the ink blended Happy Birthday sentiment and adhered it to a die cut from fun foam for a bit of dimension. I also used some foam squares to pop up the gifts that I added to the scalloped circle.

I hope you enjoyed the projects I have for this week's challenge and you got some inspiration! I have provided affiliate links to all the supplies I used below. Thank you so much for stopping by and I hope you enjoy this challenge!

Supplies:
Now it's your turn! Happy crafting!

Do you use Instagram ?  If so please add  #ssswchallenge to your challenge entry uploads so we can see them on there too.


You have until Wed  8am Ohio time. 1pm UK time, 2 pm CET to join in


Sunday, May 21, 2023

Simon Says Stamp Dear Friend release Blog Hop Day 2

I'm so happy to be part of the new Simon Says Stamp Dear Friend Blog Hop Day 2. If you would like to see the entire release just click HERE.
Simon is offering a chance for a $25 shopping spree! All you have to do is leave a comment here to enter.  Leave a comment on each stop of the hop for more chances to win. Good luck! I have made 3 cards for this hop today using some of the amazing products from the Dear Friend release. Each card uses the emboss resist technique with distress inks.
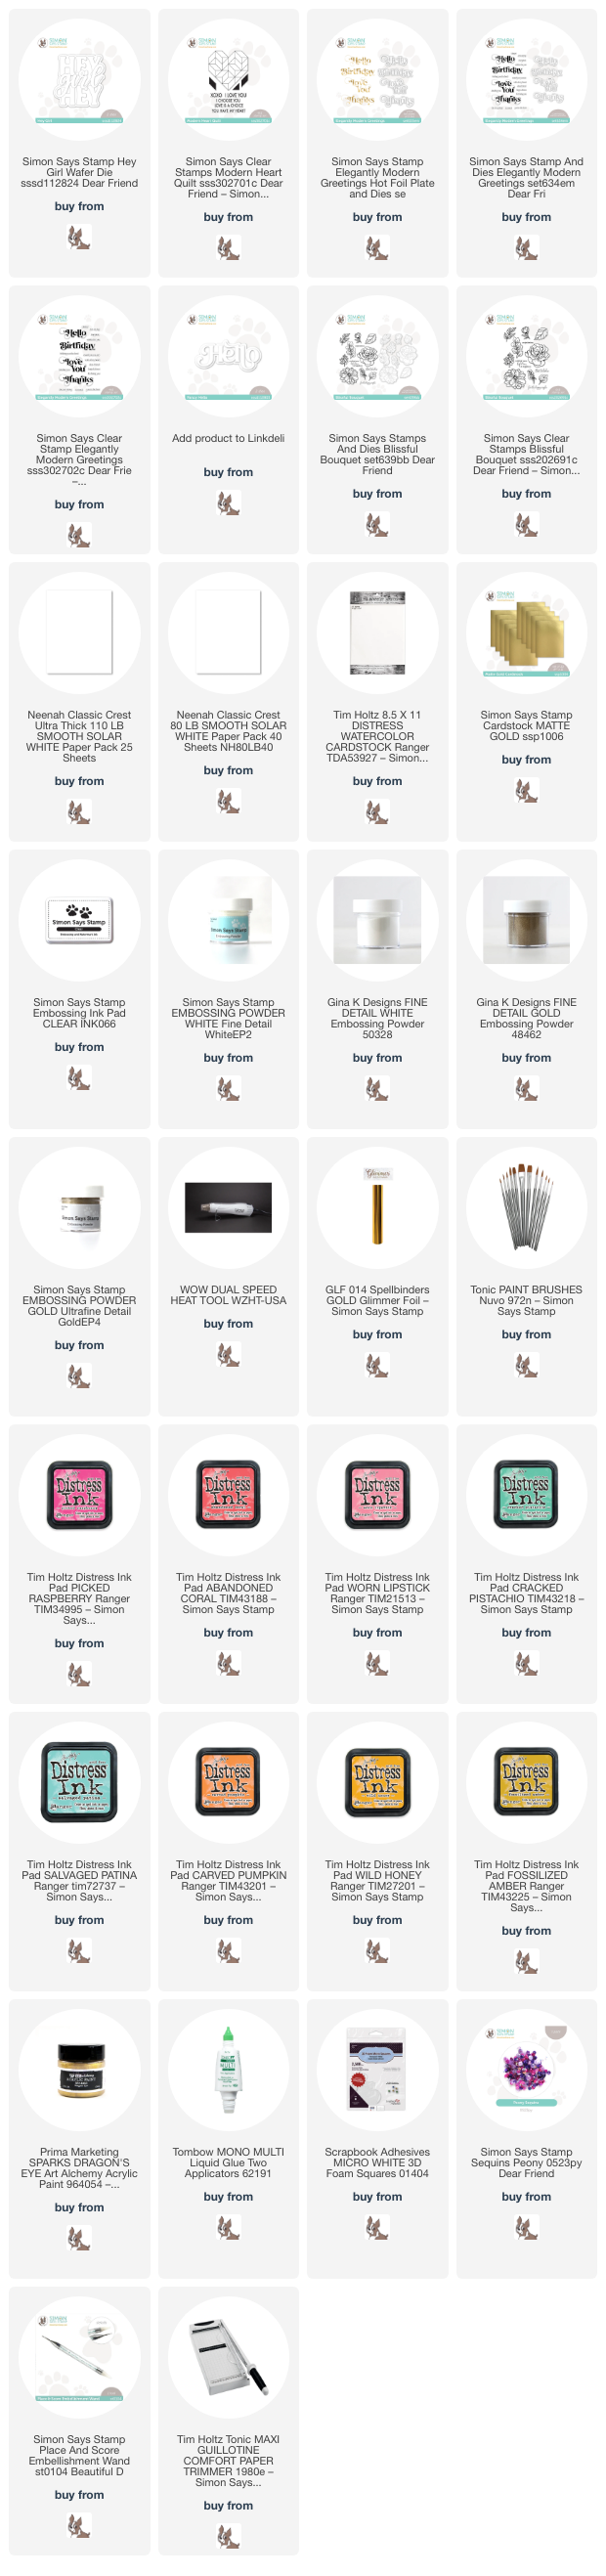
I made this card using an A2 card base from smooth white cardstock. I then stamped one of the beautiful flowers from the Blissful Bouquet stamp set onto watercolor cardstock and heat set it using gold embossing powder. I then water colored each flower and leaf using distress ink and water with a paintbrush. I then die cut them out using the coordinating dies and arranged them on a piece of white cardstock and trimmed off the excess. I then adhered that panel to the card base. I die cut the Fancy Hello die from gold cardstock and popped it up using foam squares. I also embossed the sub-sentiment using gold embossing powder onto a white strip of cardstock.
I made this card using an A2 card base made from smooth white cardstock. I then trimmed down a panel of watercolor cardstock. I stamped the large image from the Modern Quilt Heart stamp set using clear sticky ink and heat set it using white embossing powder. I then pulled out some of my favorite colors of distress ink and a paintbrush and with no rhyme or reason I started to add distress ink mixed with water. I then went in and painted some of the areas with gold paint and used some of that gold paint to add some splatters for a bit of shine. I hot foiled a sentiment from the Elegantly Modern Greetings set using gold glimmer foil and die cut it out using the coordinating die. I popped it up with some foam adhesive. I added some sequins around the sentiment to spice it up.
This last card was also made with an A2 card base from smooth white cardstock. I then trimmed down a panel of watercolor paper to leave a bit of a white border. I stamped the Peony Background image on the panel using clear embossing ink and heat set it using white embossing powder. I then used some distress ink and water to create a bright wash over the embossed image just using a paintbrush. I used the same distress ink to add some splatters. I set it aside to dry while I die cut out the Hey Girl Hey sentiment from white and gold cardstock. I used some foam tape to pop up the sentiment from the water colored panel.

I hope you are enjoying your time hopping with us today! Lots of inspiration and even more if you visit the Dear Friend Gallery. I have provided affiliate links to all the supplies I used to make each card for your convenience. Thank you so much for stopping by! Happy hopping!

Supplies:
Here is the list of stops on this hop:

Friday, May 19, 2023

Simon Says Stamp Dear Friend release day

I'm so excited to share a project I made using some goodies from the new Simon Says Stamp Dear Friend release! Click HERE to see the entire release.
I love using one fun element of a stamp set to repeat and make a fun background. You can stretch your craft supplies when you choose stamp sets with lots of elements. I made this card using the striped heart image from the new Extra Proud stamp set. 
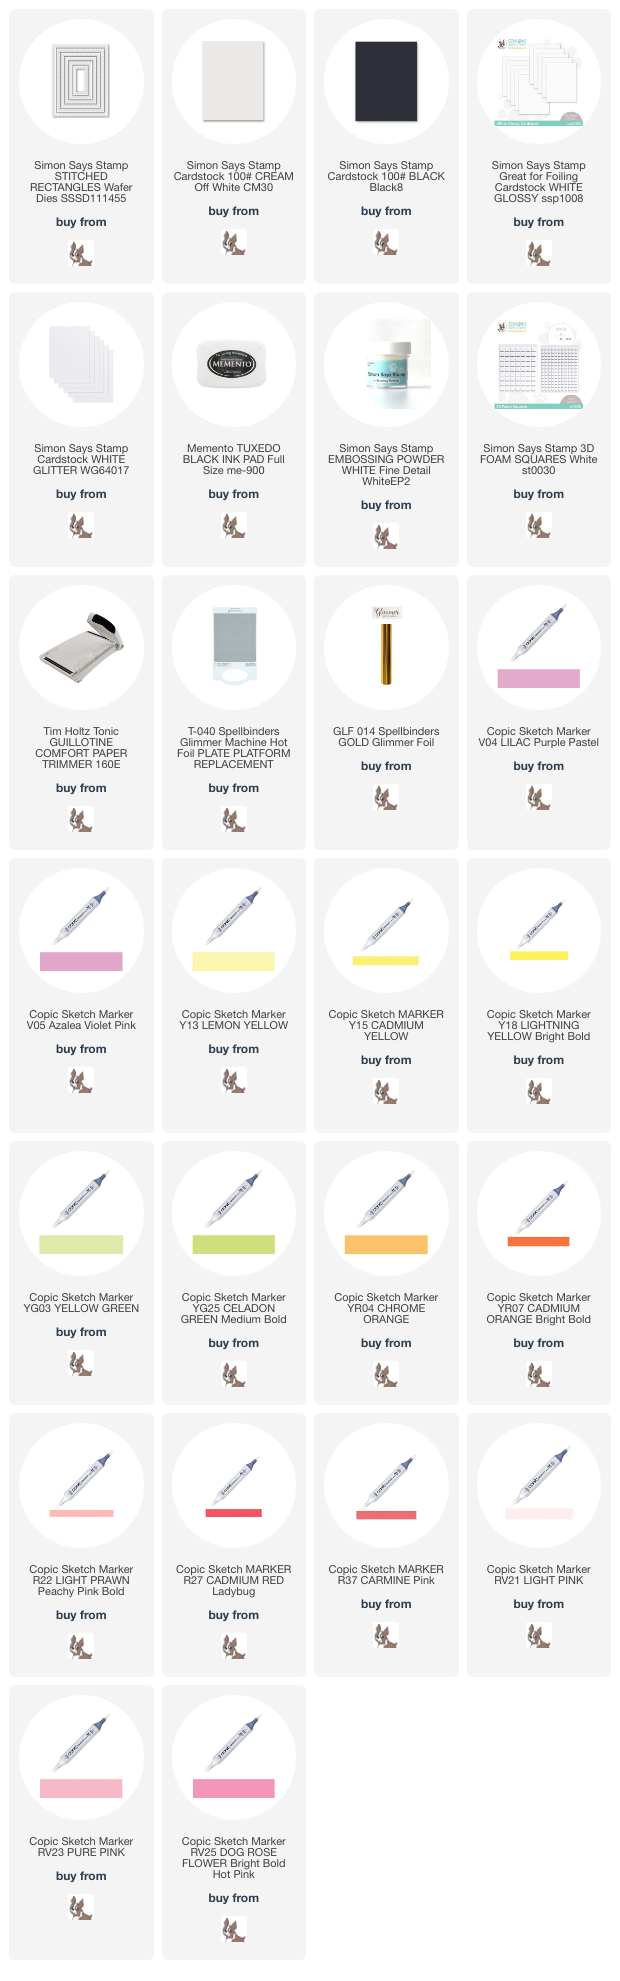
I stamped the heart image several times using Memento black ink that is copic friendly. I then colored each stripe with copics in rainbow order. I used the coordinating die to cut out each heart. I then arranged them on a panel cut from white cardstock with a stitched rectangle die. I popped them up with 3d foam squares. I trimmed off the excess and added that to a cream A2 size card base.
The sentiment is from the new Elegantly Modern Greetings set. I just love this set! It has a foil plate and a coordinating die to create an amazing sentiment for your card! I hot foiled the Thanks and heat embossed the sub-sentiment in white on a strip of black cardstock.
I have a feeling this Elegantly Modern Greeting set is going to go like hotcakes!! I would grab it while you can!! I also made a little video showing a bit of the hot foiling process. 


Thank you for stopping by and I hope you enjoy this fantastic new release and got some inspiration. I have provided an affiliate list of everything I used to make this card for your convenience. Have an amazing day!


Supplies: