Sunday, January 15, 2023

Bouquet of Blossoms card

Ahhh Spring is just around the corner! When I look out my craft room window I can see the three flowering plum trees planted in my parkstrip. For about two weeks out out of the year, those trees fill up with the most gorgeous pink blossoms. It's like three huge bouquets delivered from nature just for me!

I wanted to make a bouquet of blossoms card to send to a friend that has had to overcome a lot!!
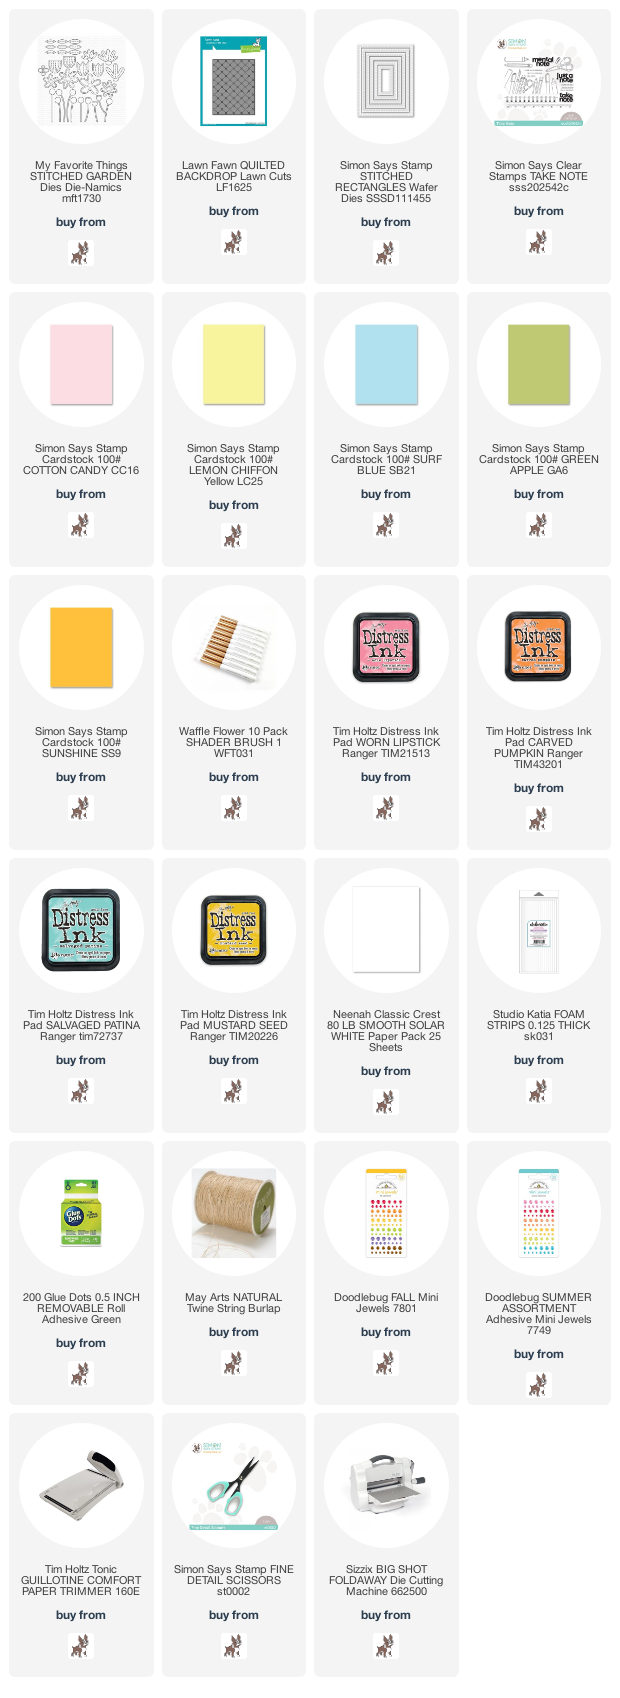
This card took a while to make but I think the results were worth it. I began with an A2 size card base made from smooth white card stock. I then die cut a panel using the Lawn Fawn Quilted Backdrop coverplate die for some texture. I also made a stitched frame using the Simon Says Stamp Stitched Rectangle dies and set that aside.
I then went to work on the blossoms for my bouquet. I die cut several of the blooms from the My Favorite Things Stitched Garden die set out of colored cardstock. Then using the Waffle Flower Shader tool I added distress ink to the centers of each bloom for added dimension. I then used an old technique to pop the petals up. If you came here from my Instagram post, then you saw what I did. If not, head on over to see! I then used a glue dot to the back of each flower and adhered them to the panel to shape the bouquet. I then trimmed some stems from green cardstock and added them underneath the bouquet. I did this simply by using a paper trimmer. I added a sentiment strip, a bow made from natural twine and jewels to the center of each flower. I then added the frame around it all with foam adhesive strips.

I hope you have enjoyed the card I made today and got some inspiration! For your convenience I provided affiliate links to all of the products I have used for this card. 

Supplies:

Tuesday, January 10, 2023

Lawn Fawn Too Cute

 Hi all and welcome to another week of the Simon Says Stamp Wednesday Challenge.

This week's challenge theme is Too Cute!

We are showcasing products from Lawn Fawn. You don't have to use them to join in but if you have some we would love to see what you make! As always just for entering you will be eligible for the the drawing of a $25 voucher to the Simon store!
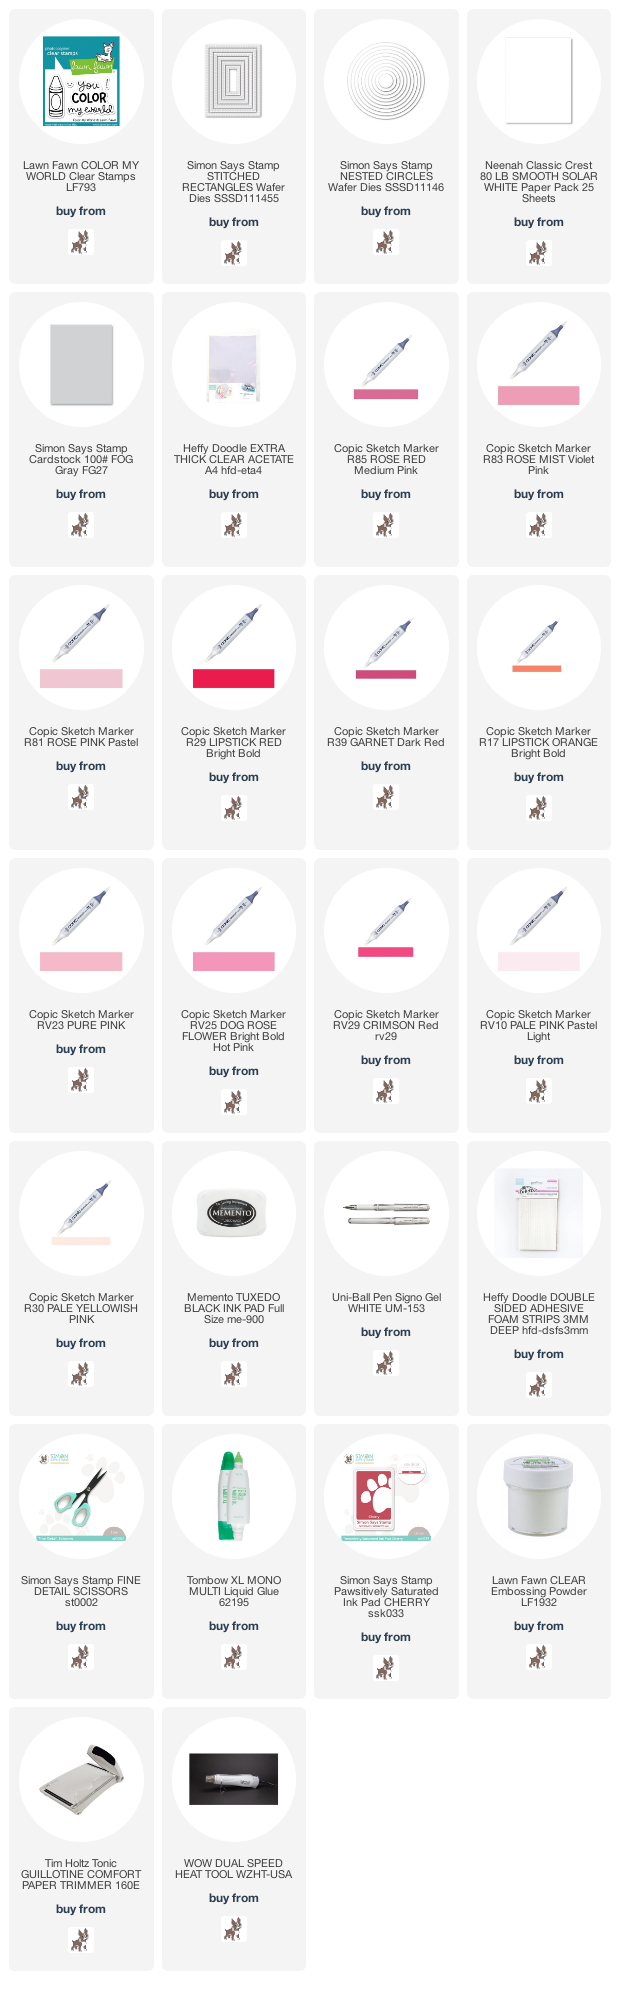
Keeping with the Valentine's theme of my cards lately, I made a too cute valentine shaker! I used the cute Lawn Fawn Color my World stamp set.
I made this card using an A2 size card base from smooth white cardstock. I then cut a piece of fog cardstock and trimmed it down to adhere to the card base.
For the shaker part of the card, I used stitched rectangle dies to create a frame. I then trimmed a piece of acetate and glued it to the frame. I then stamped out several of the crayon images from the stamp set and colored them using copic markers and then fussy cut them out. I arranged them around the frame and then trimmed off the excess. 
I then stamped on to a piece white cardstock the sentiment from the stamp set and die cut it out using a circle die. I adhered that to the center of the fog cardstock and added some shaker bits from my stash in coordinating colors. I added foam adhesive all around the back of the frame and adhered it down over the fog cardstock to leave a white border.

I hope you have enjoyed the card I made today and got some inspiration! For your convenience I provided affiliate links to all of the products I have used for this card. 

Supplies:
Now it's you turn! Happy crafting!

Do you use Instagram ?  If so please add  #ssswchallenge to your challenge entry uploads so we can see them on there too.


You have until Wed  8am Ohio time. 1pm UK time, 2 pm CET to join in


Monday, January 9, 2023

Pretty Pink Posh Lots of Love IG Hop

💕 I am happy to have the opportunity to join the Pretty Pink Posh new release Instagram hop today. I have made lots of fun Valentine's Day cards for the hop.💕
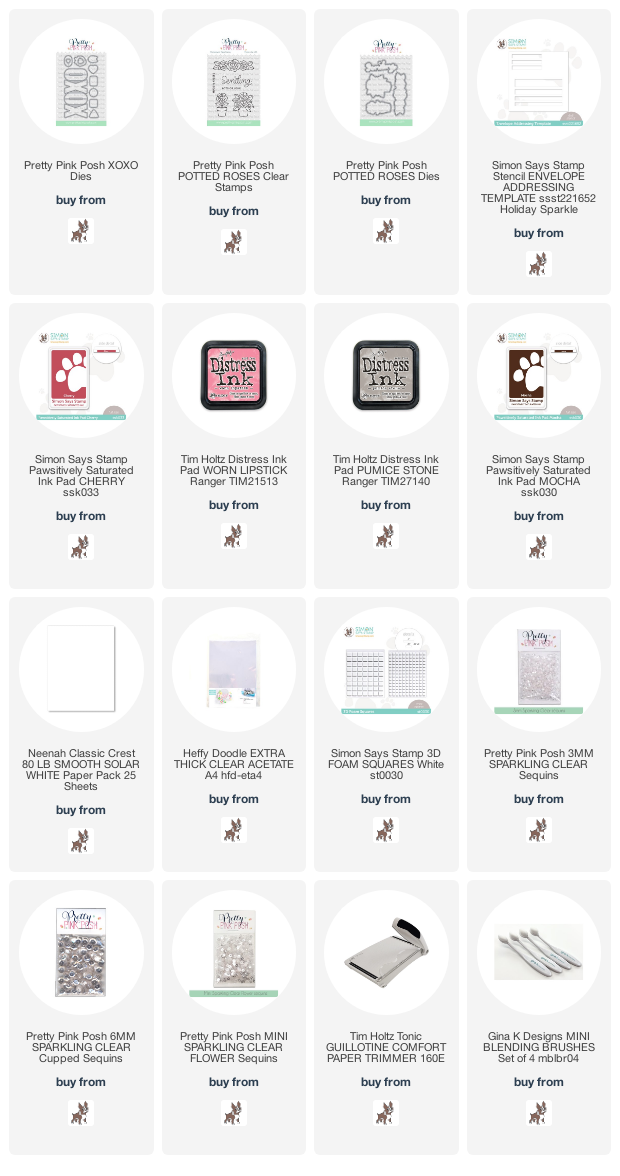
This first card is a shaker card I made using the XOXO die and XOXO stamp set from the new release.
I began with an A2 size card base from smooth white cardstock. I then used a stencil to create a fun plaid background. I trimmed it down to leave a bit of a border and adhered it to the card base. I then cut another piece of white cardstock to die cut the XOXO from to create the window for my shaker. I added some stamped sentiments from the Potted Roses stamp set. I added clear sequins to fill the shaker with.

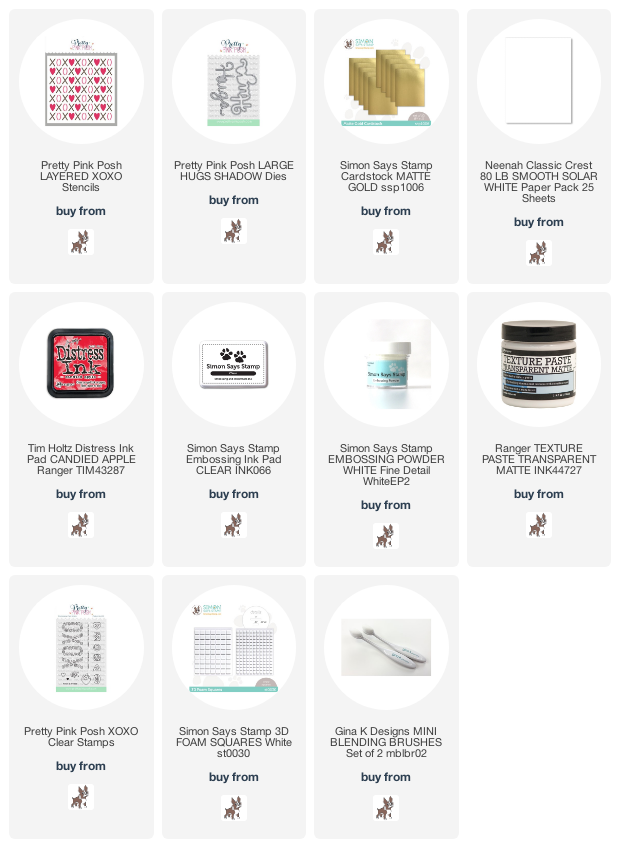
The next card I made using the Hugs die and the Layered XOXO stencil set.
I love these layering stencil sets! I used a light gray cardstock and created the stenciled hearts and X's. I used red ink for the hearts and white texture paste for the X's. I set it aside to dry. I then trimmed the stenciled panel down to leave a white border. I die cut out the large Hugs out of gold cardstock and the shadow for the sentiment out of white cardstock. I stamped the sub-sentiment from red ink.

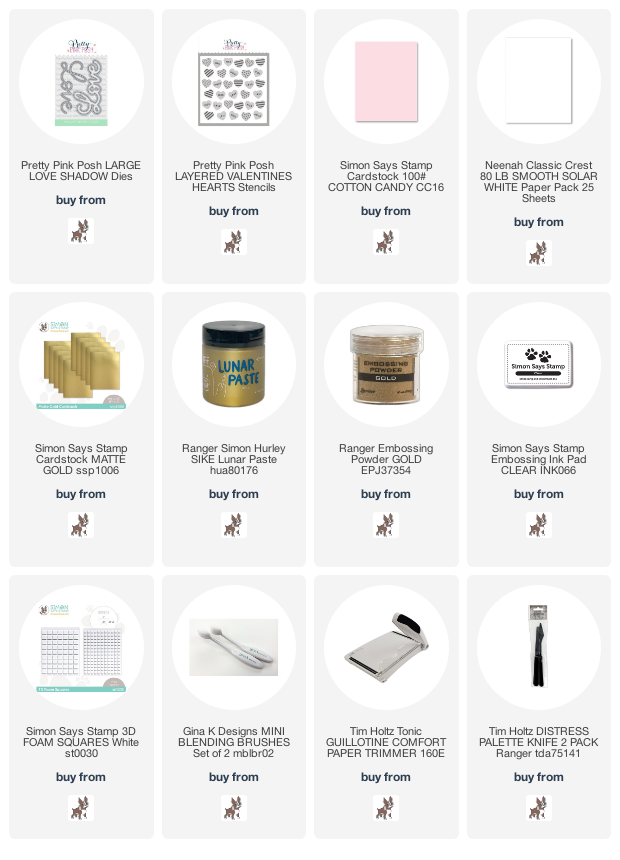
This next card was created very similar to the last card. I used the Layered Valentine Hearts stencil set and the large Love die.
I began with an A2 size card base made from smooth white cardstock. I then stenciled the hearts using a dark pink ink on to a panel of light pink cardstock. I then used the 2nd stencil in the set to add gold detail to the hearts. I set that aside to dry and die cut out the Love die from gold and white cardstock. I embossed the sub-sentiments in gold embossing ink and trimmed them out and added them with foam adhesive.

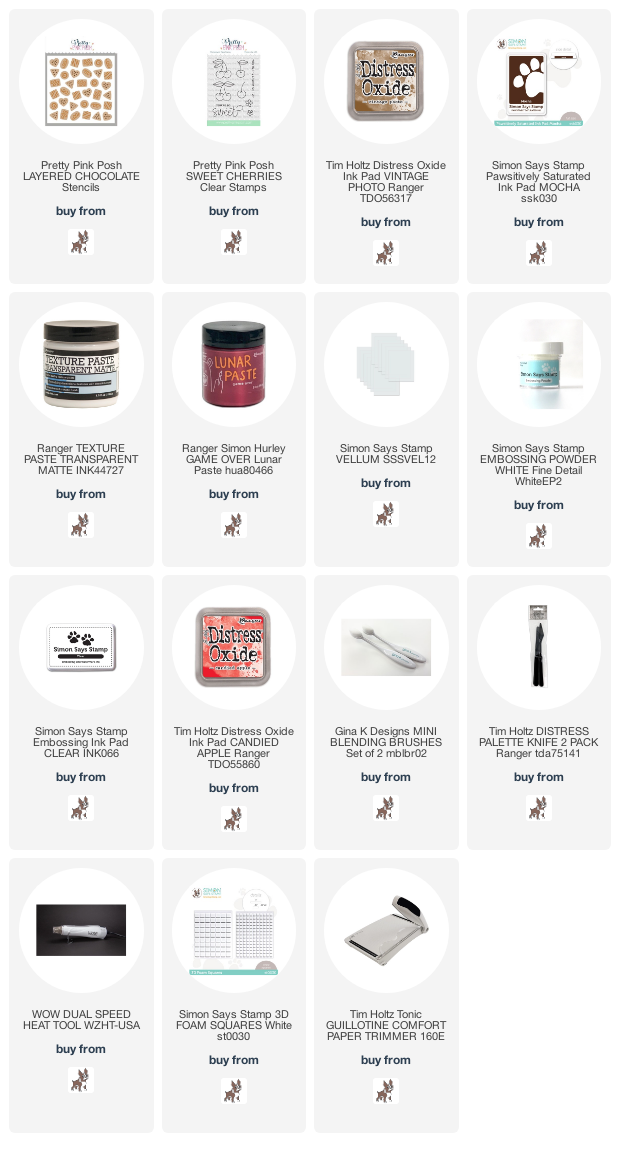
Did someone say chocolate? This last card has some yummy treats!  I used the Layered Chocolates stencil set.
I made this card using an A2 card base cut from smooth white cardstock. I then trimmed down a panel of white cardstock to leave a bit of a border. I ink blended the edges with pink distress ink. On a separate piece of white cardstock I stenciled the chocolates in brown ink. Using all the stencils in the set, I added detail to each chocolate. I let them dry and I fussy cut them out and added them all around the ink blended panel with foam adhesive. I then stamped the sentiment onto a strip of vellum and wrapped it around the panel. The sentiment is from the Sweet Cherries stamp set. I used white embossing powder and heat set the word sweet.

I hope you have enjoyed the hop and got some inspiration from the projects I have shared. I have listed linked everything I have used to make all the cards below for your convenience. Thank you so much for stopping by!

Supplies:

XOXO card
Hugs and Kisses card
Sending You Lots of Love card
You're So Sweet card


Sunday, January 8, 2023

Layered Rosebud card Hugs release

This was probably my favorite die to work with this release. To see the whole release just click HERE. I just adore layering dies because you can add so much dimension with ink blending.
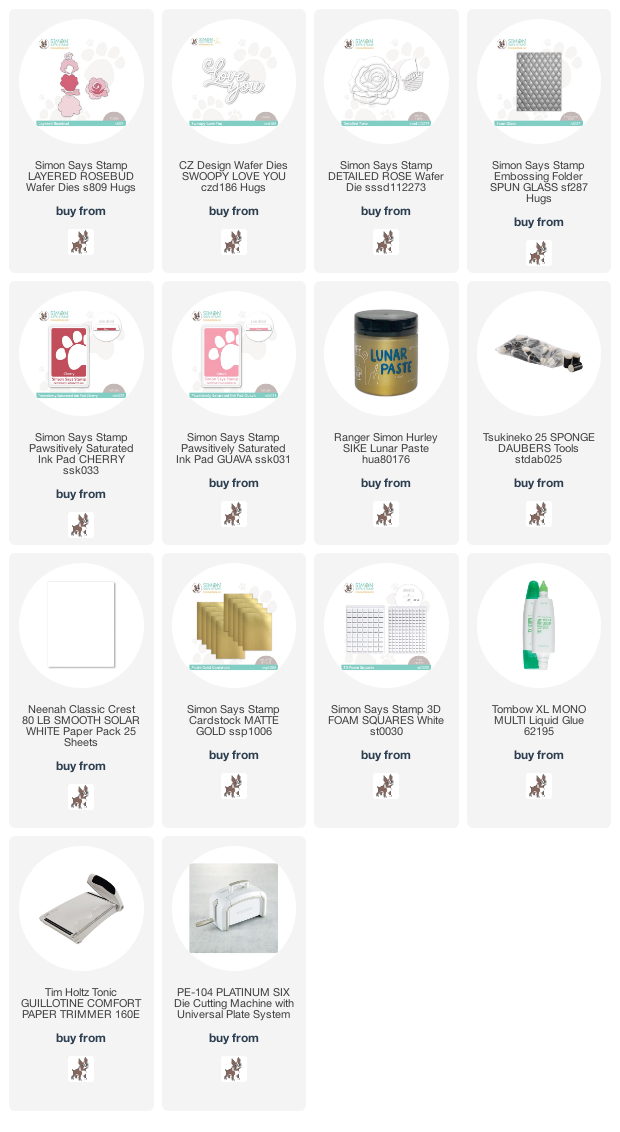
So I made this card using the Layered Rosebud die, the Swoopy Love You die and the amazing Spun Glass embossing folder. 
I began with an A2 size card base using smooth white cardstock.  I then trimmed down another piece of white cardstock to leave a bit of white border and to run through the embossing folder. After I had ran it through the die cut machine I smeared some ink and gold highlights to bring out the dimension. I did this with die ink and gold texture paste.
I then die cut the pieces of the rose die and inked them with the dye inks and layered them together with foam adhesive for a dimensional look. I then die cut the sentiment from gold cardstock and added to the lower rose. I also added some leaves from my stash. I will provide a link to those leaves below.

I hope you are having fun transitioning from holiday cards to Valentine's cards. I know I am! Kinda means spring is just around the corner!💖

I have affiliate links below listing all the supplies I have used to make this fun card for your convenience. Thank you so much for stopping by!!!

Supplies:


Friday, January 6, 2023

Colorful Toucan card Hugs release

Still having so much fun playing with the Simon Says Stamp Hugs release. I have also been playing a lot with alcohol inks and thought it would be fun make a very colorful card for Valentines.
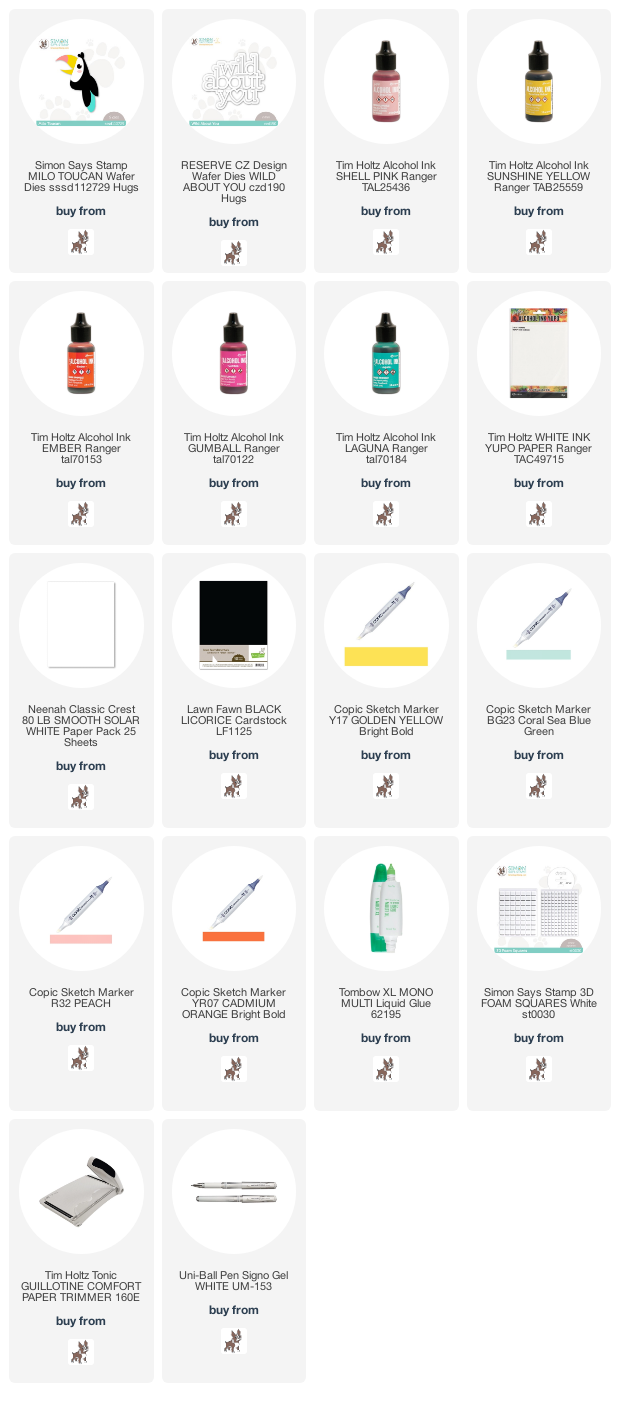
I just fell in love with the Milo Toucan die and thought it would be perfect to pair with the Wild About You die and the alcohol background I made for it.
I began with an A2 size card base using white cardstock. I took a piece of Yupo paper and a few bright colors of alcohol ink. I created a very vibrant and colorful background. I trimmed that down and adhered it to my cardbase. I then die cut all the pieces of the toucan out, mostly from white and black cardstock. 
I used Copic markers to add the colorful parts of the bird. I put the bird together using liquid glue.
I then die cut the sentiment from white cardstock three times and adhered together with some glue for thickness. I added the sentiment to the lower left side of the panel and then added the toucan on top of the sentiment with 3d foam squares. I also added some detail to the toucan with a white gel pen.
I hope you enjoyed my colorful valentine. This one is going to my grandson! I have affiliate links below with all the supplies I used to make this card listed for your convenience. Hope you got some inspiration. Thank you for stopping by!!


Supply list:


Tuesday, January 3, 2023

Studio Light Something New

Hi all and welcome to another week of the Simon Says Stamp Wednesday Challenge.

This week's challenge theme is Something New

We are showcasing products exclusive to Studio Light. You don't have to use them to join in but if you have some we would love to see what you make! As always just for entering you will be eligible for the the drawing of a $25 voucher to the Simon store!
This week's challenge theme is so perfect. Everything is new being a new year! I have made an elegant wedding card. Perfect for the something new, something borrowed and something blue!
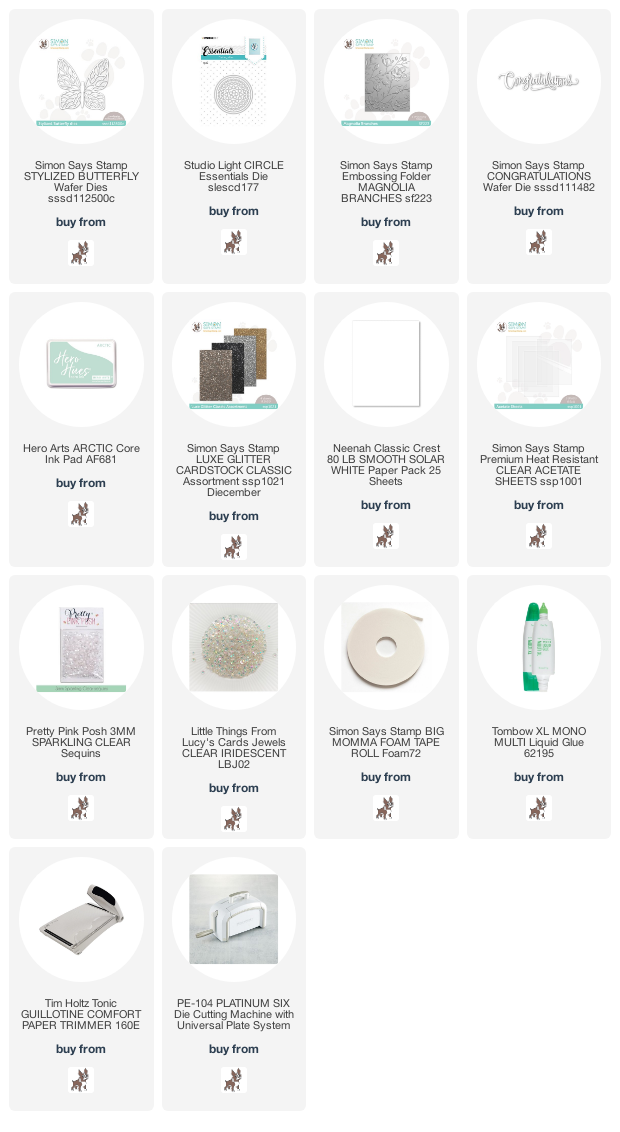
I made this card using an A2 size card base from smooth white cardstock. I then used another piece of white cardstock for the background. To prepare the background I trimmed it down to leave a bit of white border and then cut a circle from the upper middle of the panel using the Studio Light Circle Essentials die set. Using the Simon Says Stamp Magnolia Branches embossing folder I took the panel with the circle cut out and ran it through the embossing folder after inking up the smooth side of the folder with Hero Arts Arctic Core dye ink. Inking only the one side of the embossing folder will leave the raised parts of the embossing folder still white.
I then added a piece of acetate to the back of the circle using some liquid glue. I die cut a frame for the shaker window using the circle dies from the set and then glued that on as well. I then die cut the Simon Says Stamp Stylized Butterfly die from white cardstock and the center of the butterfly from Simon Says Stamp Luxe glitter cardstock for some sparkle.
I used the same glitter cardstock to die cut the Congrats sentiments. I adhered the sentiment with foam adhesive. I then filled the center of the circle with clear small sequins and added the panel with foam adhesive to leave space for the sequins to shake around. Using a stylus I added some iridescent jewels to the center of the raised flowers. I added the butterfly last with some liquid glue and popped up the wings of the butterfly for dimension.

I hope you have enjoyed the card I made today and got some inspiration! For your convenience I provided affiliate links to all of the products I have used for this card. 

Supplies:
Now it's you turn! Happy crafting!

Do you use Instagram ?  If so please add  #ssswchallenge to your challenge entry uploads so we can see them on there too.


You have until Wed  8am Ohio time. 1pm UK time, 2 pm CET to join in


Thursday, December 29, 2022

Stained Glass Valentine Hugs release

Sharing some more paper love! Have you checked out the Simon Says Stamp Hugs release? Click HERE if you want a peek. 
I think stained glass is so beautiful. I absolutely fell in love with the Heart Panes Cover Plate die. I wanted to try something fun and use alcohol inks on acetate to look like stained glass. So here is what I came up with!
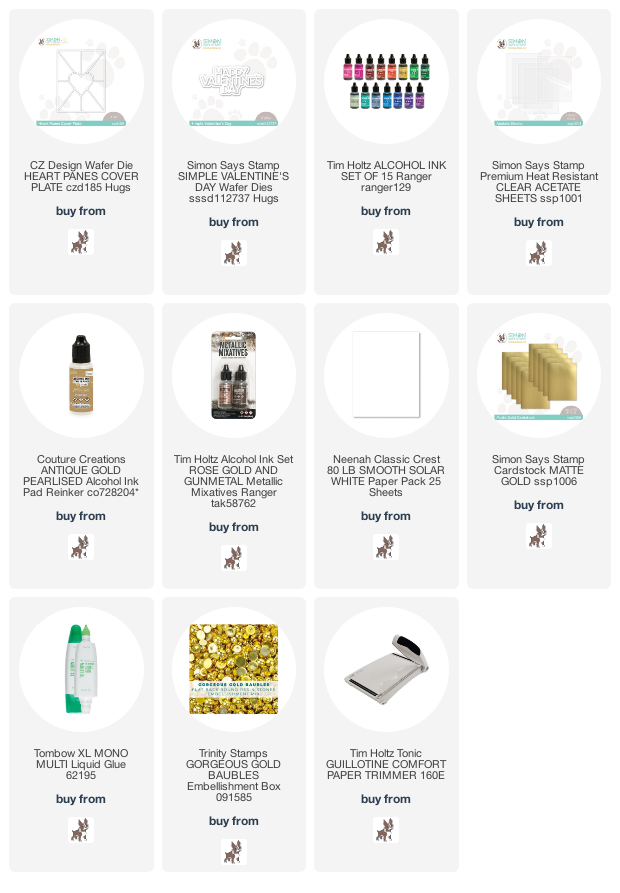
I made this card using an A2 size card base out of smooth white cardstock. I chose several shades of red and pink alcohol inks that I used on panel of acetate. I added a bit of gold alcohol ink for shine. 
I die cut the cover plate frame out of white cardstock 3 times for thickness and glued together. I then added it to the acetate piece and then adhered it to the card base. The sentiment is the new Happy Valentine's Day die from the Hugs release. I cut it out of gold cardstock and added it to the center of the cover plate. I added a few gold flat pearls for a bit of interest.
Valentine's Day is just around the corner and I hope you got some inspiration. Also, if you are interested in how I created the beautiful stained glass look with alcohol inks, I watched several videos that Jennifer McGuire made on Youtube demonstrating this amazing technique. Tim Holtz is another great source for using alcohol inks. Hope that helps!! Thanks for stopping by!

I have provided affiliate links to all the products and supplies I used to make this card below.

Supplies: