Saturday, February 18, 2023

Simon Says Stamp Be Creative Blog Hop Day 2

I am so glad to be participating in Day 2 of the Simon Says Stamp new Be Creative release! 
Make sure you use the code above to receive a free gift with any purchase until February 19th.

I have a fun set of cards to share. I want to show you one stamp used 3 ways! I am using the Bunch of Balloons background stamp from the new release three different ways to show how versatile this stamp is.

First up, copic colored balloons.
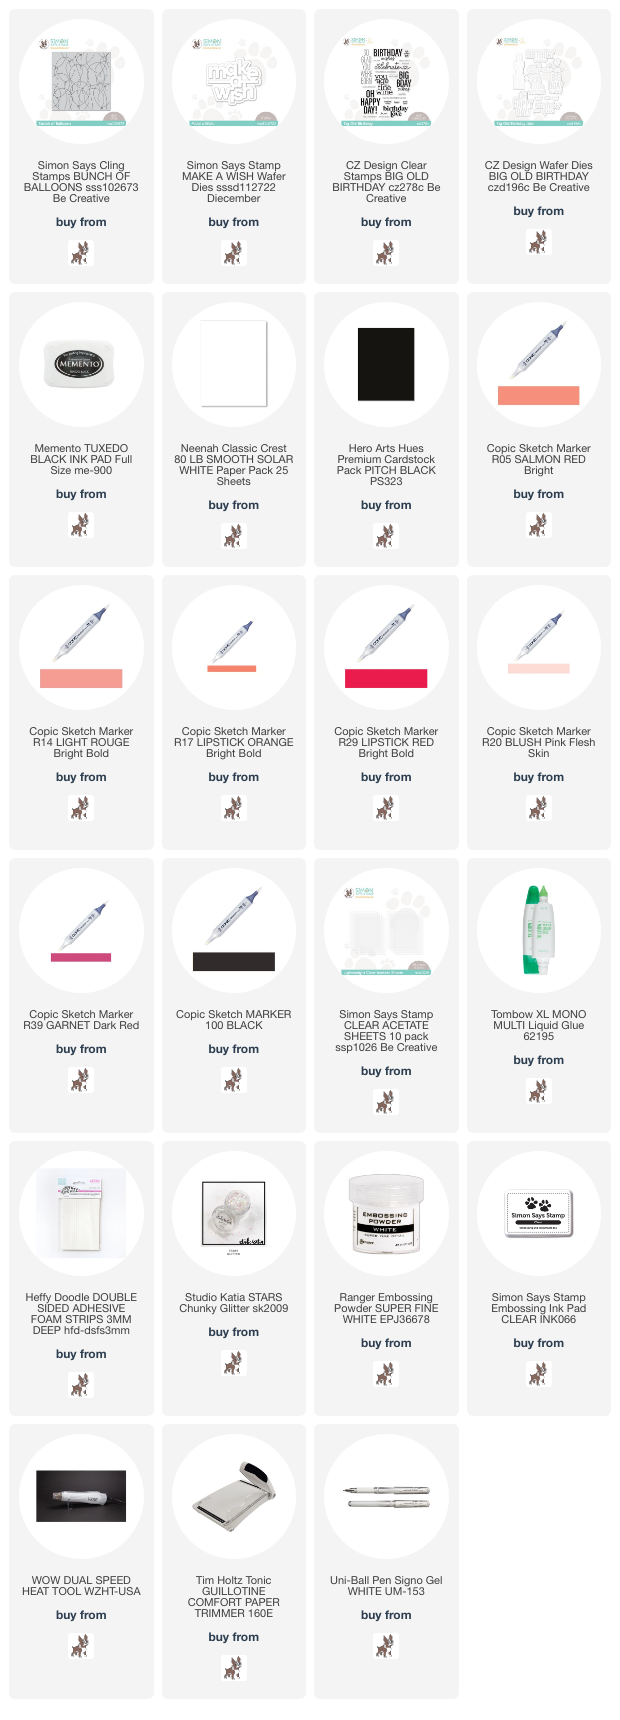
I made this card using an A2 size card base from smooth white cardstock. I then trimmed down another piece of white cardstock to leave a bit of a white border. I then stamped the balloon image with copic friendly ink and then I used R05, R14, R17 and R39 to color the balloons in. 
Using the Make a Wish sentiment shadow die I cut it from the middle of the colored balloon panel. I glued a piece of acetate on the back of the panel creating a window. I then die cut the sentiment die from black cardstock and glued it to the center of the window. I turned over the panel and covered the back with foam adhesive. I added the shaker elements to the center of the card and then adhered the panel to the card base. I then stamped the sup-sentiment on black cardstock using white embossing powder and popped that up with foam adhesive. I added a bit of white gel pen detail and that's it!

The next technique is heat embossing with embossing powder.
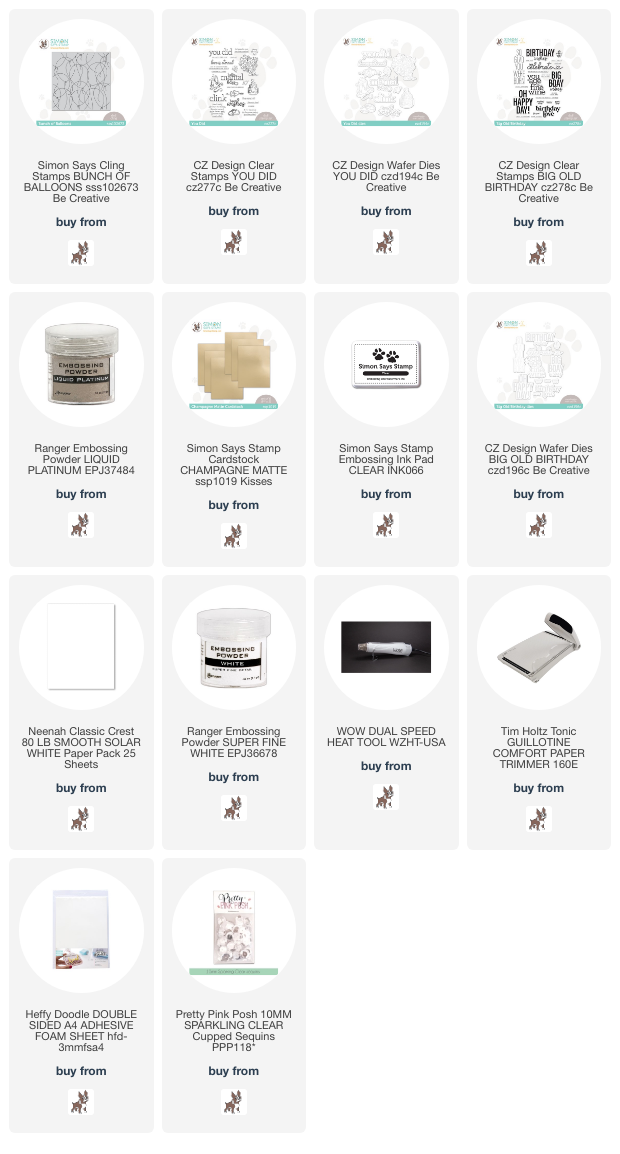
Using the same Bunch of Balloons background stamp I added some sticky clear ink and stamped onto a piece of white cardstock. I then heat set it using a platinum embossing powder. I stamped the sentiment from the Big Old Birthday stamp set and heat embossed in platinum as well. I popped it us with some foam adhesive.
I then trimmed down the embossed balloon panel and matted it using the Champagne matte cardstock which matches the liquid platinum embossing powder perfectly! I then added everything to the card base and added a sub-sentiment embossed with white embossing powder onto a strip of the champagne cardstock. Then a few added sequins finished this wedding card up!

Last but not least, watercolor balloons.
I am constantly amazed at the talented cardmakers out there that have mastered the technique of water coloring! So I wanted to add this technique because I am still trying to improve my skills and the only way to do that is not to shy away from it. I have to admit this was really fun to play with!
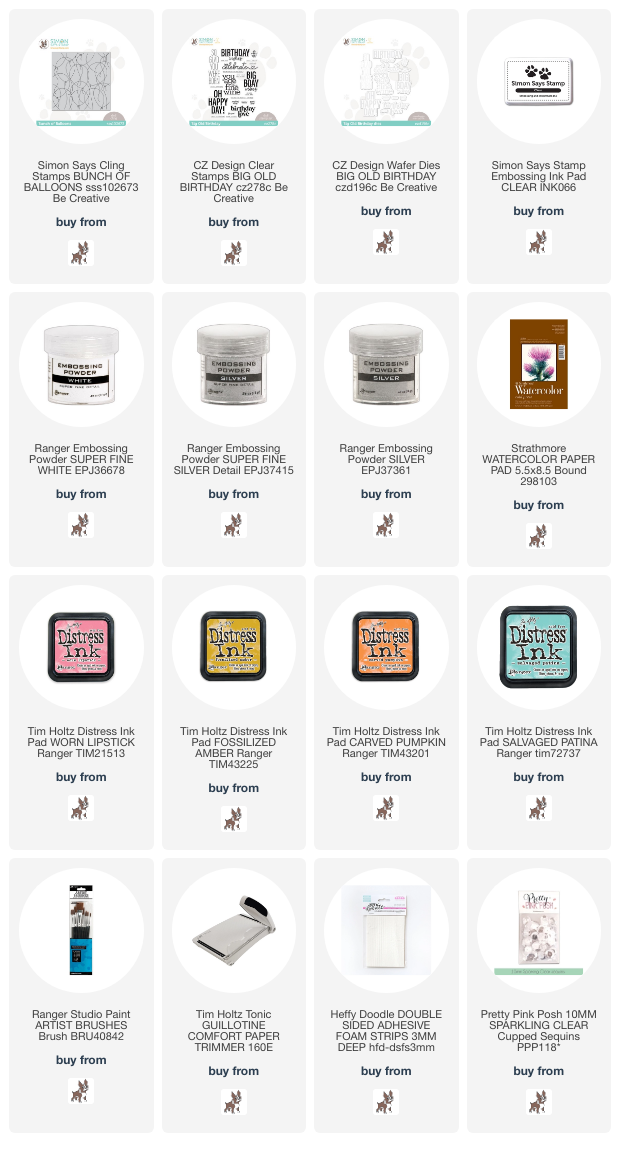
This is a 5x7 card. I began with a piece of watercolor paper and stamped the Bunch of Balloons background stamp using clear embossing ink and I heat set that using white embossing powder. I then pulled out some soft distress inks to use to color in the balloons. I added a bit of water to each color and used a paintbrush to color each balloon. I would wait for each balloon to dry before water coloring the next. This helps control where you want the color to go. I then stamped and heat embossed the sentiment using silver embossing powder and white embossing powder for the sub-sentiment and finished this card off with some clear sequins.

I hope you have enjoyed the techniques I have shared today and got some inspiration! More inspiration for this amazing release can be found on the Be Creative Gallery. I have provided affiliate links to all the supplies I have used to make these projects below as well as a list of all the blog hop participants. 
Make sure you leave a comment to have a change to win a $25 shopping spree at the Simon store. Each comment you leave gives you more chances to win! Happy hopping and thanks for stopping by!

Supplies:

Copic Colored Balloon card:
Heat Embossed Wedding card:
Watercolor Balloon card:
Here is the order of participants on the hop:

Wednesday, February 15, 2023

Simon Says Stamp Be Creative New Release

I have a couple of projects that I made for the new Simon Says Stamp Be Creative release. Click HERE to see the complete release!
I have used the CZ Design You Did Stamp set and coordinating dies from this new release.  Next to birthday cards wedding/anniversary cards are always in demand!
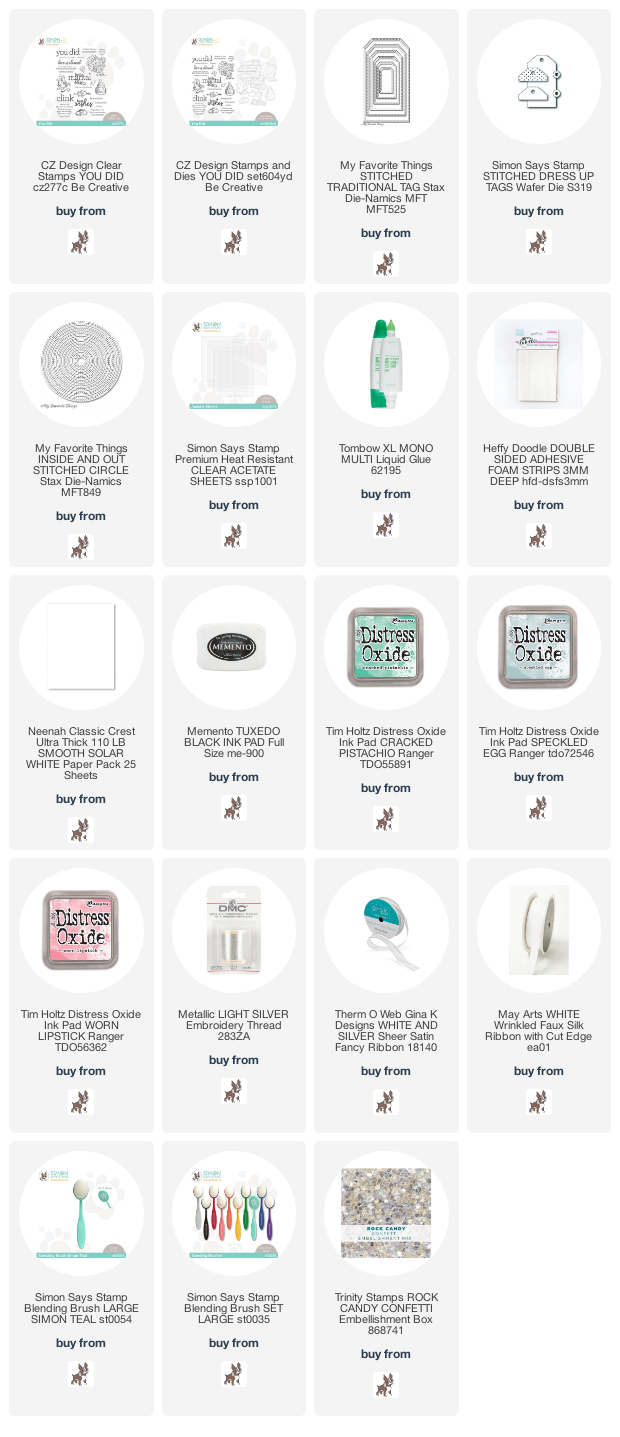
I have made a set of shaker wedding gift tags perfect for that gift for the happy couple! I used a large stitched tag die and cut 6 tags total. Each tag is combined with two tags. One for the front which I die cut the window from and ink blended with distress oxide ink and the second tag is the back that holds the shaker elements. As you can see from the photo above, each one is stamped the sentiments and images using the You Did stamp set. I used foam adhesive to create a well for the clear sequins to reside in for shaking!
I also made a unique wedding or anniversary card using the same You Did stamp set. A very clean and simple card to make.
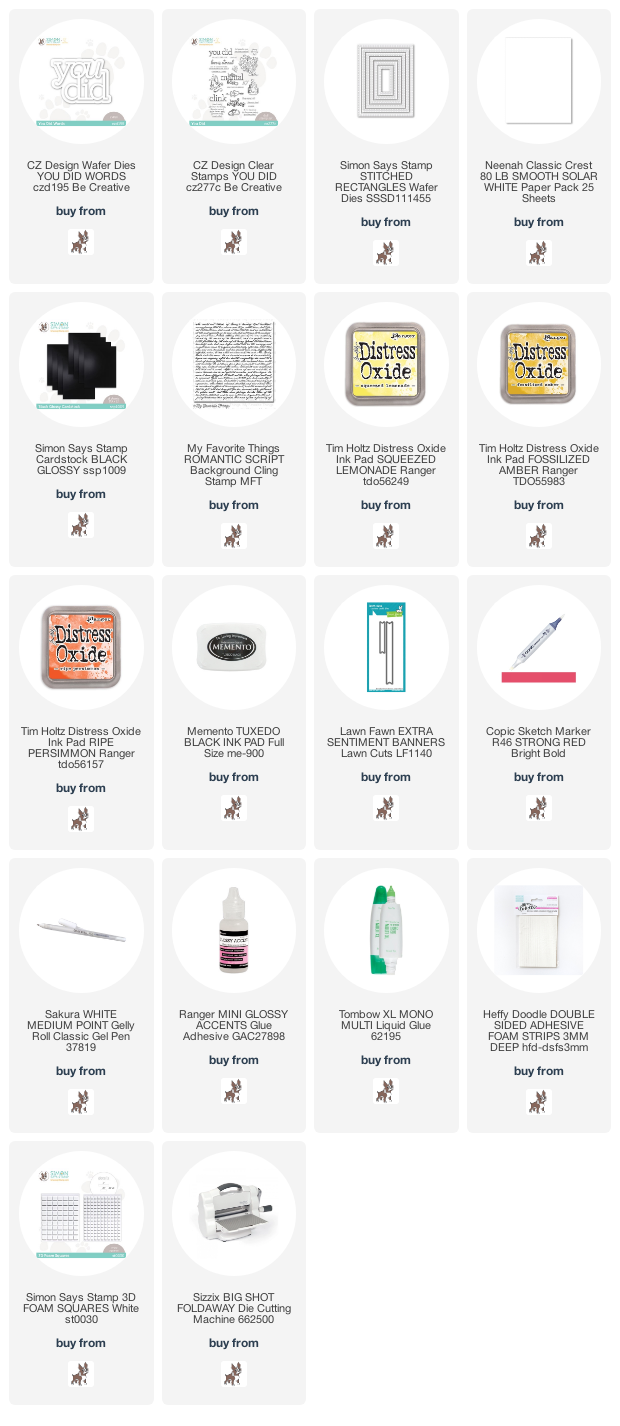
I made this card using A2 card base made from smooth white cardstock. I ink blended a panel made from white cardstock and die cut a stitched rectangle to create an invisible frame for some interest. After I inked the panel I used a background stamp with a romantic script. I then die cut the sentiment using the You Did die cut from the new release from black cardstock. I also die cut it 3 times from white cardstock for thickness. I adhered to the card using liquid glue. I then stamped the two hearts image and sub-sentiment from the You Did stamp set onto white cardstock. I used a sentiment strip die to cut out the sub-sentiment and adhered it with foam adhesive. I stamped the two hearts image directly onto the ink blended panel and then again on to white cardstock. I used a black copic friendly ink because I colored the image in with a red copic marker. I fussy cut the image out and glued it over the stamped image on the panel. I finished the card off with some glossy accents and a white gel pen.

Supplies:

Wedding Tags
< 

Wedding card

Tuesday, February 14, 2023

Simon Says Stamp exclusive Emboss It!

 Hi all and welcome to another week of the Simon Says Stamp Wednesday Challenge.

This week's challenge theme is Emboss It!

We are showcasing exclusive products from Simon Says Stamp. You don't have to use them to join in but if you have some we would love to see what you make! As always just for entering you will be eligible for the the drawing of a $25 voucher to the Simon store!
Embossing in any form is one of my favorite card making techniques. For this challenge I have chosen to use a couple of embossing folders for my project.
I especially love the emboss and cut folders. Simon has such an amazing collection of these folders. I will be using the Graceful Butterfly Emboss and Cut set and the Rhythmic embossing folder to create my background.
I made this card using an A2 size card base made from smooth white cardstock. I then die cut a frame from white cardstock to add to the embossed background. I made the background by first adding a shiny texture glaze to a piece of heavyweight cardstock. When it was dry I ran it through the Rhythmic embossing folder for some beautiful shiny dimension.
I then ink blended on white cardstock some rainbow colors and die cut them out the with butterfly dies from the Graceful Butterfly Emboss and cut set. I then placed the ink and die cut butterflies inside of the embossing folder and ran it through the die cut machine to create a textured impression on the butterflies.
Using a piece of sandpaper, I buffed off the raised layer of each butterfly revealing the white cardstock beneath. It's a fun way to show the detail of the embossed image.
I then die cut the bodies of the butterflies from the left over pieces of the glazed white cardstock and arranged the butterflies onto the card. I stamped the sentiment from some coordinating inks and die cut the word birthday from white cardstock inked blended with the purple dye ink 3 times for thickness and adhered it using foam adhesive.

I hope you have enjoyed my card I made for this week's challenge and got some inspiration! I have affiliate links below with all the supplies I have used to make this card. Thank you so much for stopping by!

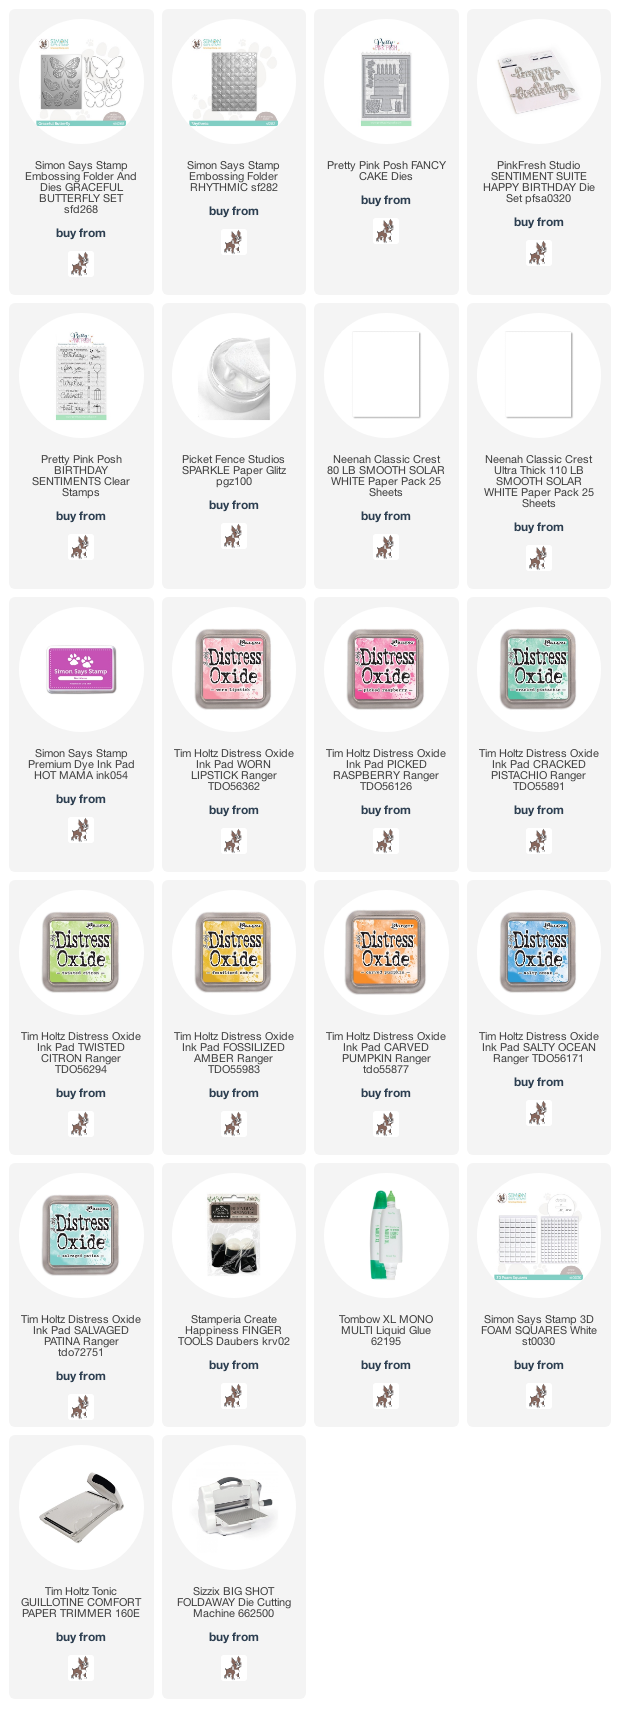
Supplies:
Now it's you turn! Happy crafting!

Do you use Instagram ?  If so please add  #ssswchallenge to your challenge entry uploads so we can see them on there too.


You have until Wed  8am Ohio time. 1pm UK time, 2 pm CET to join in


Monday, February 13, 2023

Pretty Pink Posh Instagram Hop

Hello! I am happy to be participating in the Pretty Pink Posh's Birthday celebration Instagram Hop. I hope you enjoy the projects I have made for this hop and get some inspiration!
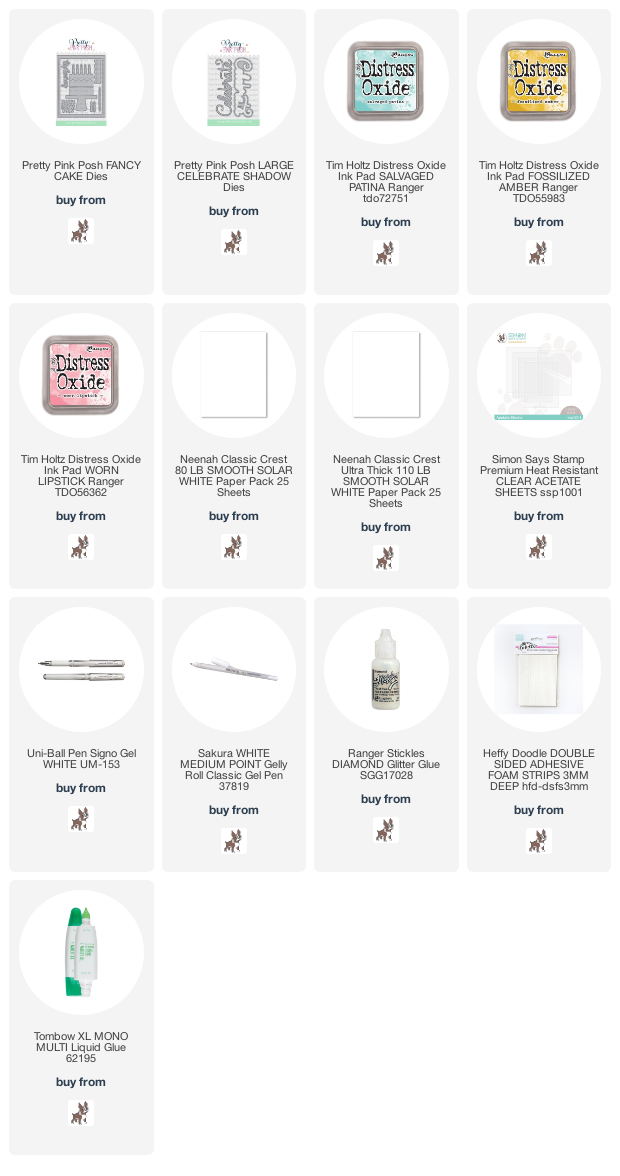
This first project is a fun cake shaker card made with the Fancy Cake die set and the Large Celebrate Shadow die set.
I die cut all the elements to the cake and colored them with distress ink. I then trimmed down a panel from white cardstock and cut a square from the center of the panel where I would be creating my shaker window and added the elements to create the cake. I ink blended the panel with blue distress ink and added some ink and water splatters. I then adhered a piece of acetate behind the square window using some liquid glue. I popped the whole panel up with foam tape to trap the shaker elements and adhered it to the A2 size card base made from heavy weight cardstock. The shaker bits are included in the Fancy Cake die set and I die cut them from colored cardstock for a festive look. I die cut the Celebrate die 3 times from white cardstock for thickness and added to the center of the cake. I added some stickles to the flames of the candles. Using the border die from the Fancy Cake die set I cut it from white cardstock and added around the blue panel to frame the card. To finish this card, I added some white gel pen detail to the cake stand and the candles.

I loved this look so much I made a second cade shaker card! 

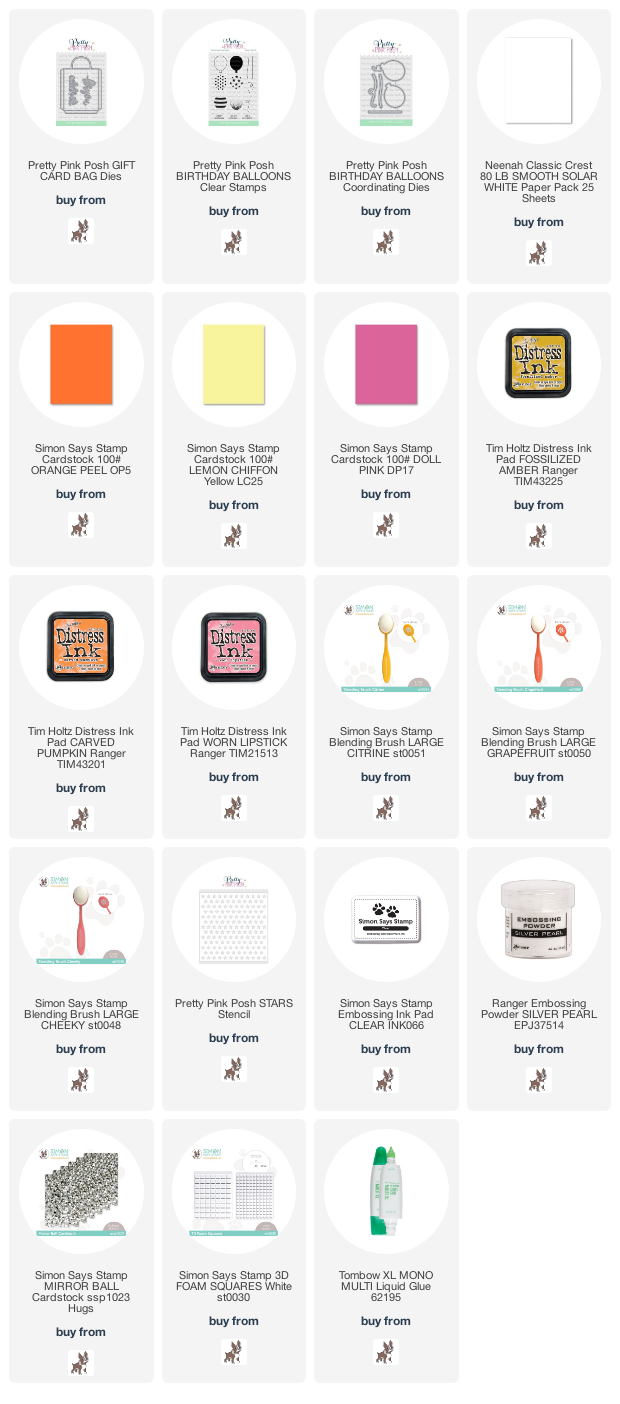
The third project is made with the super cute Gift Card Bag die set and the Birthday Balloons stamp and Birthday Balloons coordinating dies set.
I made this card using an A2 size card base from smooth white cardstock. I ink blended one of my favorite color combinations directly to the card base with some ink splatters. I then die cut the gift bag from white cardstock. I stenciled a star pattern using the Pretty Pink Posh Stars stencil  using clear embossing ink and pearl embossing powder for some shine. I added a piece of actual tissue paper to the gift bag and adhered it to the card base. I then die cut the balloons from colored cardstock and stamped the designs from the balloon stamp set. I popped the balloons up with foam adhesive and tied some white embroidery thread to the balloons. I then die cut the celebrate sentiment from the Gift Card Bag die set out of mirror ball cardstock and adhered it to the bottom of the gift bag.
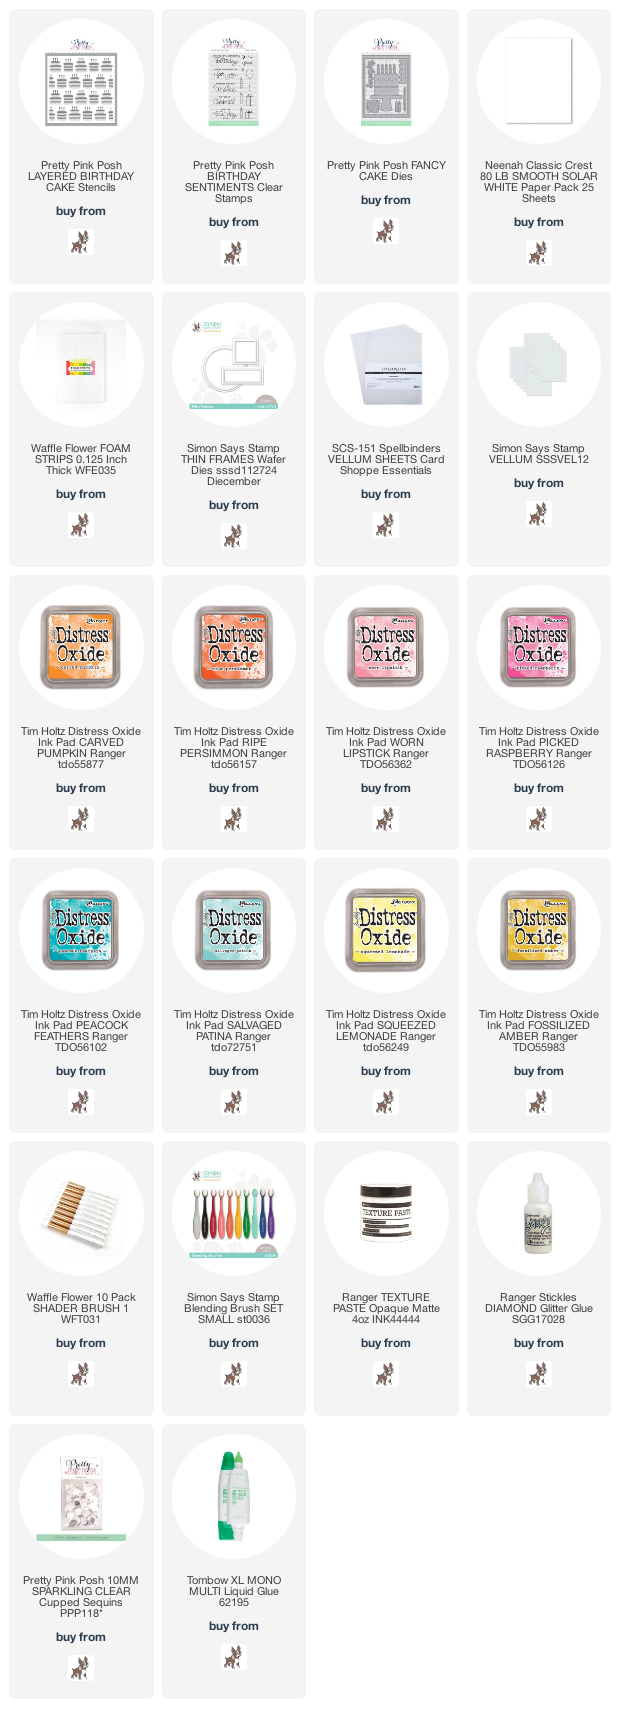
The fourth and last project I made with the amazing Layered Birthday Cake stencils. I had a lot of fun with this! On a piece of white cardstock I ink blended the first layer of the stencil set using distress ink. I then used a small blender brush and added a darker shade of ink on the sides of the cakes for dimension. I used the candle layer stencil to add the candles to the tops of the cakes. I then used the next layer of the stencils to add the white frosting with texture matte white paste. I set that all aside to dry while I die cut a vellum stitched window frame for my sentiment using the Birthday Sentiments stamp set. I added the frame from the Fancy Cake die set cut from white cardstock and added a few clear sequins to finish this fun birthday card off!

I hope you enjoyed the projects I made for the hop and got some inspiration! I have affiliate links below to all the supplies I have used to make these projects. Thank you so much for stopping by!!

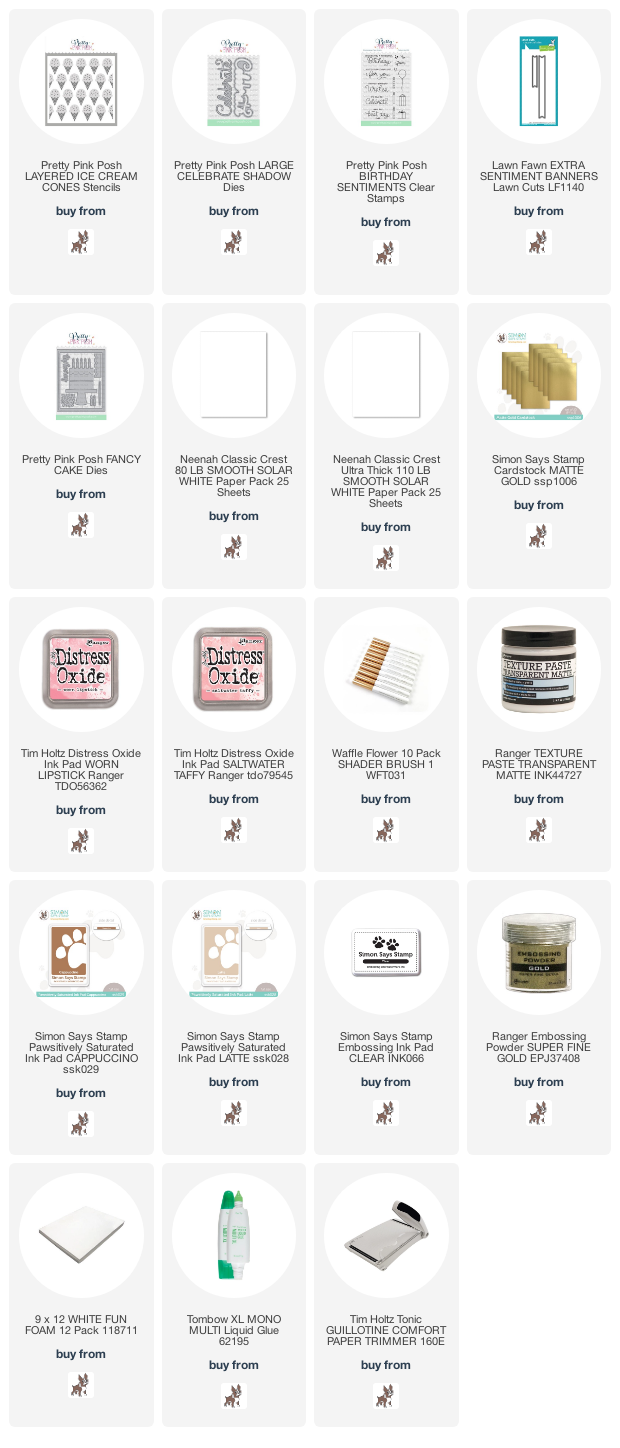
Supplies for Shaker Cake cards:
Gift Card Bag supples:
Layered Birthday Cake card supplies:


Friday, February 10, 2023

Ice Cream Birthday card

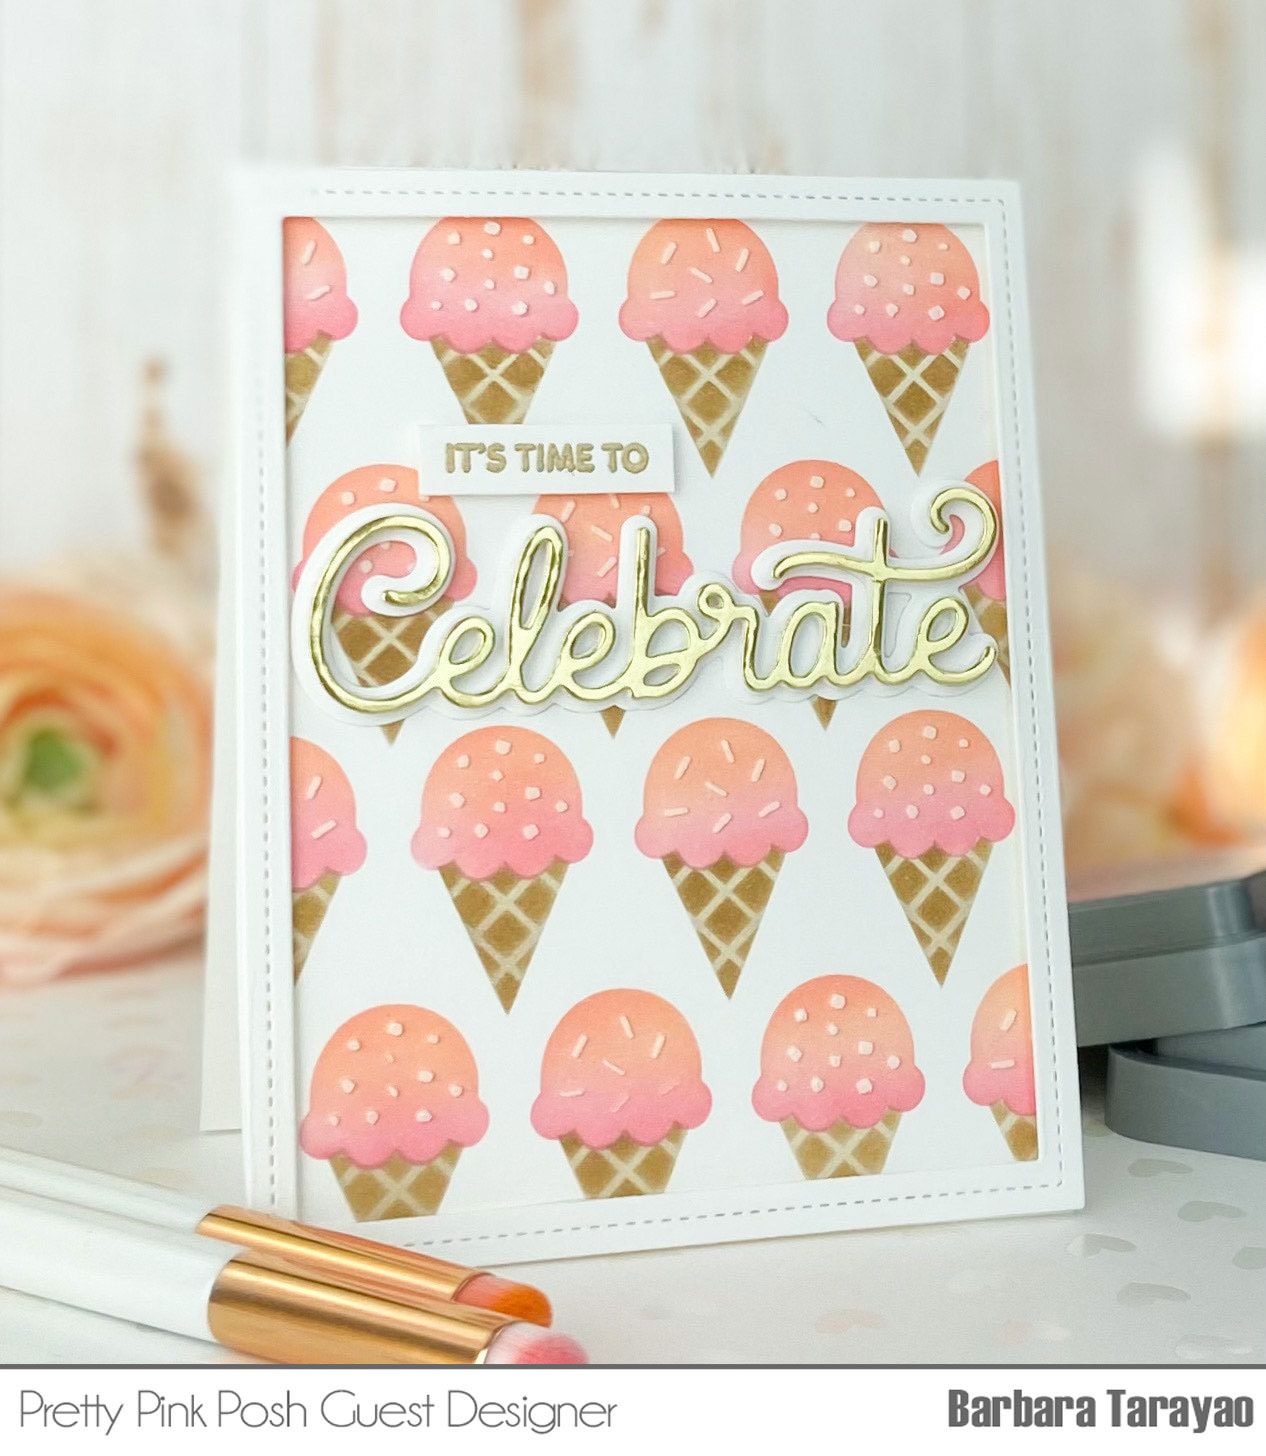
Happy birthday to Pretty Pink Posh! I was happy to be a guest designer this month for the new Pretty Pink Posh's birthday release! I just love the amazing layering stencils that easily create such a fun background for any card from this release. I especially love the ice cream layering stencil. 
Using this stencil, I create a birthday card with a very sweet background. 
I made this card using an A2 card base made from smooth white cardstock. I then trimmed down another piece of white cardstock to create a panel for my background. I used each layer of the stencil set starting with the cones in a light and dark brown ink. I then inked the tops of the ice cream cones using pink and peach distress oxides for a pretty blend. The last stencil was the toppings for the ice cream cones and I used texture paste for some dimension. 
I set that aside to dry while I die cut the Celebrate sentiment out of gold matte cardstock and fun foam for thickness. The shadow was cut from white cardstock. I heat embossed the "It's time to" sentiment from the Birthday Sentiments clear stamps using gold embossing powder and clear embossing ink. I then die cut it out using a sentiment strip die from more white cardstock.

I hope you enjoyed I card I made for this fun release and got some inspiration. I have listed and linked all the supplies I used to make this card for your convenience. I have used affiliate links at no extra cost to you. Thank you so much for stopping by. Leave me a comment if you have any questions.

Supplies:

Tuesday, February 7, 2023

My Favorite Things Fun with Dies

Hi all and welcome to another week of the Simon Says Stamp Wednesday Challenge.

This week's challenge theme is Fun with Dies!

We are showcasing products from My Favorite Things. You don't have to use them to join in but if you have some we would love to see what you make! As always just for entering you will be eligible for the the drawing of a $25 voucher to the Simon store!
Some of my favorite things are products from My Favorite Things! Like this Frosted Cupcake die set. I have a love for cupcakes and this die set has been so fun to play with but I have admit it has spiked my cravings for a cupcake!
For the challenge this week I could not stop making cupcakes, so I made a birthday card with a couple of matching tags.
I made the card using an A2 size card base made from smooth white cardstock. Then I die cut a scalloped rectangle panel also from white paper. Keeping with my obsession with homemade plaid paper, I trimmed down a panel to make a plaid background. I used some red line sticky strip to add some sparkle to the plaid.
I then went to work of the cupcakes! I made a total of 6 cupcakes but only ended up using 4. I made three pink and three yellow from light pink and pale yellow cardstock. I also fog cardstock for the cupcake liners or wrappers. I used some distress ink to add shadows to the cupcake dies. I die cut the Let's Celebrate sentiment from heavy white cardstock 3 times for thickness and added it underneath the cupcakes. I then stamped the sub-sentiment from the Simon Says Stamp Happiest Wishes stamp set using gray dye ink.
The tags were cut using the Simon Says Stamp Large Rounded tag die. I coordinated the colors and added a cupcake to each tag! Each cupcake has been finished off with some white sparkles for sprinkles.

I hope you have enjoyed the card I made today and got some inspiration! For your convenience I provided affiliate links to all of the products I have used for this card. 

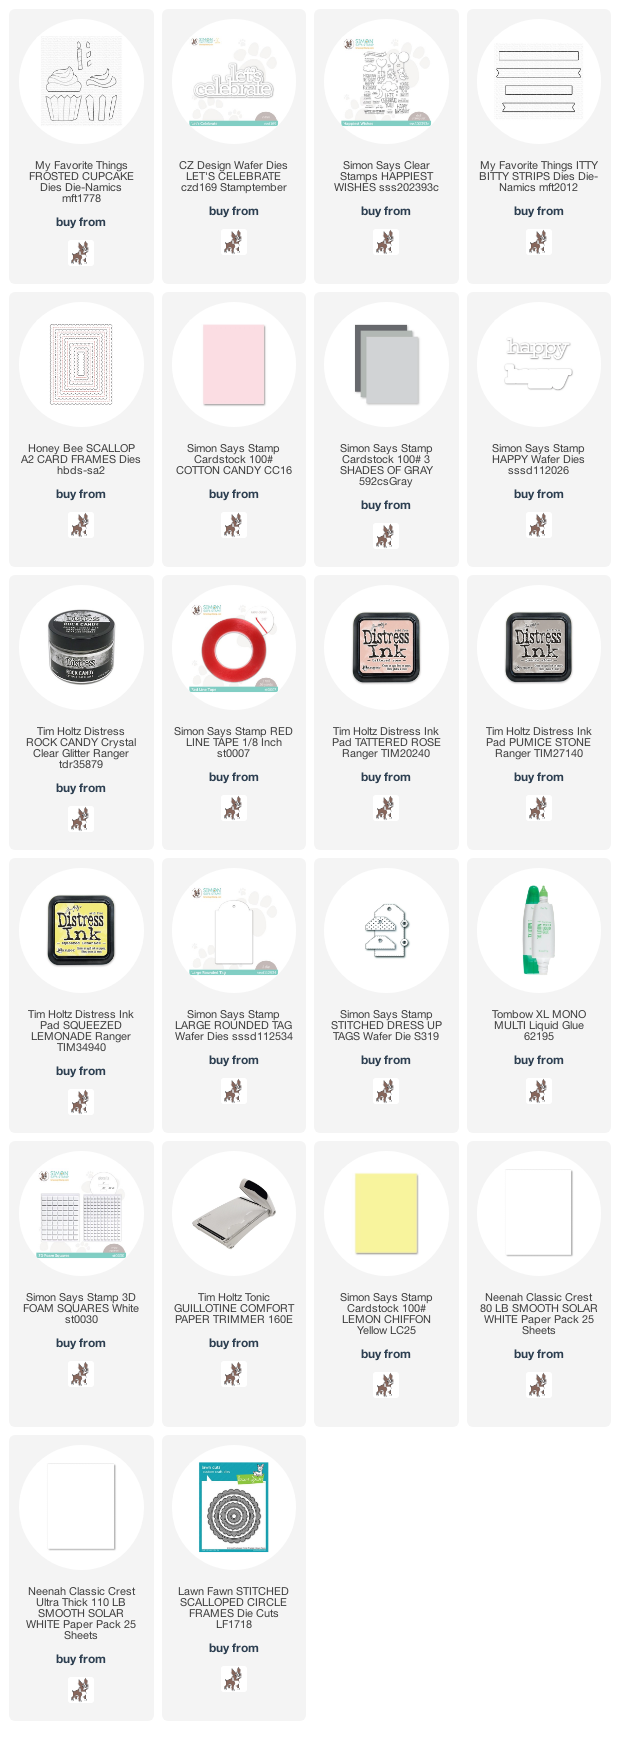
Supplies:
Now it's you turn! Happy crafting!

Do you use Instagram ?  If so please add  #ssswchallenge to your challenge entry uploads so we can see them on there too.


You have until Wed  8am Ohio time. 1pm UK time, 2 pm CET to join in


Monday, February 6, 2023

Two Projects from the Kisses release

Just a couple of projects made with a few goodies from the new Kisses release.💋
This first project is some quick and easy Valentine's day mini cards. They are made from partial die cutting using the Nested Heart dies.
I die cut the "hi there" sentiment from some sparkly silver glitter cardstock for a bit of bling. Each of the mini cards are stamped messages in red dye ink using the From the Heart stamp set that fits perfectly inside each heart card.

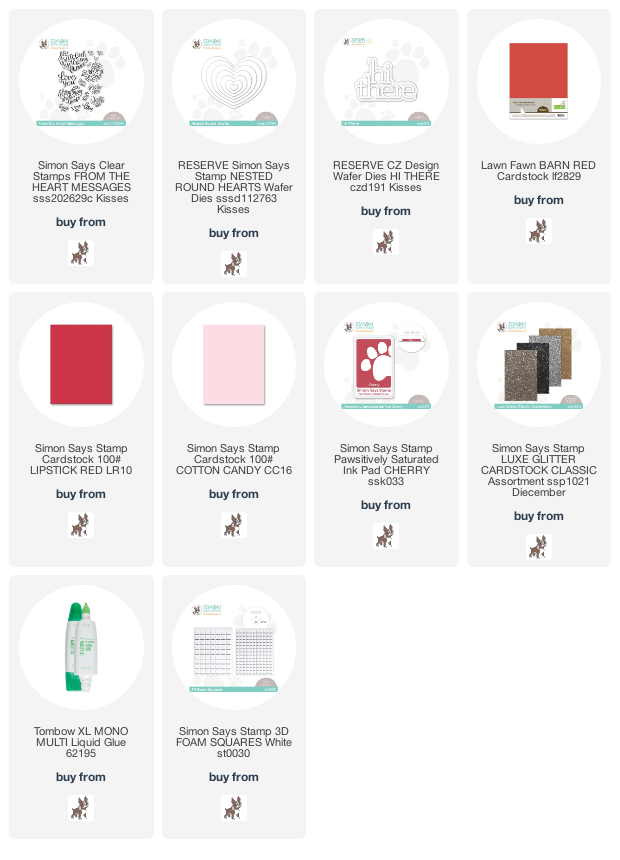
Supplies used:


Next, is the a fun Hi card to brighten up anyone's day!
I made this card using the standard A2 size card base from smooth white cardstock. Using the Printmaking stamps and dies I cut each stamp image out of a colored cardstock. Each image of the stamp has been colored with copic markers. I added the sentiment using some alpha dies. I used the Simon Says Stamp Stitched rectangle frames to pull it all together.

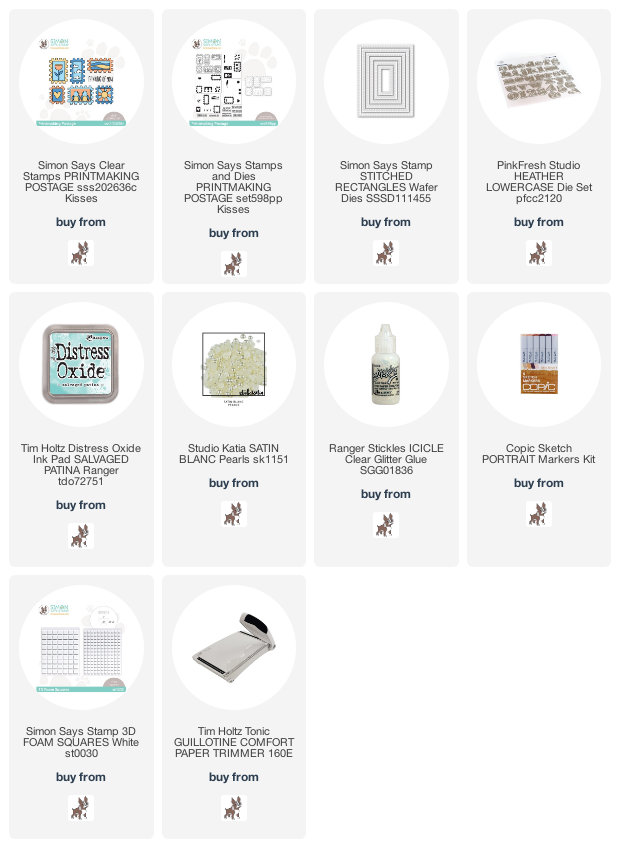
Supplies used: