Thursday, March 9, 2023

Just for Mom card

🌸🌺🌷Spring is just around the corner and so is a special day set aside for mothers! I have made a card combining the colors of spring into a card for mom! 

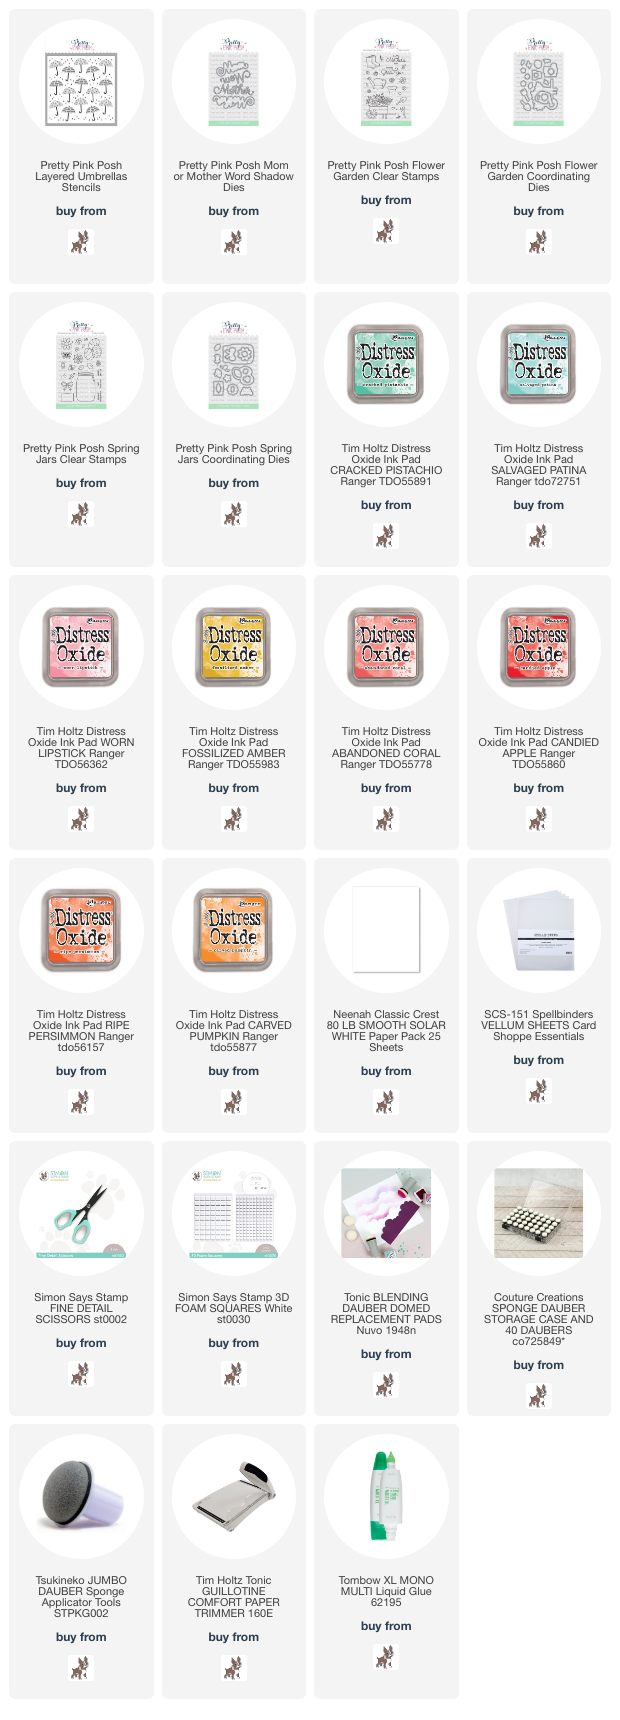
I was asked to be a guest designer for Pretty Pink Posh's new spring release. I am in love with the layering stencils from Pretty Pink Posh! For this card I have used the Layered Umbrellas stencil. I just love to stencil and then cut out the images. I also used the new Shadow Mom dies.
I made this card using an A2 size card base from smooth white cardstock. I then took another piece of white cardstock to create a whimsical background by cutting a piece of vellum in half and using it to mask off a border. I then ink blended the mask using distress oxide inks.
On another piece of white cardstock I used the layering umbrella stencil and create some fun umbrellas that I fussy cut out and added to the border with foam adhesive. I also stamped some flowers from the Flower Garden stamp set and cut those out as well. 
I then die cut the Mom sentiment from some white cardstock about 3 times for thickness and added the shadow that I had ink blended with more distress oxide inks. The sub-sentiment comes from the new Spring Jar stamp set.

I hope you enjoyed the card I made and got some inspiration to make a special card for mom or a fun card fro spring. I have affiliate links below to all the supplies I have used to make this card. Thank you so much for stopping by. Happy crafting!!

Supplies:

Tuesday, March 7, 2023

Tim Holtz Tag It!

 Hi all and welcome to another week of the Simon Says Stamp Wednesday Challenge.

This week's challenge theme is Tag It!

We are showcasing products from the amazing Tim Holtz. You don't have to use them to join in but if you have some we would love to see what you make! As always just for entering you will be eligible for the the drawing of a $25 voucher to the Simon store!
What a fun challenge. I love making tags. They are such an easy, quick and cute way to add something special to a gift. I try to always have a stash of tags for whatever occasion that I would need one. I highly recommend it!
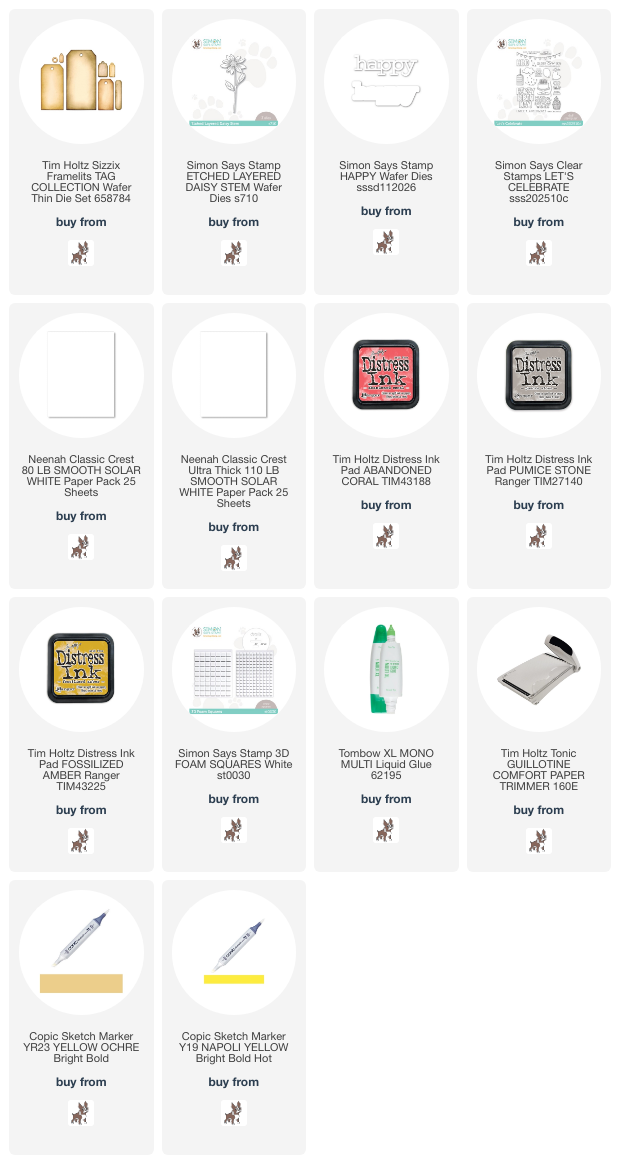
I have chosen to use a tag from the very versatile Tim Holtz Sizzix Tag collection. 
I die cut both these tags from smooth white cardstock. I then took another piece of white cardstock and created a colorful plaid background using distress inks and a bit of white acrylic paint. I find this so fun and relaxing. I trimmed down the plaid backgrounds to fit on each tag.
I then die cut the Etched Layered Daisy three times. I added a bit of distress ink to the one stem and used coordinating copic markers for the center of the daisy. I then layered them together with liquid glue and then adhered them to the tag with 3d foam squares.
The sentiment is the most adorable mini Happy die that I paired with birthday stamp from the Let's Celebrate stamp set. I finished these tags off with Memory Box clear drops and some ribbon from my stash.

I hope you have enjoyed the project I have made for this fun challenge and got some inspiration. I have listed and provided affiliate links below for your convenience. Thank you so much for stopping by!!

Supplies:


Do you use Instagram ?  If so please add  
#ssswchallenge to your challenge entry uploads so we can see them on there too.


You have until Wed  8am Ohio time. 1pm UK time, 2 pm CET to join in


Sunday, March 5, 2023

Miss You Tulip card


Tulips smiling shyly greet the Spring
Tightly closed at first we meet
Tulips slowly open and began to sing
Gaining volume ever sweet!

I found this poem online about tulips. Every year I plan to plant the tulip bulbs so I can enjoy the gorgeous Spring surprise and every year I forget! Well, I guess that's the beauty of being a card maker, I can make beautiful tulips anytime I want and share them with those I love! I wanted to make a tulip themed card so I kind of "shopped" my stash for the supplies. With Spring around the corner it's a great time to go through your craft supplies and organize! Take stock of the things you use and the items that might need a new home.
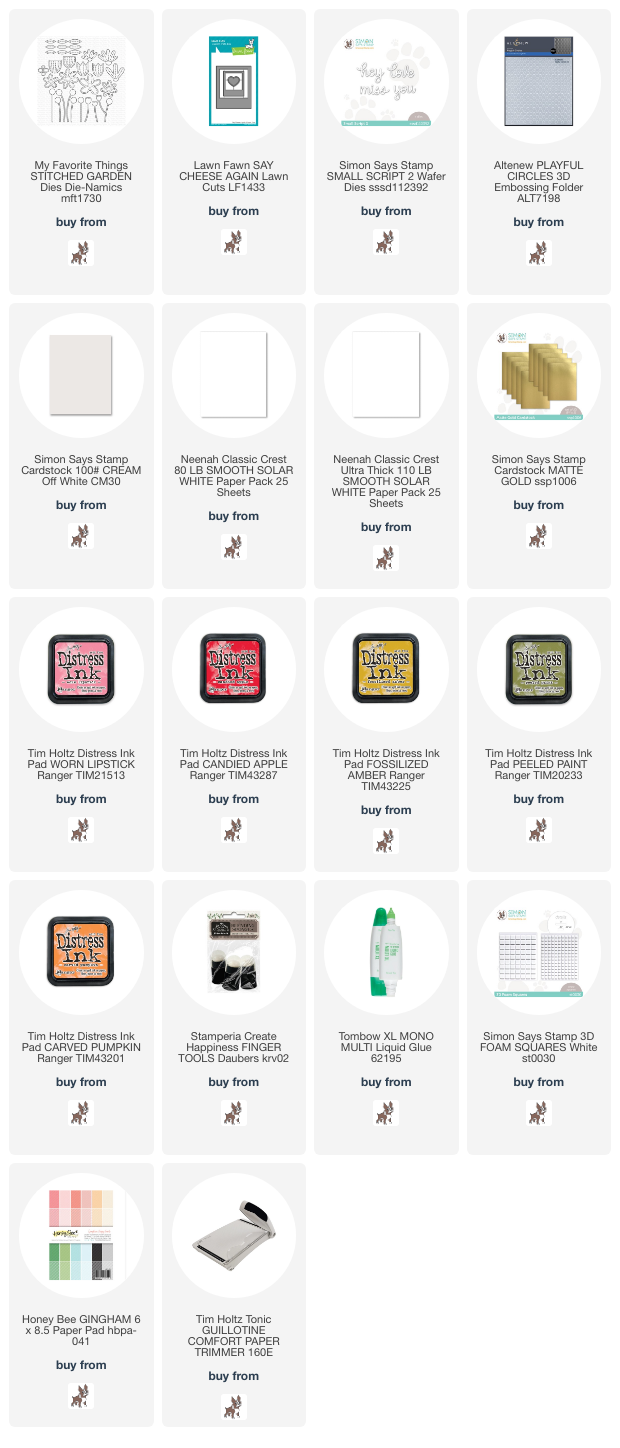
I made this card using an A2 card base made from smooth white cardstock. I then die trimmed down a piece of cream cardstock to leave about a half inch white border. I ran the cream cardstock through a dotted embossing folder for some added texture.
I then die cut the photo frame 3 times from thick white cardstock and adhered together with liquid glue. I then used some blue and white gingham pattern paper for the background of my photo. I die cut the Miss You sentiment from gold and white cardstock and ahered together with liquid glue and added to the bottom of the photos frame.
I then die a whole bunch of tulips, leaves and stems from white cardstock. I used distress ink to color them and arranged them inside the photo frame with 3d foam squares and liquid glue.
I hope you enjoyed my post today and got some inspiration to make some Spring themed cards. To also shop you stash! I have affiliate links to all the supplies I used below for your convenience. Thanks so much for stopping by!!

Supplies:

Tuesday, February 28, 2023

Whimsy Stamps Slimline Cards

Hi all and welcome to another week of the Simon Says Stamp Wednesday Challenge.

This week's challenge theme is Slimline Cards

We are showcasing products from Whimsy Stamps. You don't have to use them to join in but if you have some we would love to see what you make! As always just for entering you will be eligible for the the drawing of a $25 voucher to the Simon store!
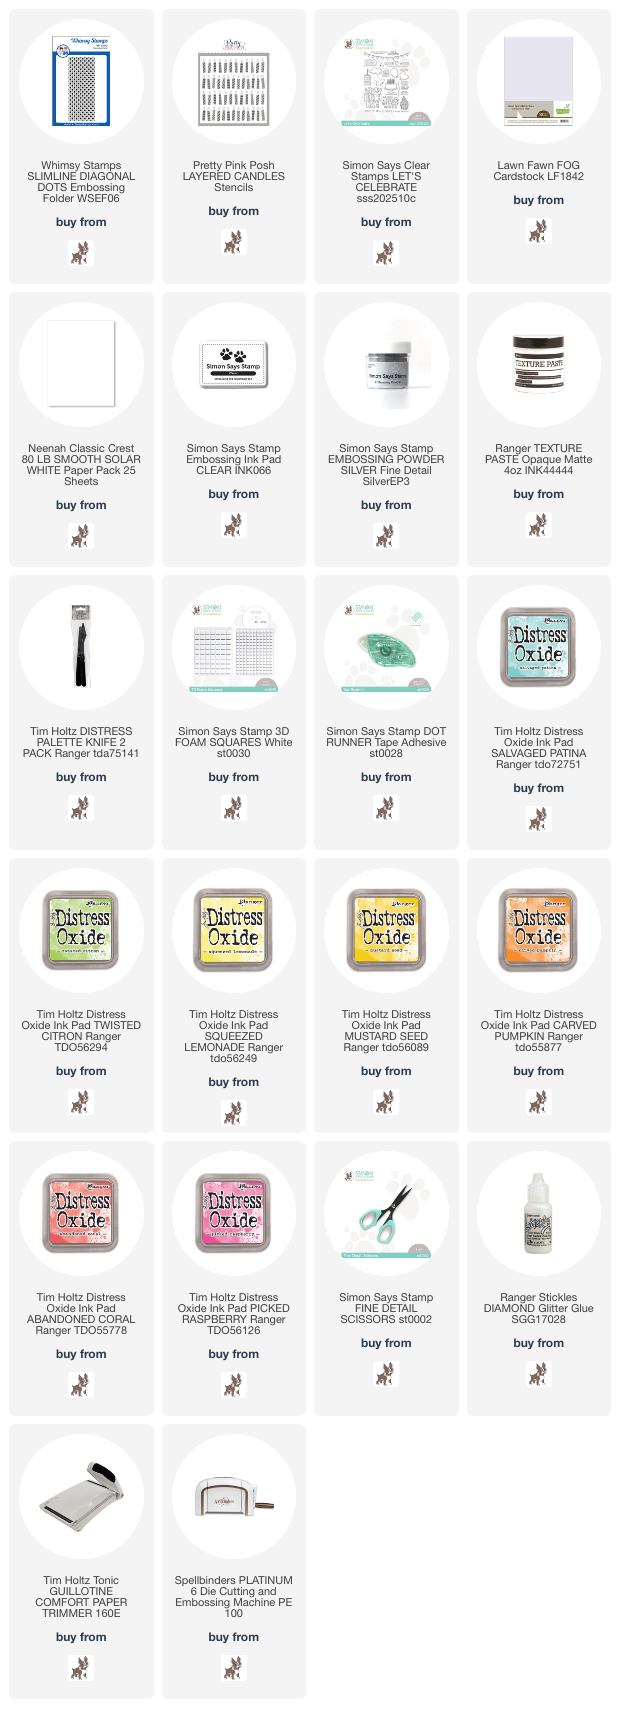
I love love love adding texture to a card! I used the Whimsy Stamps Diagonal Dots embossing folder to add lots of texture to my mini-slimline card for this challenge.
I made this card using a card base that measures 6 1/4" X 3 1/4" from gray cardstock. I then trimmed down a piece of white cardstock to 6" X 3" and ran that through the die cut machine using the embossing folder.
I then used the Layered Candles stencil and ink blended the candles with some distress oxide inks. I then added some texture paste and set that aside to dry. I then stamped the sentiment from the Let's Celebrate stamp set in clear sticky ink and heat embossed it using silver embossing powder.
I then took the stenciled candles and fussy cut them out and arranged them across the card in rainbow order. I popped up every element of the card using foam adhesive. I added some stickles to the flames.

I hope you enjoyed the card I made for this week's challenge and got some inspiration. I have provided affiliate links to all the supplies I used to make this project. Thank you so much for stopping by!!

Supplies:
Now it's you turn! Happy crafting!

Do you use Instagram ?  If so please add  #ssswchallenge to your challenge entry uploads so we can see them on there too.


You have until Wed  8am Ohio time. 1pm UK time, 2 pm CET to join in


Monday, February 27, 2023

Easy Copic Coloring Miss You card

I love to share easy techniques that I have learned over the many years of card making! I'm sure these are techniques that are well known in the card making community but I'm hoping some new card makers out there that might appreciate these tips and tricks!
I have to say that I am not a copic marker artist by any means. I actually used to be a lot better at it but as I have aged my hands are not as steady as they used to be. This copic coloring technique is  flicking or swiping the tip of the brush side of the copic marker to color die cuts. I made a quick video showing the process below.
So I made this card using some of my favorite goodies and this card just happens to be made up of all die cutting. It's my favorite kind of card and very easy to duplicate. **special note that the frame and the sentiment is popped up with foam adhesive strips.**
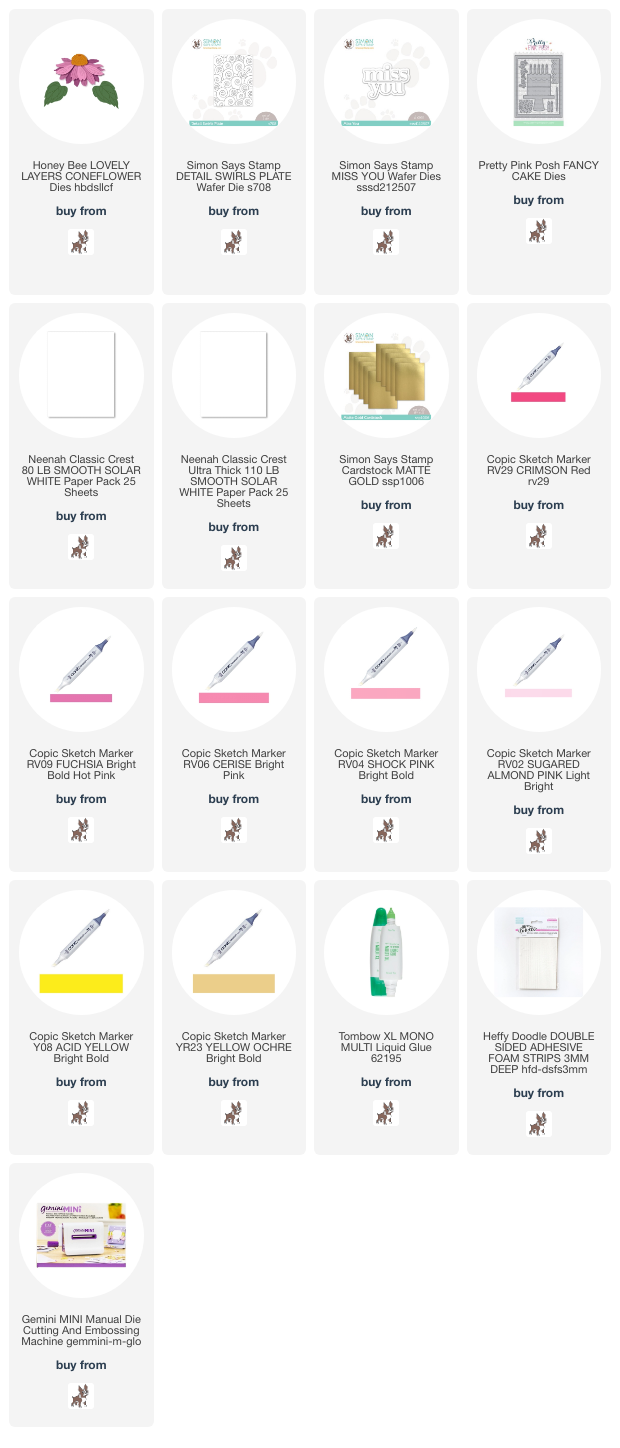
I began with an A2 size card base made from smooth white cardstock. I then ran another piece of white cardstock through the die cut machine to create the swirly stitched background using the Detail Swirls Plate. I also die cut a stitched frame die from the Fancy Cake die set from more white cardstock. I wanted the star of this card to be the die cut flowers. There were 5 cuts for each flower and I copic colored each layer using the flicking and swiping motion to create texture on the petals. I cut two sets of the Layered Coneflower dies out of white cardstock. I used Neenah smooth white cardstock. I have found that it works very well with copic coloring and blends nicely. I die cut the Miss You die a few times from a thicker cardstock for thickness and then one time using gold metallic cardstock.
I hope you enjoyed the card I made and got some inspiration to pull out some copics and try this very easy but effective way to color your die cut images. I have affiliate links below to all the supplies I have used to make this card. Thank you so much for stopping by. Happy crafting!!

Supplies:

Tuesday, February 21, 2023

Gina K Designs Anything Goes

Hi all and welcome to another week of the Simon Says Stamp Wednesday Challenge.

This week's challenge theme is Anything Goes!

We are showcasing exclusive products from Gina K Designs. You don't have to use them to join in but if you have some we would love to see what you make! As always just for entering you will be eligible for the the drawing of a $25 voucher to the Simon store!
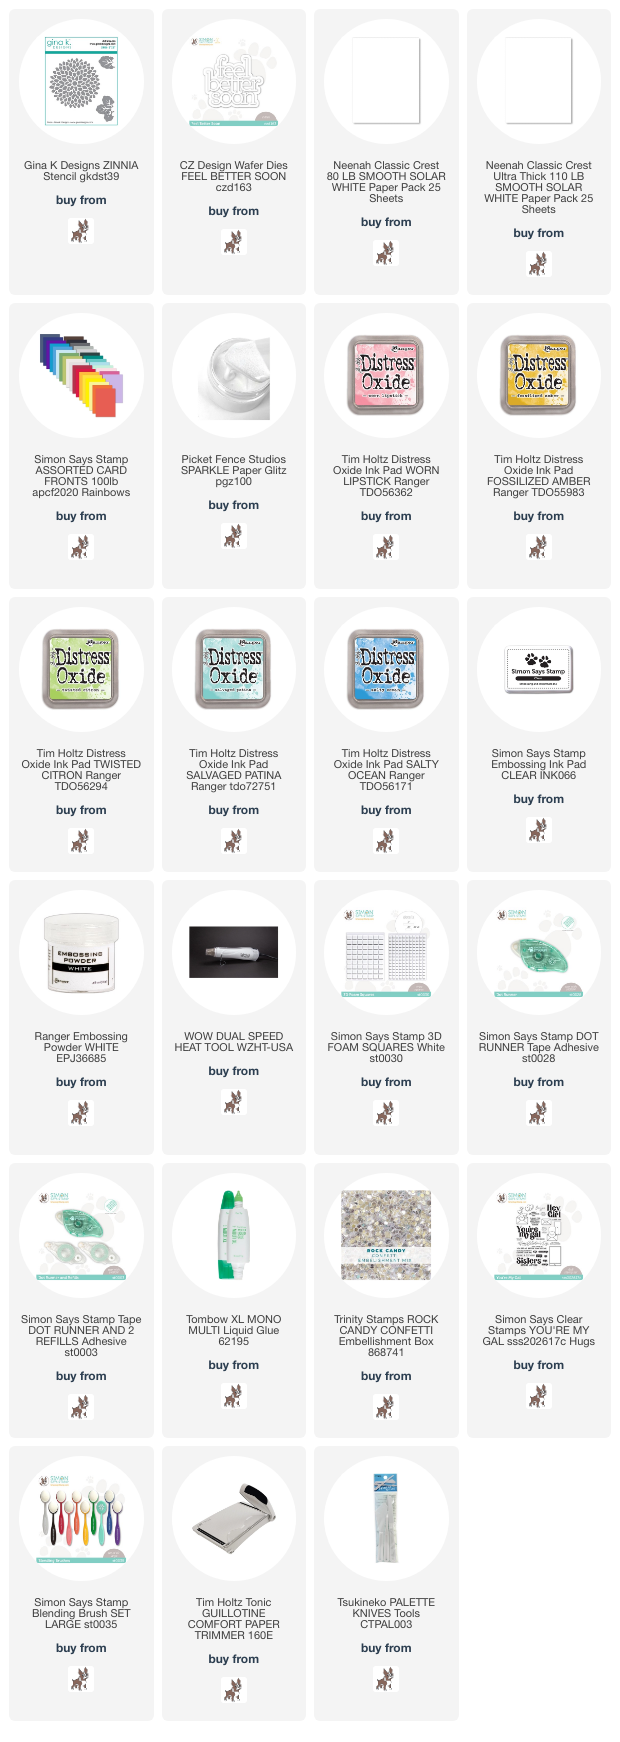
I just loved this large Zinnia stencil from Gina K Designs. I wanted to make a soft background while adding a bit of shine.
I made this A2 card base from smooth white cardstock. I then trimmed down another piece of white cardstock to leave a bit of a white border. Using the Zinnia stencil I ink blended a pink to blue combination of distress oxide inks. I then did the next process in stages. The process of added some Picket Fence Paper Glitz shine to the stenciled petals was a little tedious but I was working on other things while each layer of the shimmer paste was drying. After it was completely dry, I ink blended lightly some yellow and pink oxide ink to the entire stenciled panel and adhered it to the card base.
I then die cut the sentiment from the Feel Better Soon die 3 times from thick white cardstock for some dimension and added to the card. I then stamped the sub-sentiment from the  Simon Says Stamp You're My Gal stamp set onto coral cardstock using clear embossing ink and heat setting it with white embossing powder. I then added a few sequins to finish the card off.
I made a short video to show you the amazing shine created with the stencil and shimmer paste.
I hope you enjoyed the card I made for this week's challenge and got some inspiration. I have provided affiliate links to all the supplies I used to make this project. Thank you so much for stopping by!!

Supplies:
Now it's you turn! Happy crafting!

Do you use Instagram ?  If so please add  #ssswchallenge to your challenge entry uploads so we can see them on there too.


You have until Wed  8am Ohio time. 1pm UK time, 2 pm CET to join in


Monday, February 20, 2023

Simon Says Stamp March Card Kit Birthday cards

I am in love with the beautiful pattern paper in the new Simon Says Stamp March Card Kit!!
I needed a set of birthday cards to give to a friend for a gift and thought this kit had everything I needed to make some beautiful cards! Just look at that pattern paper!! I am dying it's so gorgeous! 
If you want to see the entire kit just click HERE!
I have made a short video on how I made these cards. They came together very quickly! 

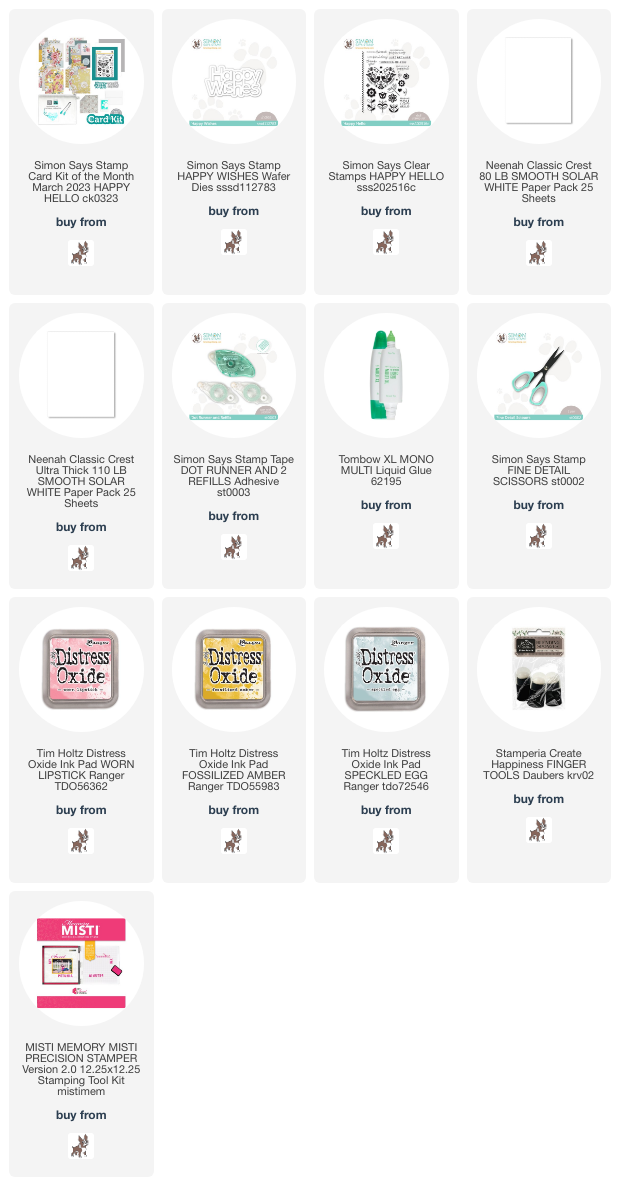
I made each card using an A2 card base made from smooth white cardstock. Using the gorgeous pattern paper from the kit I trimmed down each floral panel to leave a white border. I then used the Happy Wishes die from the kit and cut it out several times from heavy white cardstock for thickness and then each one had a coordinating top layer that I ink blended using distress oxide that I thought matched the colors from the pattern paper. I used more white cardstock to die cut the shadow for the sentiment and added them to the top center of the cards. I then used the Happy Hello Stamp set from the kit for the sub-sentiment birthday that I stamped in the same coordinating ink and fussy cut out and glued them to the center of the Happy Wishes die. I then finished each card off with some clear flat sequins.

I hope you enjoyed the cards I made from this amazing kit and got some inspiration. I have provided affiliate links to the kit and all the supplies I used to make these fun and easy cards! Thank you so much for stopping by!! 

Supplies: