Thursday, September 7, 2023

STAMPtember exclusive Rainbow Splash

Simon Says Stamp has a new line of products called Rainbow Splash!
Here is the project I made using some of the amazing products from the Rainbow Splash line.
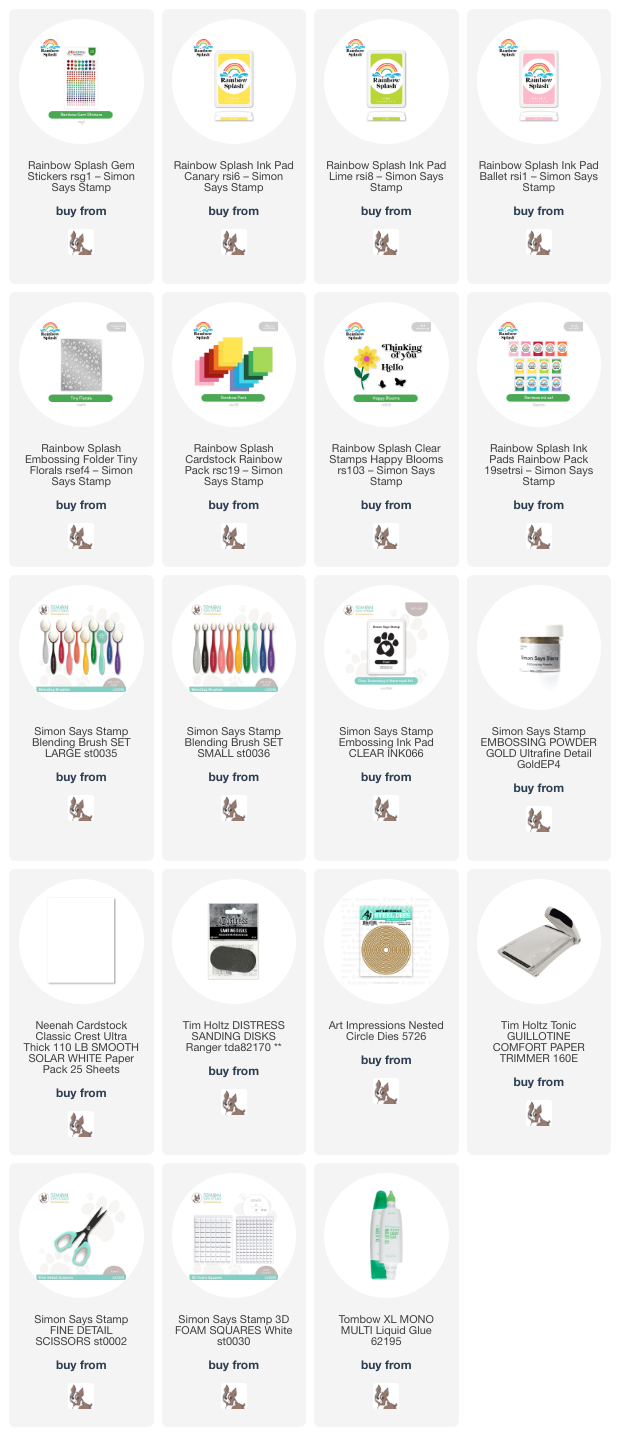
I made this card using an A2 size cardbase from smooth white cardstock. I then trimmed down another piece of white cardstock to run through the new Tiny Florals embossing folder. Before I added the paper to the folder I used some of the amazing colors from the Rainbow Splash inks to add color to the inside of the flat side of the embossing folder. I just took the ink pad and swiped it to the top, middle and bottom of the folder. After I ran the folder with the paper through the die cut machine I used some low grit sandpaper and ran over the top of the embossed panel to add some dimension.
I then stamped the flowers and leaves from the Happy Blooms stamp set from the new line and fussy cut them out and layered them up. I used the same inks that used on the embossed panel. These inks are so juicy! They stamp beautifully! I used a circle die from my stash to frame the florals that I added with some liquid glue. I then heat embossed the Hello sentiment using gold embossing powder and fussy cut it out and added to the flowers. I finished this card off by adding a few gems to the center of each flower.

I hope you enjoyed the project I made and got inspired! I have listed and linked all the supplies and products I used for your convenience. Thank you so much for stopping by!

Supplies:
Wednesday, September 6, 2023

Simon Says Stamp Stamp It

Hi all and welcome to another week of the Simon Says Stamp Wednesday Challenge.

This week's challenge theme is Stamp It!

We are featuring fabulous new products from Simon Says Stamp STAMPtember. You don't have to use them to join in but if you have some we would love to see what you make! As always just for entering you will be eligible for the the drawing of a $25 voucher to the Simon store!
This week's challenge is to use an actual cling, clear or wood mounted stamps. I chose the adorable Happy Days stamp set from the STAMPtember release.
I stamped this adorable image from the stamp set using copic friendly black ink and colored them using some copic markers. I fussy cut out the image. Using a cloud stencil I ink blended clouds in distress inks.
I then colored the bottom part of that ink blended panel with green oxide ink. I then stamped the image from the stamp set over the ink blended panel and then added the fussy cut bear right over it. It's kind of a masking cheat if you don't mind fussy cutting, which I don't!
I then stamped some flowers from some older stamps in my stash and fussy cut them out and added them to the panel. I then added some white gel pen detail and stickles for some sparkle.
I trimmed down the ink blended panel to fit an A2 size card base made from white cardstock. I then die cut an arch using the nested arch dies and then ran it through an embossing folder and added it over the ink blended panel on the card base.

I hope you got some inspiration and enjoyed the project i made with some of the amazing STAMPtember goodies. I have listed and linked all the supplies I used for your convenience. Thank you so much for stopping by!

Supplies:
Now it's your turn! Happy crafting!

Do you use Instagram ?  If so please add  #ssswchallenge to your challenge entry uploads so we can see them on there too.


You have until Wed  8am Ohio time. 1pm UK time, 2 pm CET to join in


Sunday, September 3, 2023

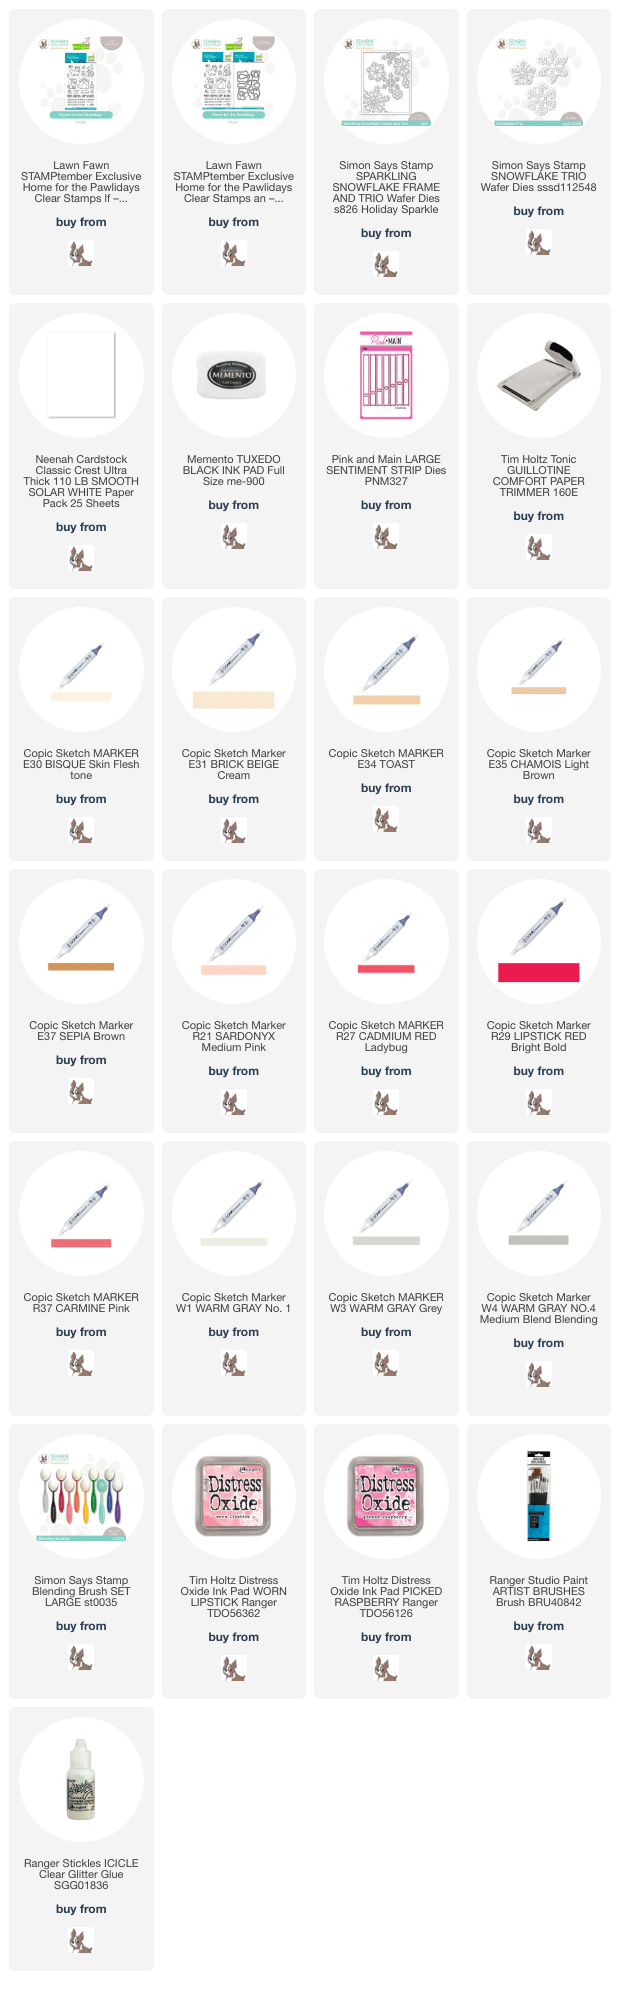
Simon Says Stamp STAMPtember Lawn Fawn exclusive

I am so excited to introduce the first exclusive Lawn Fawn's Home for the Pawlidays stamp set especially made for Simon Says Stamp's STAMPtember! If you fall in love with this stamp set, don't wait to grab it because once these exclusive collaborations sell out they are gone forever!!
I had a lot of fun playing with set. I have three big dogs I call my fur babies so I was thrilled to see this set. It will be perfect for those holiday projects for anyone that loves their fur babies too! 
I made this card using an A2 size card base made from smooth white cardstock. I then trimmed down another piece of white cardstock to create an ink blended background using distress oxide inks. I then die cut another piece of white cardstock to create a snowdrift as well as a frame and snowflakes.
I then stamped the images from the stamp set onto more white cardstock and colored the images using copic markers and fussy cut them out and arranged them all together on the card. The sentiments are also from the Lawn Fawn stamp set and I just used sentiment strip dies and popped them up using 3d foam squares. I used a white gel pen to add some details and stickles for some sparkle.


Supplies:


Saturday, September 2, 2023

STAMPtember Blog Party

I am so excited to be part of the STAMPtember Blog Party celebration! Please click HERE to see the entire STAMPtember release. Here👇is a special promotion for everyone who visits my blog today!
I have a couple of projects I want to share with you using some of the amazing products from the new Simon Says Stamp STAMPtember release
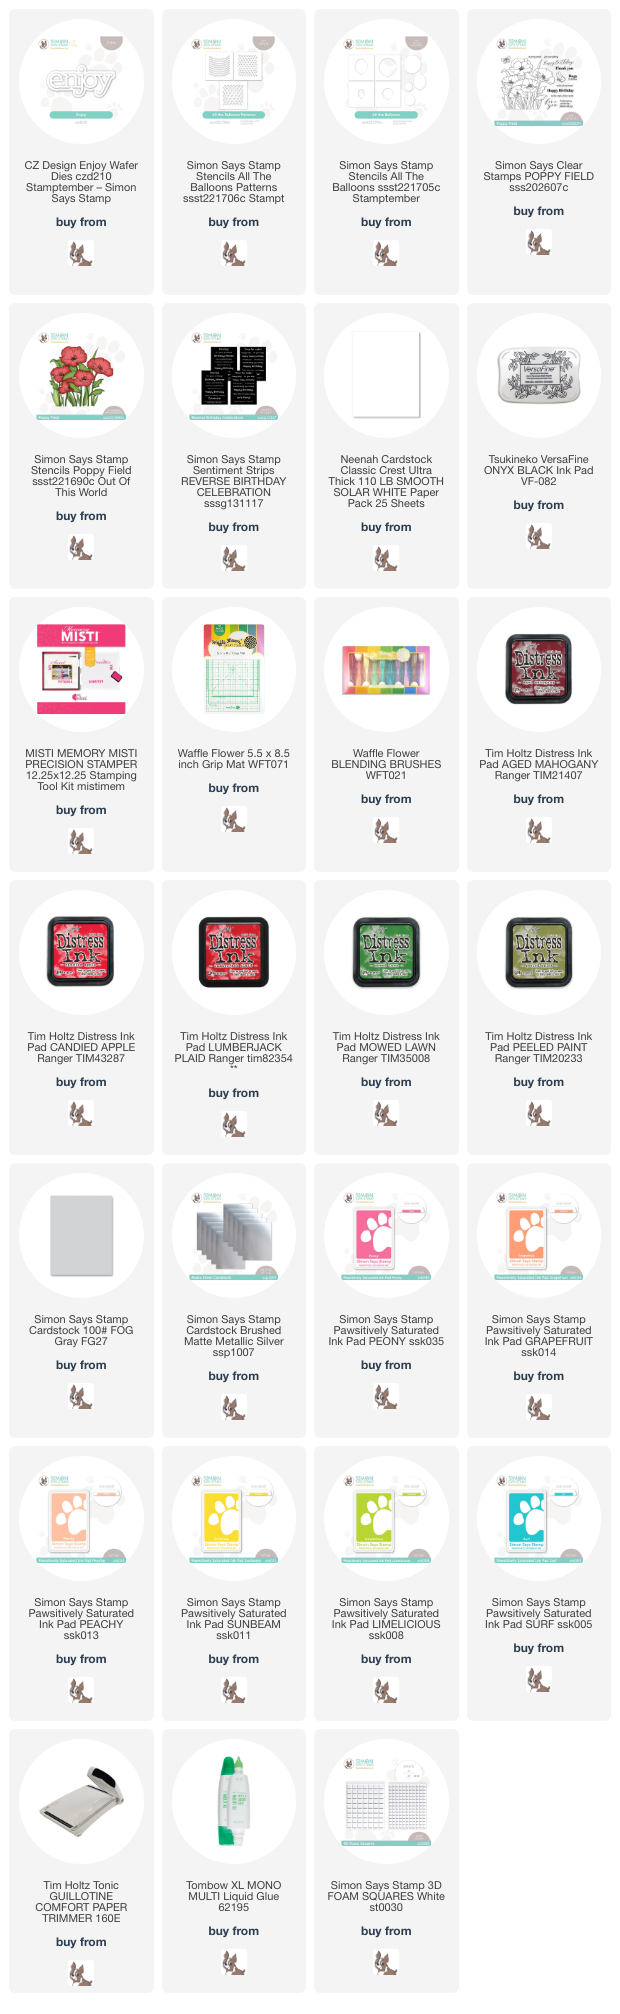
This is a fun mini-slimline birthday card using the All the Balloons stencil set  , the All the Balloons Patterns stencil set and the CZ Designs ENJOY die from the new release.
The base of this card is made from smooth white cardstock and trimmed to the size of a smaller slimline card base. I then trimmed out a piece of gray cardstock to leave a bit of a white border. Using the stencil I inked up six of the balloons using Pawsitively Saturated ins in rainbow order. I used the coordinating die to cut them out and popped them up on the card with foam squares. I trimmed off the excess and added some silver twine to each balloon.
I then die cut the Enjoy die from silver cardstock and a couple times from white cardstock and adhered together for thickness and added it on top of the balloons. I then heat embossed the sub-sentiment with silver embossing powder to match.
My next project also uses the CZ Designs Enjoy die and stenciling.
I made this card using an A2 card base made from smooth white cardstock. I then trimmed down a panel to stencil the poppies. After I added the color I removed the stencil and placed it in my MISTI and stamped the poppies over the stenciled image using black ink.
I then die cut the CZ Design Enjoy sentiment die three times from white cardstock and adhered it with liquid glue. The sub-sentiment is from the reverse birthday sentiments. I just trimmed it out using a paper trimmer and popped it up with foam adhesive. I have a short video showing you how I stenciled the poppies on my Instagram Page.

I hope you are enjoying this blog party! For your convenience I have listed and linked all the supplies I have used to make these projects below.

Supplies:
To get more inspiration for the new STAMPtember release, just visit the Simon Says Stamp Blog Party page and also the STAMPtember gallery. Happy STAMPtember everyone!!

Thursday, August 31, 2023

Simon Says Stamp STAMPtember release day

It's here! The best time of the year for card makers or any kind of makers! It's STAMPtember!! Yay!! Ok yes I'm a little excited. This month is going to be really fun and there is a brand new release to kick it off! Click HERE to see the entire release.
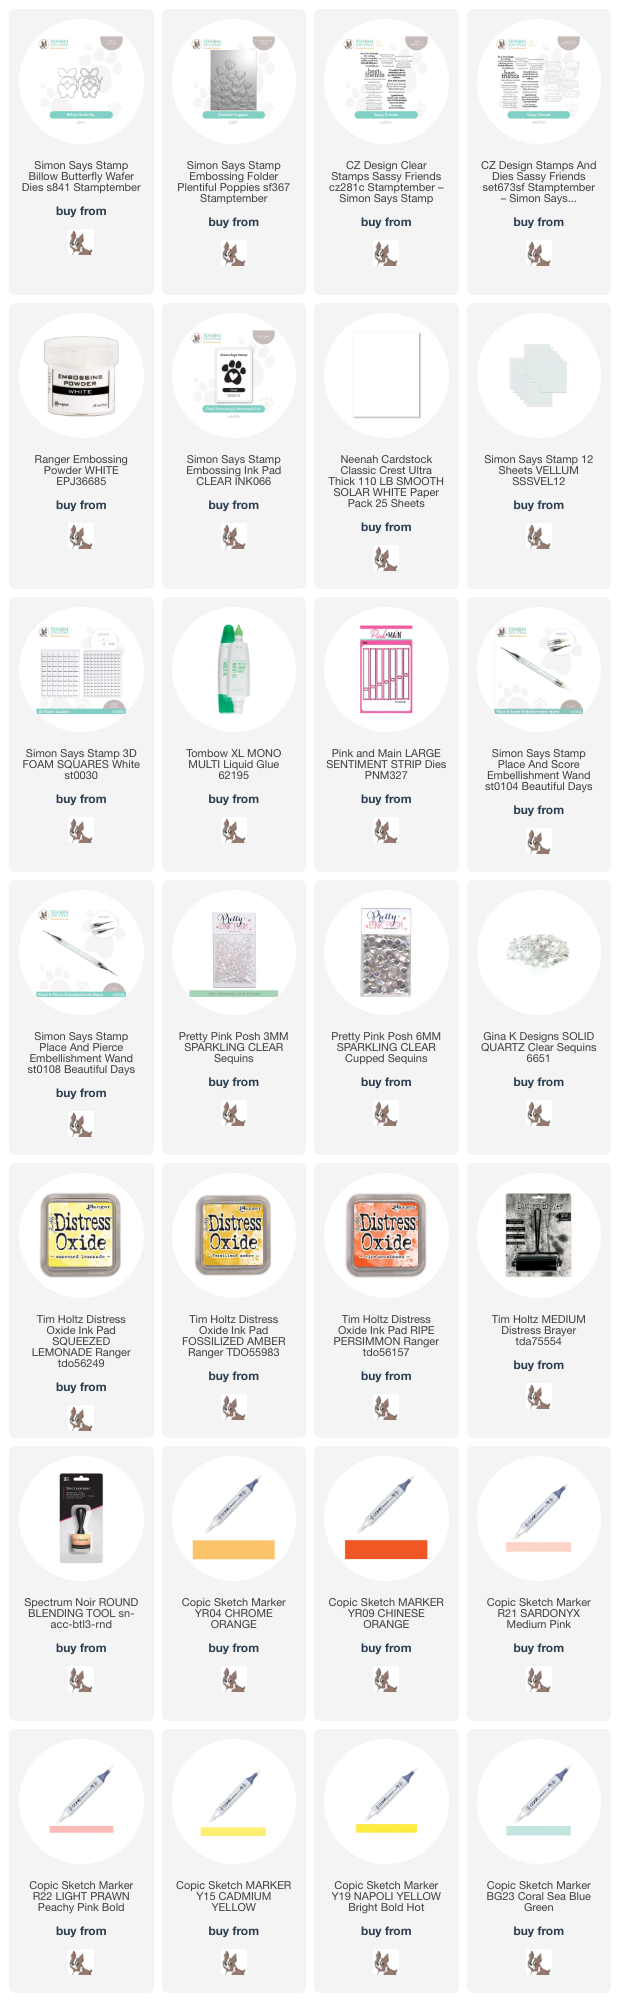
The project I have made for this first day of STAMPtember is a fun Summer card using the Plentiful Poppies embossing folder, the Billow Butterfly die and the sentiment is from the CZ Sassy Friends stamp set
I made this card using an A2 size card base made from smooth white cardstock. It might be easier if I just break down the steps on how I made this card:
Poppies:
Inked up the inside of the Plentiful Poppies embossing folder that is flat with yellow ink and brayer.
Added a trimmed down piece of white cardstock to the embossing folder and ran through the machine.
Using copic markers I colored in all the RAISED areas that were left white, flowers and stems.
Using a ink blender tool I distress the sides of the colored panel with a darker yellow and added some ink splatters for some interest.
I adhered the inked and colored poppy panel to the card base.

Butterfly:
I used the Billow Butterfly die to cut out of white cardstock the body and outline of the wings.
I cut the butterfly out a second time out of vellum
I stamped a small dot pattern on the butterfly wings using embossing ink and white embossing powder. 
I colored the back of the vellum wings with a copic marker in blue.
Using liquid glue and added all the butterfly elements together and adhered it to the card.

Sentiment:
I stamped the Best Friends sentiment on vellum using clear embossing ink and heat set it with white embossing powder.
I then used the coordinating die to cut out the sentiment and adhere it to the card with foam strips.
Using the same stamp set I stamped the sub-sentiment with coordinating ink and cut it out using a sentiment strip die.

I hope this makes it bit easier to explain how to make a card in steps. Thank you so much for stopping by! I have listed and linked all the supplies below for your convenience. Happy STAMPtember!!

Supplies:


Wednesday, August 30, 2023

CZ Design Anything Goes

Hi all and welcome to another week of the Simon Says Stamp Wednesday Challenge.

This week's challenge theme is Anything Goes!

We are featuring products from CZ Designs. You don't have to use them to join in but if you have some we would love to see what you make! As always just for entering you will be eligible for the the drawing of a $25 voucher to the Simon store!
I love anything from CZ Designs!! I love her videos and her personality is so funny add on top that she is a talented card maker and product designer! Girl has is going on!! Can you tell I'm a big fan??
I wanted to make a fall themed card because "anything goes" and I'm just in Fall mode. I used the CZ Design Basic Trio die set. This is my go to sentiment die set for cards. It's a must have for your stash!
I made this card using smooth white cardstock trimmed down to an A2 size top folding card base. I then trimmed down another piece of white cardstock to leave a white border. I used distress oxide inks to create this ink blended background to help showcase my distressed fall leaves.
Using some watercolor paper I created three panels with distress ink and lots of water and white paint splatters. I used the fall leaf die and cut one from each panel and popped it up on the ink blended panel with foam squares and then trimmed off the excess. I then die cut the hugs from white cardstock and stamped the sending from an older stamp set in my stash then I embossed it with gold embossing powder.I then added a few jewels for a bit of sparkle.

I hope you have enjoyed the project I have made today for the challenge and got some inspiration. I have listed and linked all of the supplies I have used for your convenience. Thank you so much for stopping by.

Supplies:
Now it's your turn! Happy crafting!

Do you use Instagram ?  If so please add  #ssswchallenge to your challenge entry uploads so we can see them on there too.


You have until Wed  8am Ohio time. 1pm UK time, 2 pm CET to join in


Monday, August 28, 2023

Darcy Bouquet card

One of my new favorite techniques is to color an embossing folder using copic markers. Depending on the embossing folder it can be a long project but it's color therapy for me, so I love it!!
Using the new Darcy Bouquet Embossing folder from the Just a Note release from Simon Says Stamp, I grabbed some of my favorite copic colors and went to town!
I first wanted to have a light neutral shade for a background to the raised images of the embossing folder. I used Pumice Stone oxide ink and a brayer to ink up the flat inside of the folder and then ran a piece of white cardstock through the die cut machine. 
It worked great! It looked so good that I was tempted to leave like that but I wanted to color so I began with each flower and colored them until all the raised images were colored.  I then die cut the CZ Scripty Hello die out of thick white cardstock and some champagne colored cardstock and glued it to the shadow cut from more white cardstock. I just added to the bottom right side of the card and called it a day!
I hope this inspires you to play around with these amazing embossing folders and create something fun and beautiful! I have listed and linked all the supplies below for your convenience. Thank you so much for stopping by!!

Supplies: